


I’ve always been curious about egg tempera.
There is something intriguing about a painting medium whose essential ingredient is an egg. Yes, an ordinary egg.
How can something from the kitchen become the binder for a painting that lasts for centuries?
As an acrylic painter, I’m also interested in what happens when familiar painting habits meet unfamiliar materials. I usually encourage beginners to simplify the subject and resist reaching for a tiny brush too soon. Yet I wanted to explore the patient layering and fine brushwork associated with tempera.
Last week, I had the amazing opportunity to work in a small-group workshop in Zennor, Cornwall with the fantastic British painter Antony Williams.
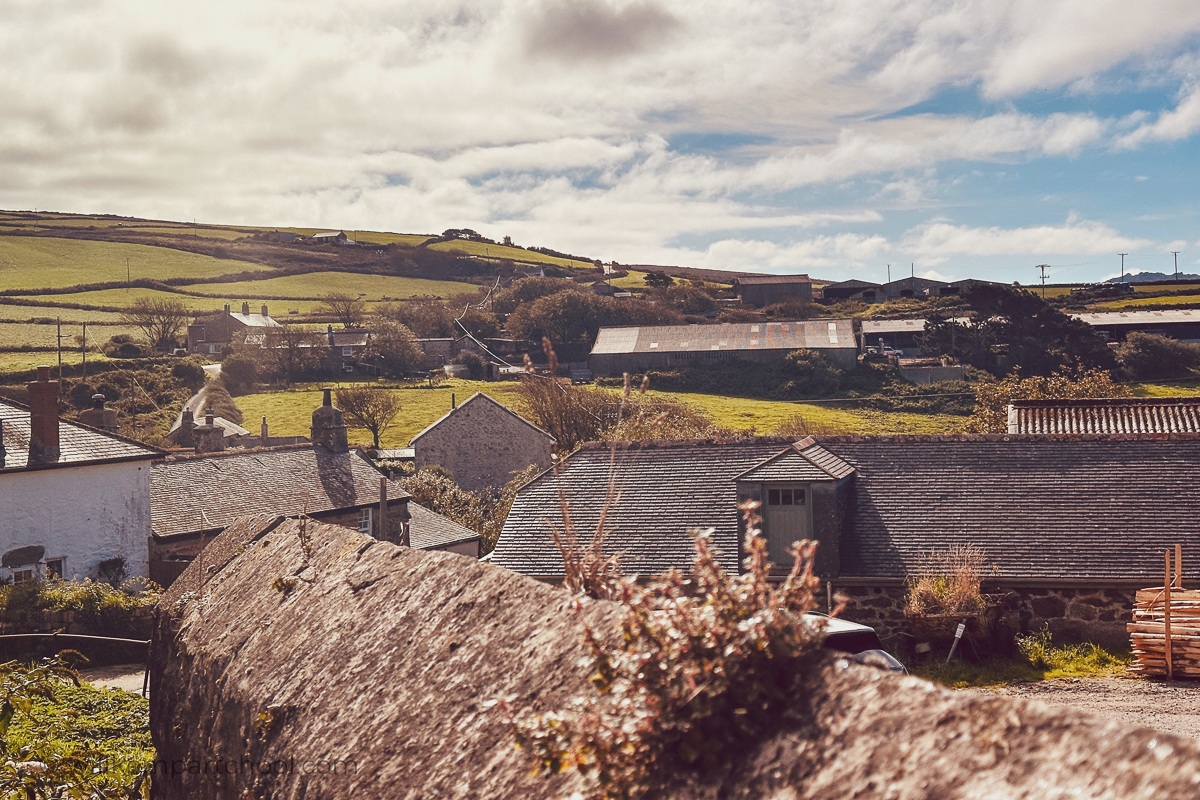
Farm buildings in Zennor, Cornwall, viewed from the studio door. The Just Life Art Courses are hosted by the fabulous Rose, who has been instrumental in bringing together portrait artists and providing first-class tuition in portraiture, life drawing, and figurative painting.

I’d long admired Antony’s work, having seen his paintings at the BP Portrait Prize exhibition at the National Portrait Gallery in London. They have a luminosity and glow that’s hard to explain. Up close, the colours seem to vibrate across the surface, yet the scene as a whole feels poignant and timeless. As a rather impatient painter, I was also slightly in awe of the sheer time and patience it takes to build an image, one fine line at a time.
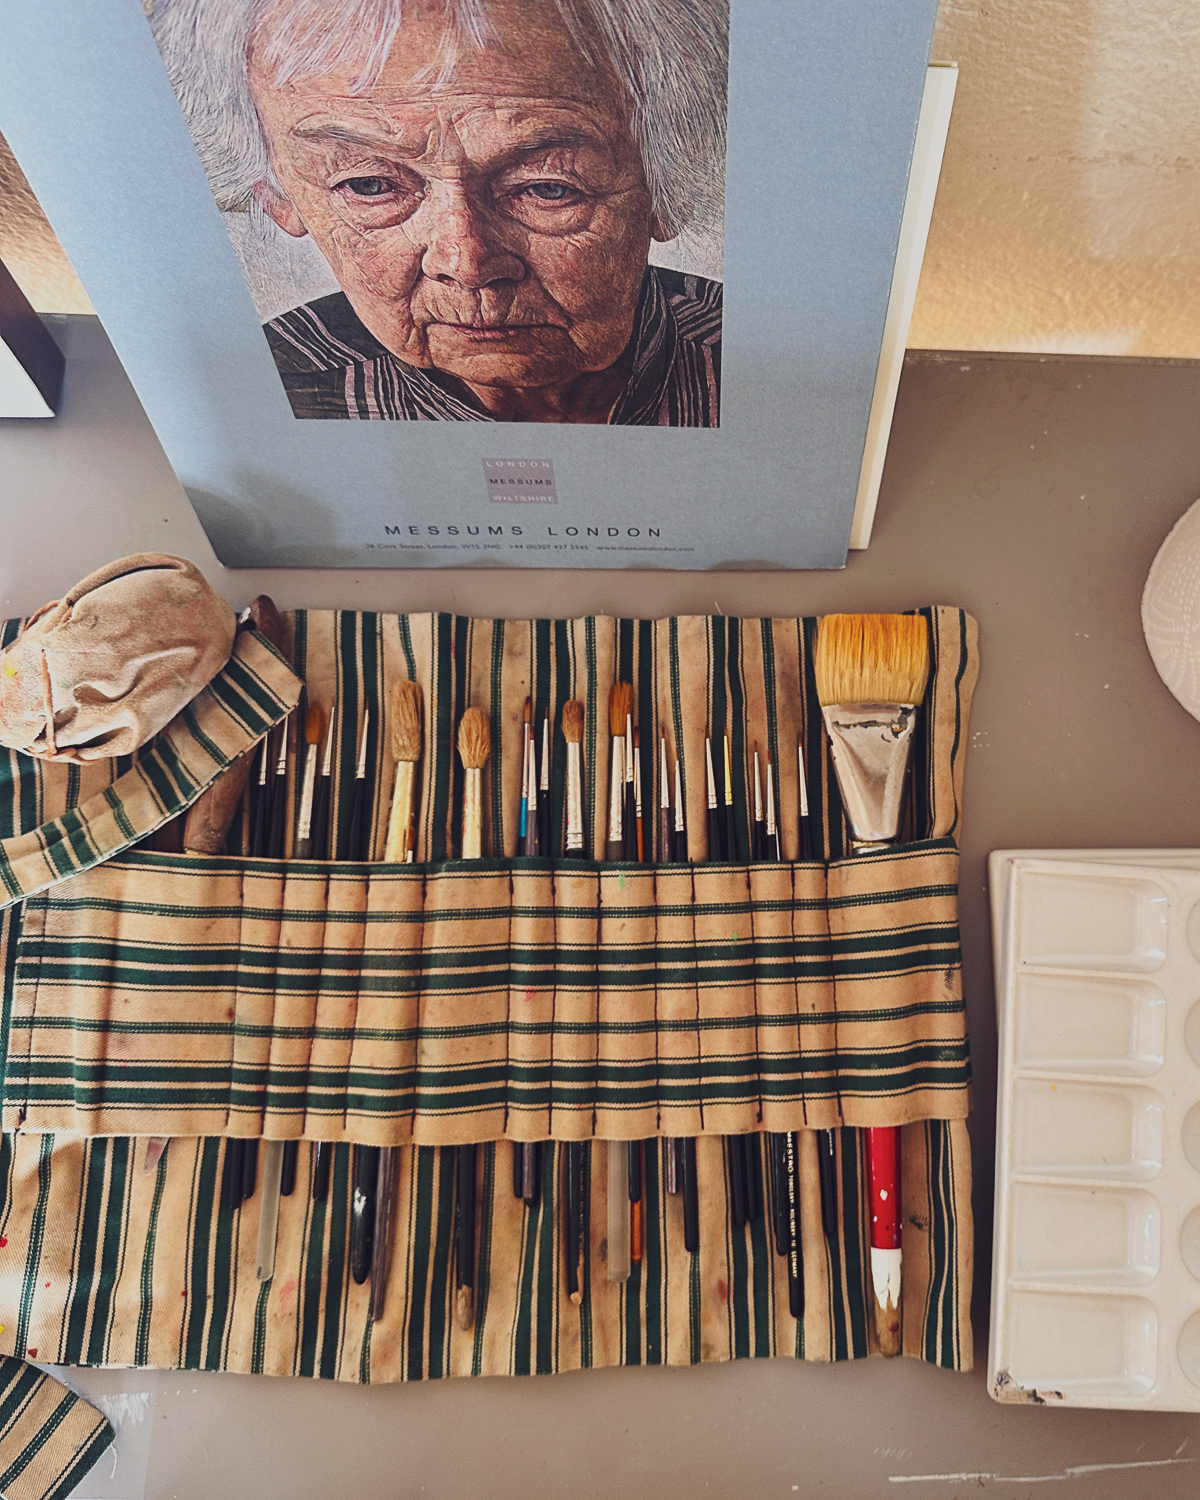
Margaret at Ninety, Antony Williams, Egg Tempera
What is egg tempera?

Tempera comes from the Latin word temperare, which means “to combine” or “to mix”.
Traditionally, egg tempera is a painting medium made from pigment, egg yolk and water. It is one of the oldest painting mediums, dating back to the 1st century AD. Artists used it during the Renaissance, including Botticelli and Raphael; the pigment provides colour, the yolk binds the particles, and water adjusts the paint’s consistency.
Artists largely replaced egg tempera with oil paint around 1500 because oil dries more slowly, is more flexible, and offers richer, deeper colours, although many Renaissance leading painters combined both techniques.
Tempera grassa (“fatty tempera”) combines traditional egg tempera with a drying oil, such as linseed or walnut.
For a modern-day acrylic painter, the familiar part is using water to adjust the paint. The unfamiliar part is making the binder and pigment mixture yourself. You begin to encounter paint as separate materials, each contributing something to how the mixture behaves.
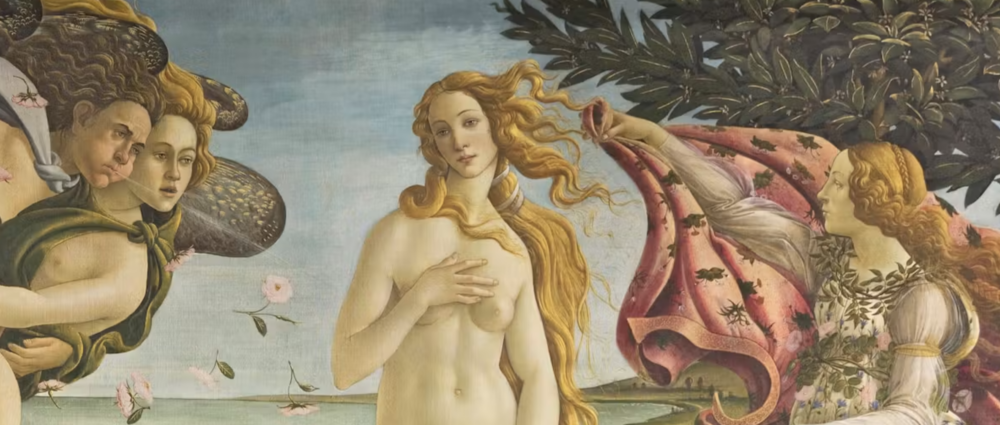
Sandro Botticelli, Birth of Venus (detail), Tempera on canvas, 1485 ca
Botticelli painted the Birth of Venus in 1485.
Some of the earliest detailed written guidance on egg tempera can be found in Cennino Cennini’s The Craftsman’s Handbook (Cennino Cennini’s Il Libro dell’Arte) , written around 1400. It offers a fascinating glimpse into an artist’s workshop, covering everything from preparing surfaces and pigments to drawing, painting and gilding.
Its English translator, the American scholar & art conservator Daniel V. Thompson, also wrote The Practice of Tempera Painting: Materials and Methods, first published in 1936. His manual helped make this traditional technique accessible to a new generation of painters.
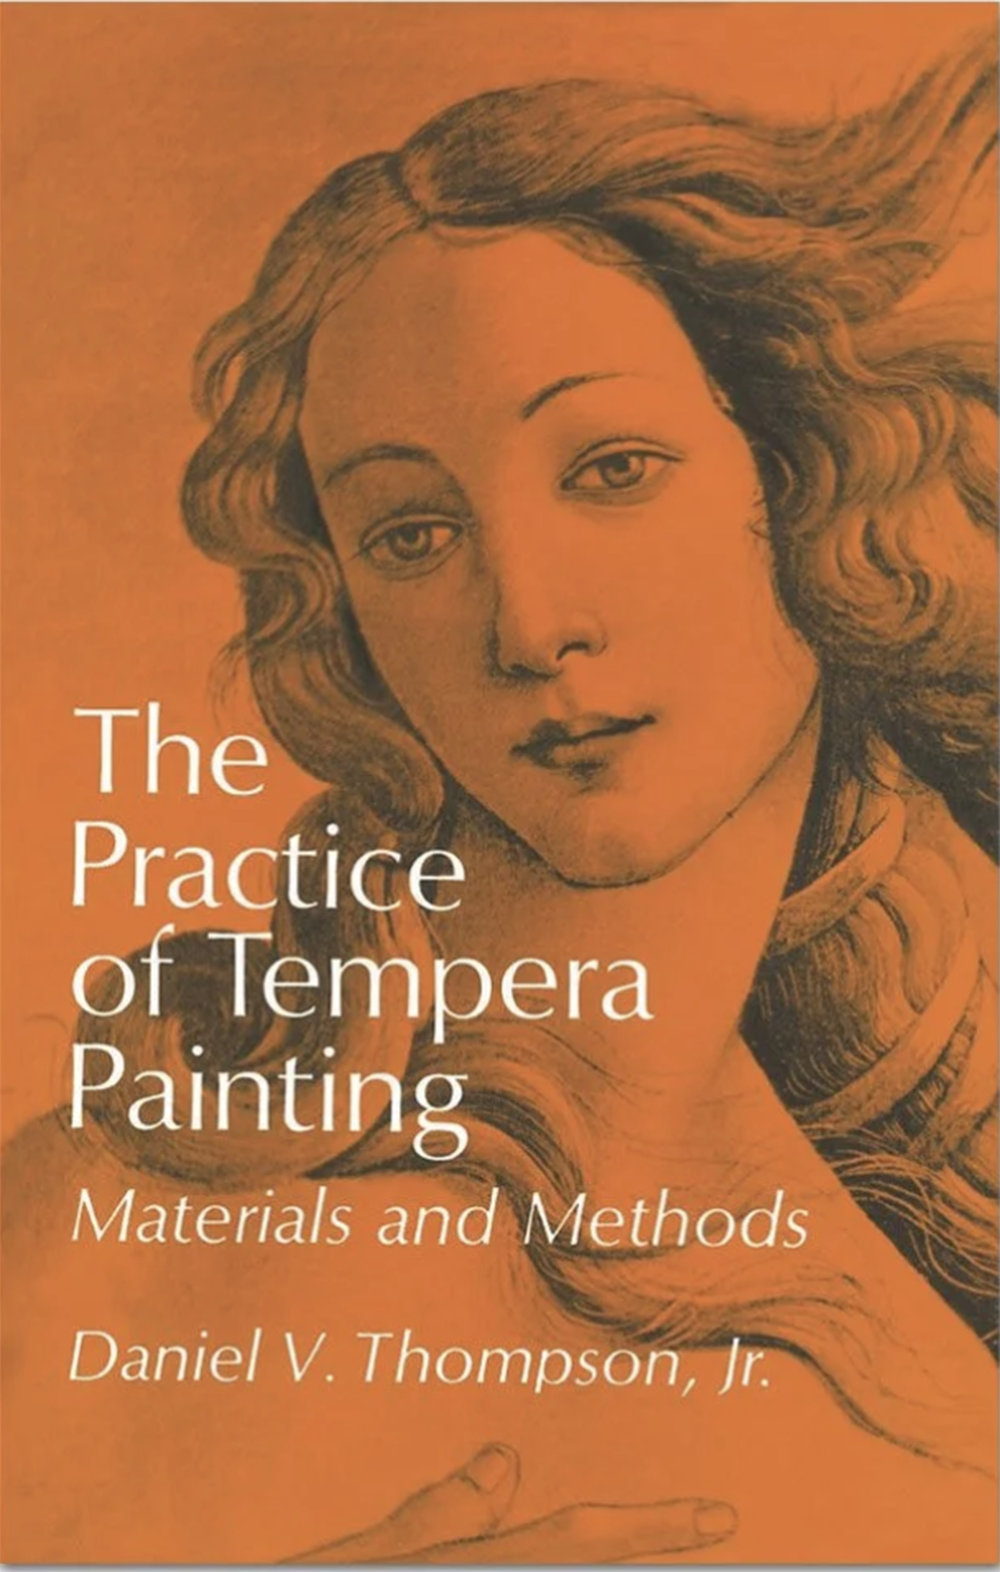
The Practice of Tempera Painting, Daniel V. Thompson, first published 1936.
Thompson was a really interesting guy, a historian, professor, engineer, and writer. He studied the craftsman handbook for 18 years and noted in the book’s preface that no written instructions are enough to teach a painting method. “There are many,” he writes, “who say that they have mastered the profession without having served under masters”.
And I agree, you don’t learn to paint by reading about how to paint; you learn to paint by painting.
How do you make egg tempera paint?

We started with dry pigments from Cornelissen, the artists’ colourmen in London. Antony used these colours in his own paintings, including pigments with a lovely muted quality, such as Terre Verte and Venetian Red.
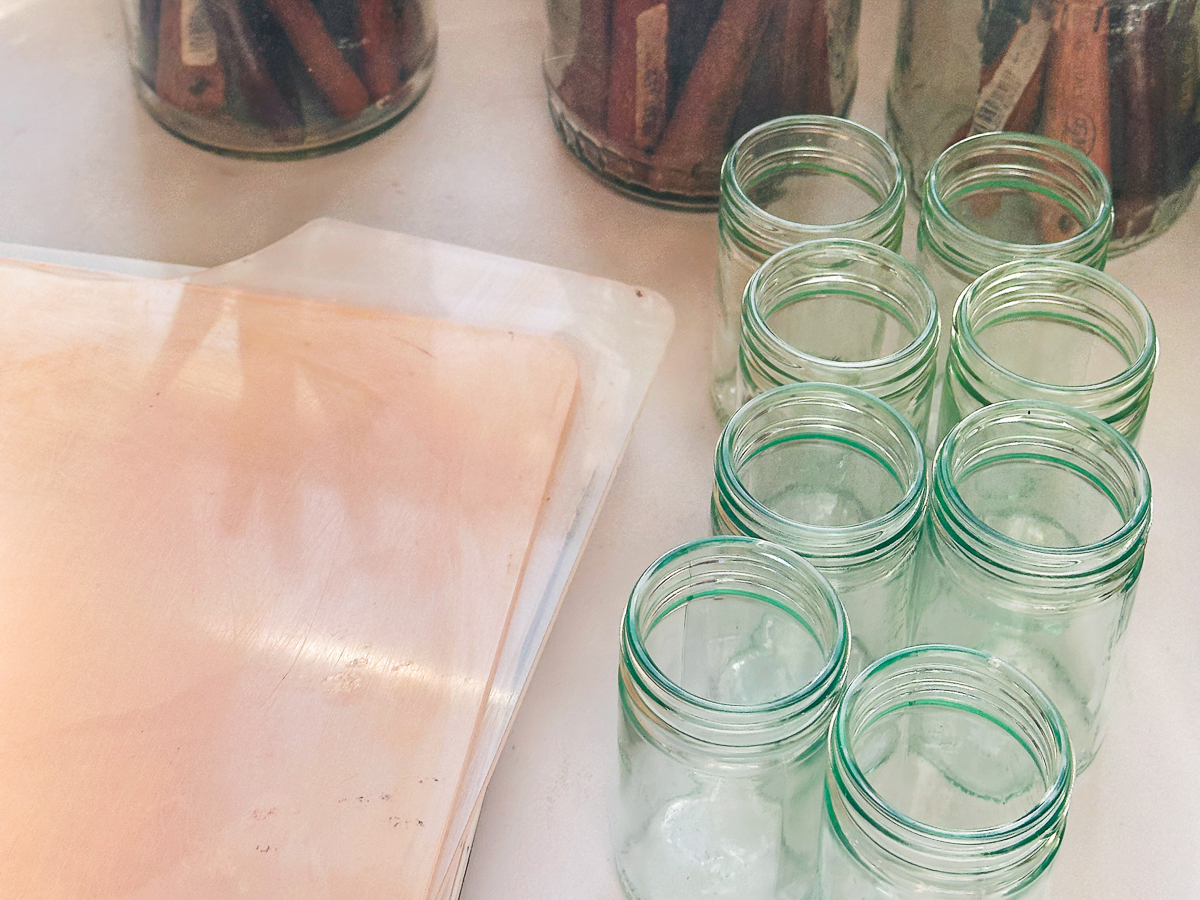
We placed dry pigment on our plastic palettes, then mixed in water to make a paste. You can work this paste with a glass muller to disperse the pigment and break up any clumps, but since we used finely ground pigments, we mixed them directly with the palette knife.
At this stage, you’ve only got pigment and water. Without a binder, the pigment won’t hold together or adhere to the painting surface. That’s where the egg yolk comes in.
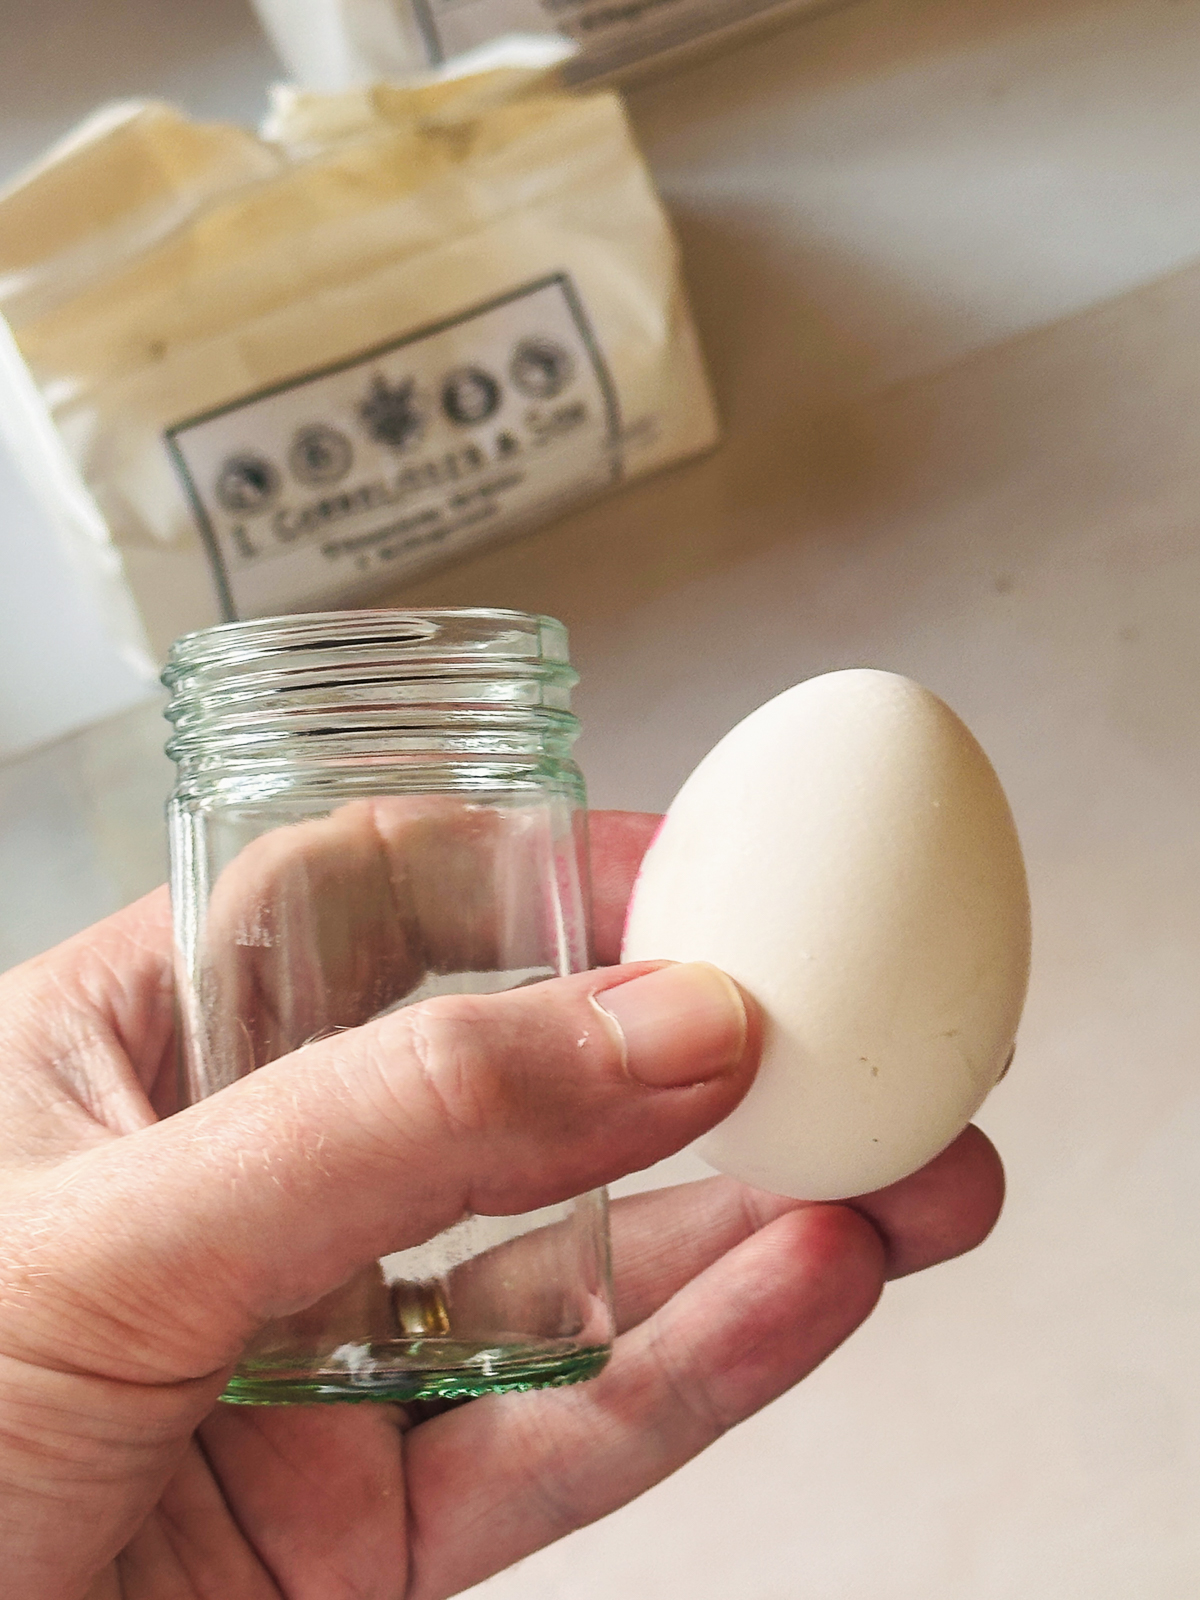
Let’s get cracking! (Sorry I couldn’t resist!)
Turn on the water over a sink and let a gentle flow of cool water run.
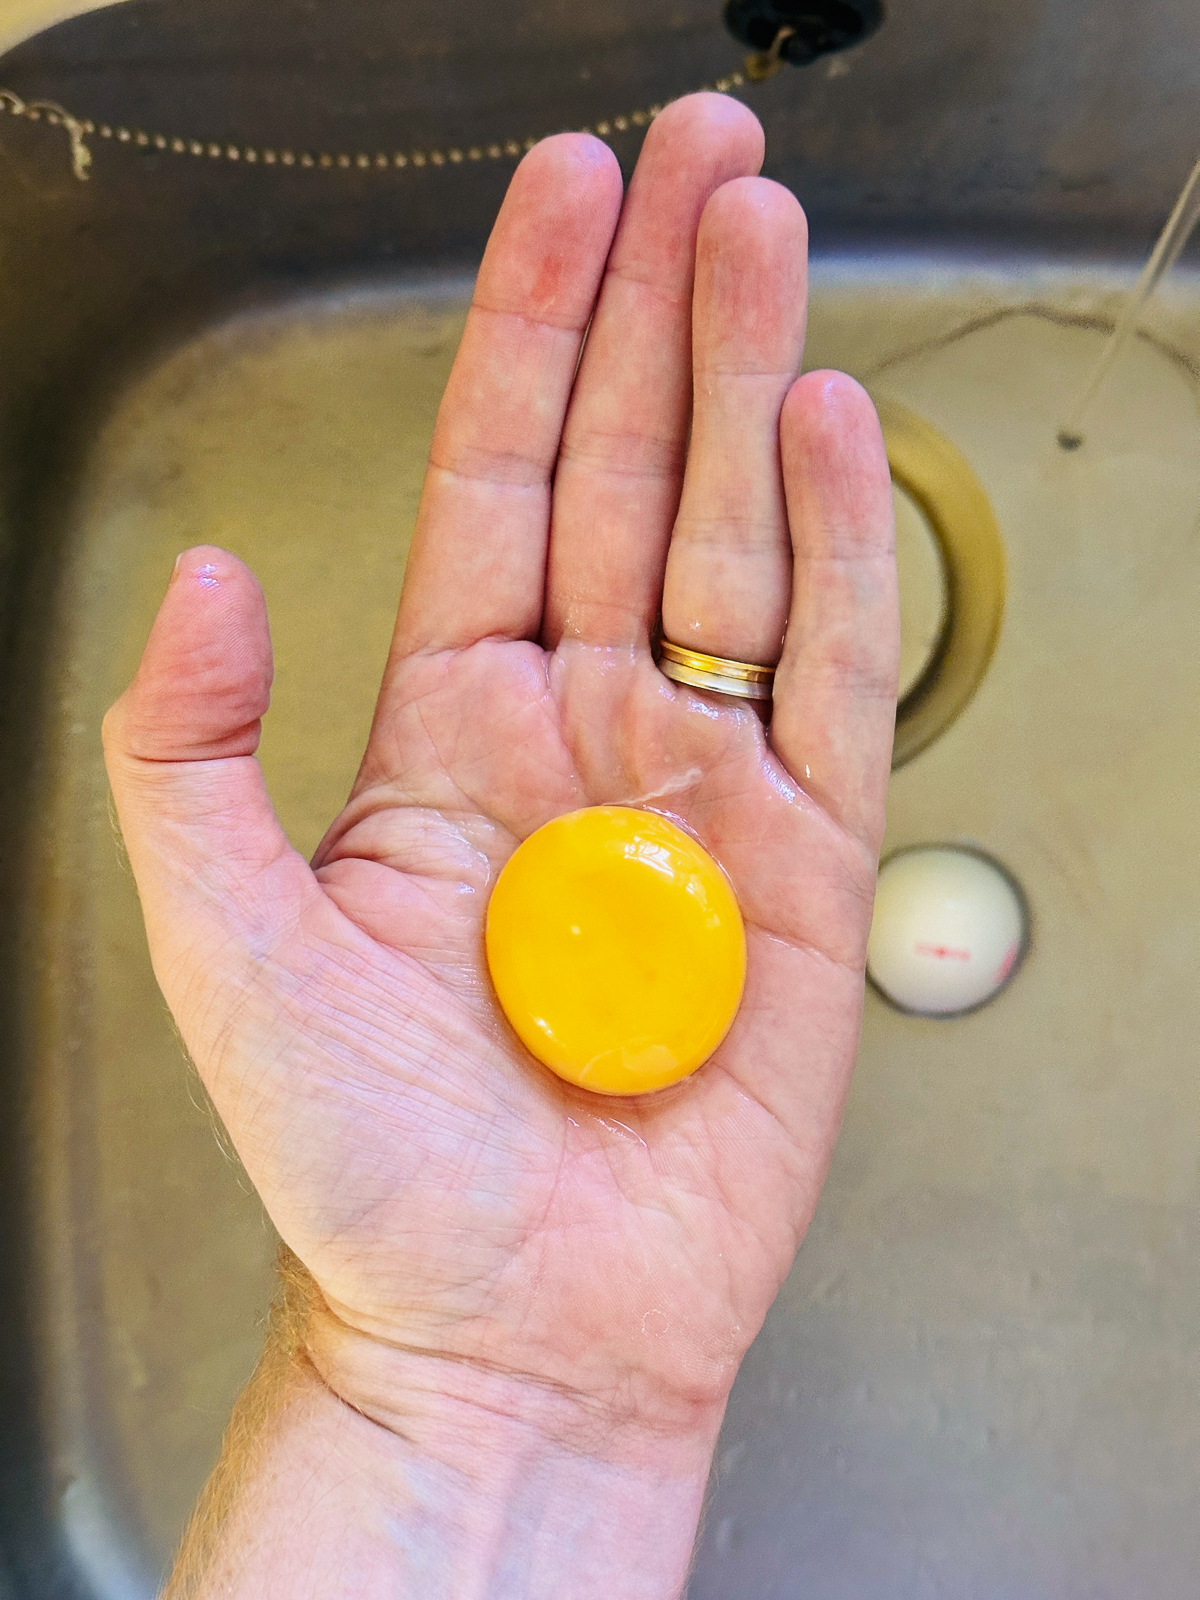
Crack the egg and place the whole egg in your palm. Gently move the egg between your hands, letting the white separate from the yolk; at this stage, keep the yolk intact.
Then carefully hold the yolk in your hand, pierce the membrane, and pour it into a small glass jar.

Once you have your egg yolk, take a little pigment paste and mix it with roughly an equal amount of egg yolk. This gave us a thinner consistency, ready to paint with.
Such a simple combination.
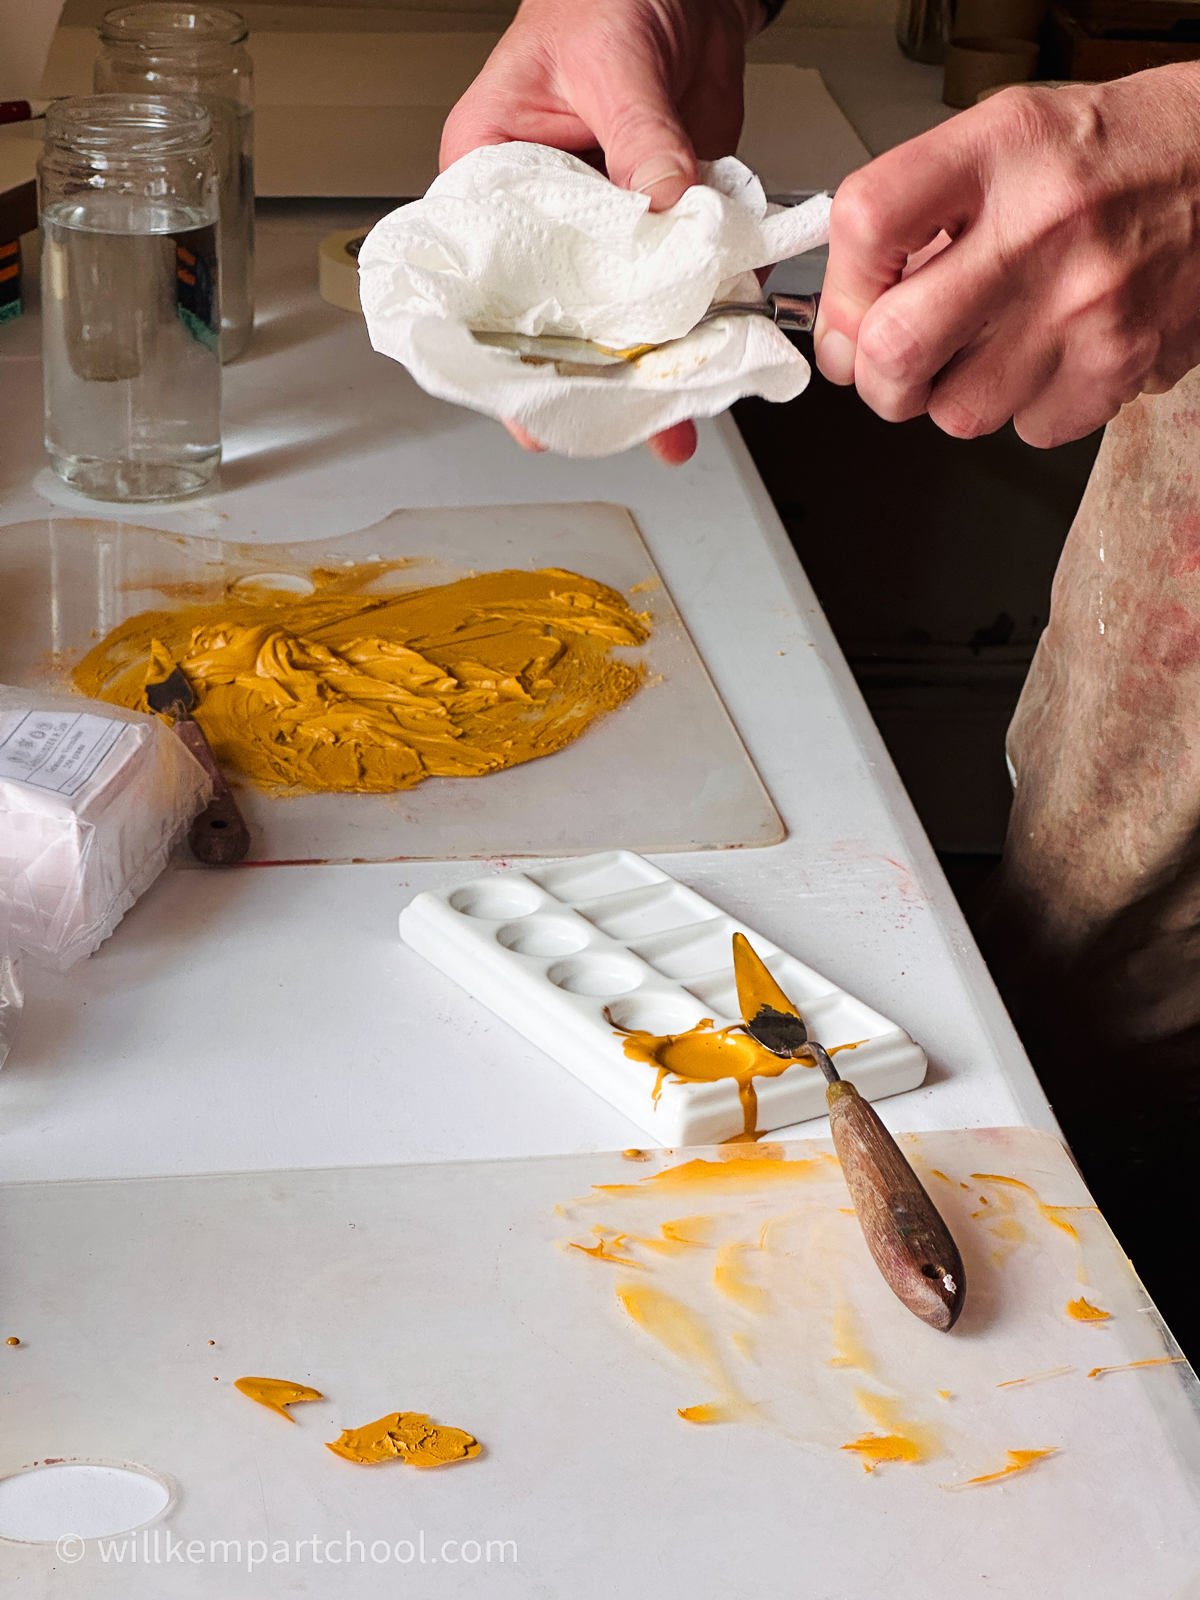
The paste (rear palette) is then mixed with the yolk binder (near palette)
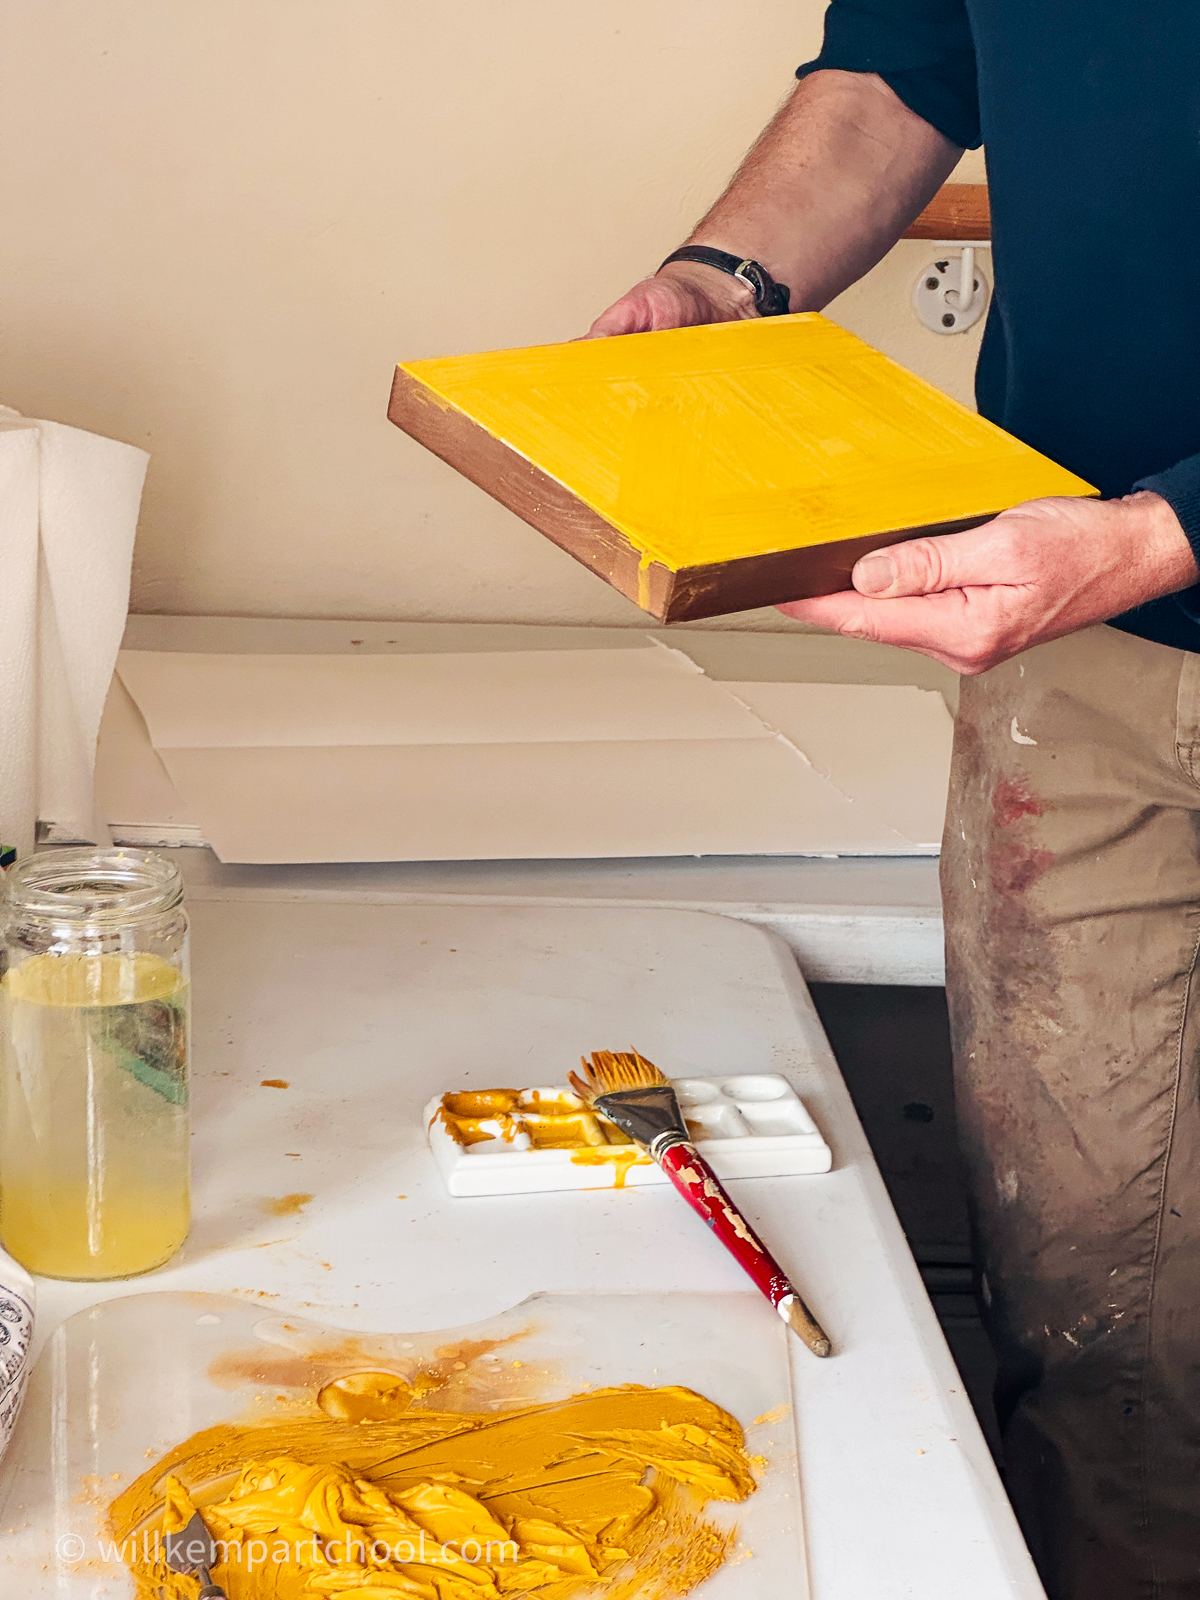
We then painted a layer of yellow ochre onto a gesso board with a wider brush.
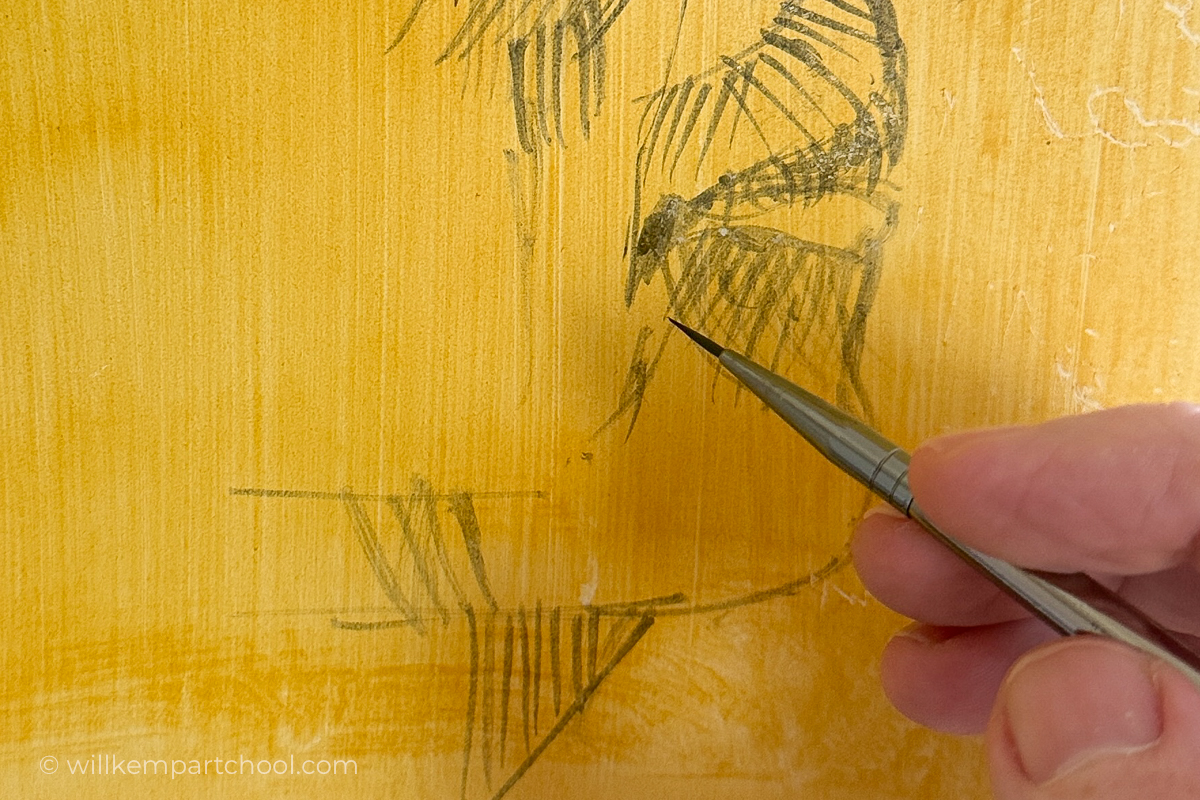
Once the Yellow Ochre ground dried, surprisingly quickly, I began drawing the portrait directly onto the surface.
We’d already made a preliminary sketch in pencil or charcoal to explore the face’s composition and structure. Antony explained that he usually develops a more fully resolved drawing first, then transfers it onto the prepared gesso panel.
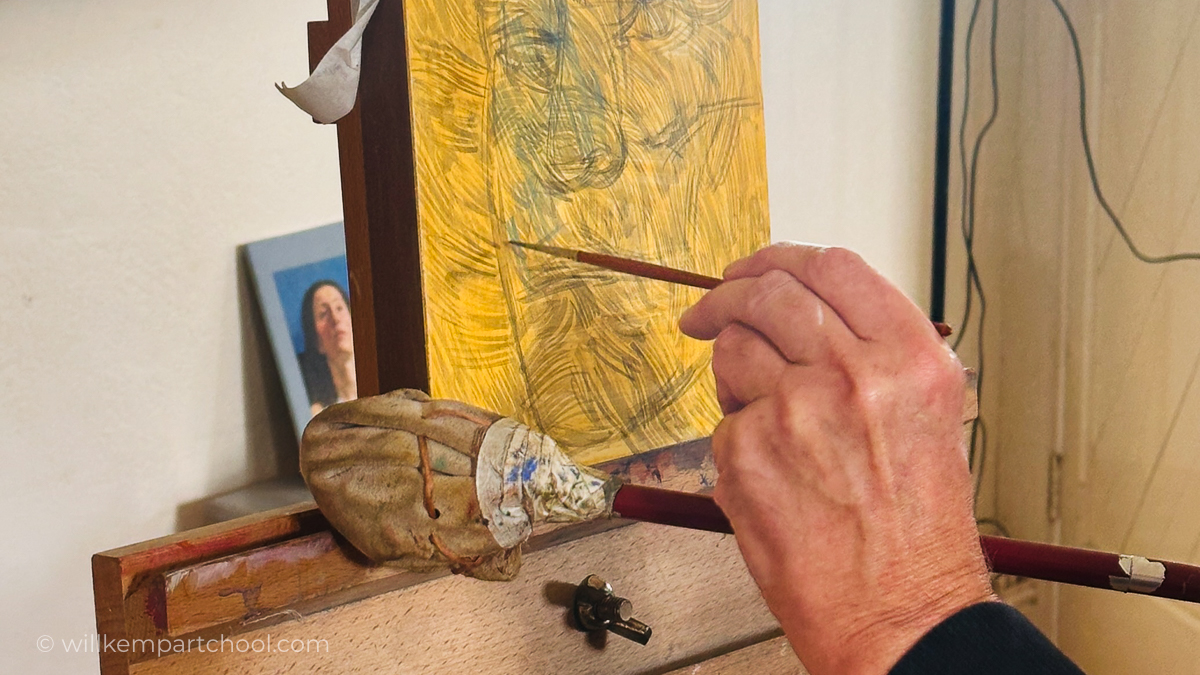
At this small scale, with repeated brushstrokes, resting your hand on a mahl stick can be very handy. So here you can just see Antony’s mahl stick on the edge of the easel so he can move his hand with more precision to keep these flowing lines.
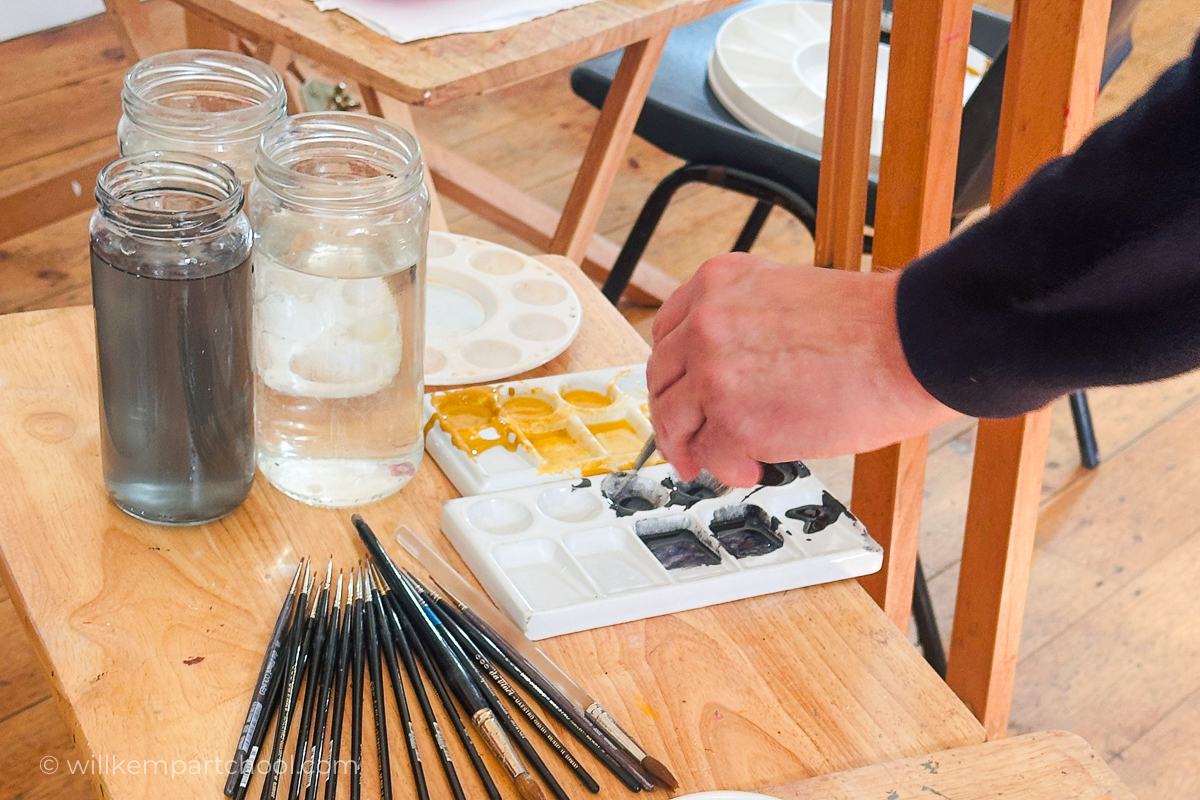
The paint was kept in small ceramic palettes, much like those you’d use for watercolour painting, and diluted with varying amounts of water to control its strength and transparency.
I was thinking a little like a watercolourist at this stage. Instead of adding white to lighten a colour, I added more water to dilute the pigment and create a thinner, more transparent wash. This lets more of the light ground and underlying layers to show through, creating the impression of a lighter tone.
The less water you use, the stronger and more concentrated the colour appears.
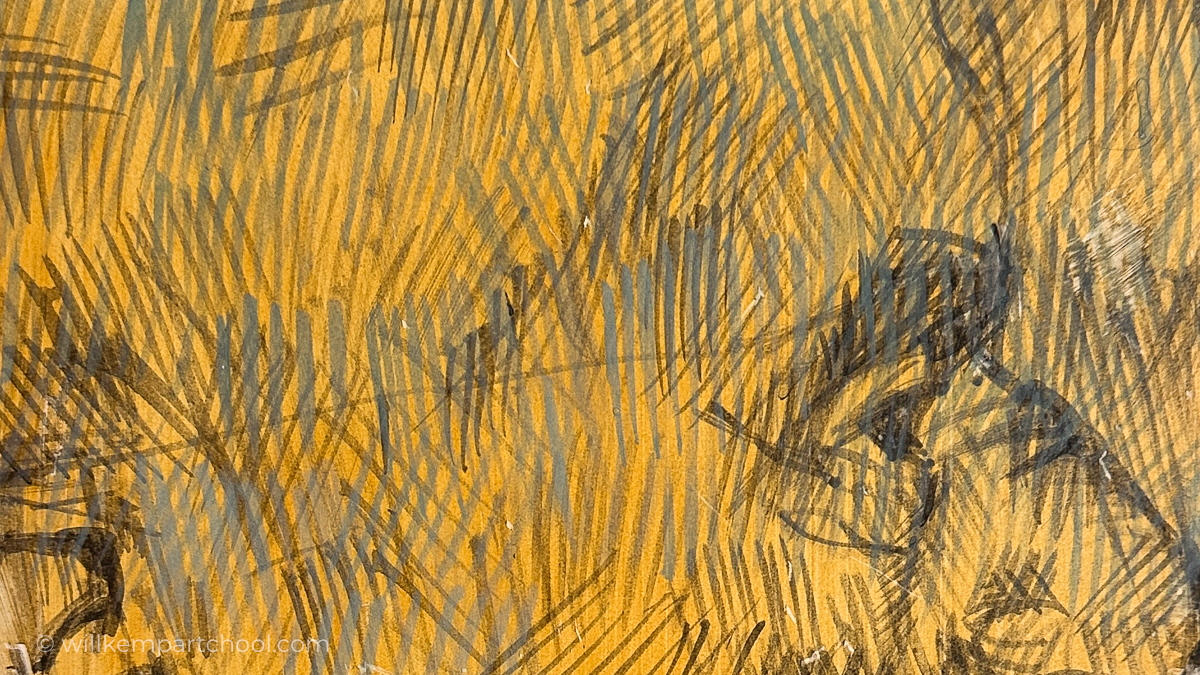
After I’d completed the initial drawing in Ivory Black, I began working over the surface with a muted green pigment called Terra Verte. It’s a naturally transparent pigment, and when diluted with water, it creates this lovely, subtle green effect.
The idea was to gradually build up these green tones in the portrait while still allowing areas of the underlying yellow and black to show through.
I found this stage quite alien, as I’d normally block in larger, solid areas of colour across the painting. These thinner, more deliberate strokes were a discipline I had to get used to. Looking back, I think I relied a little too much on cross-hatching rather than following the face’s contours and form, as Antony had been demonstrating.
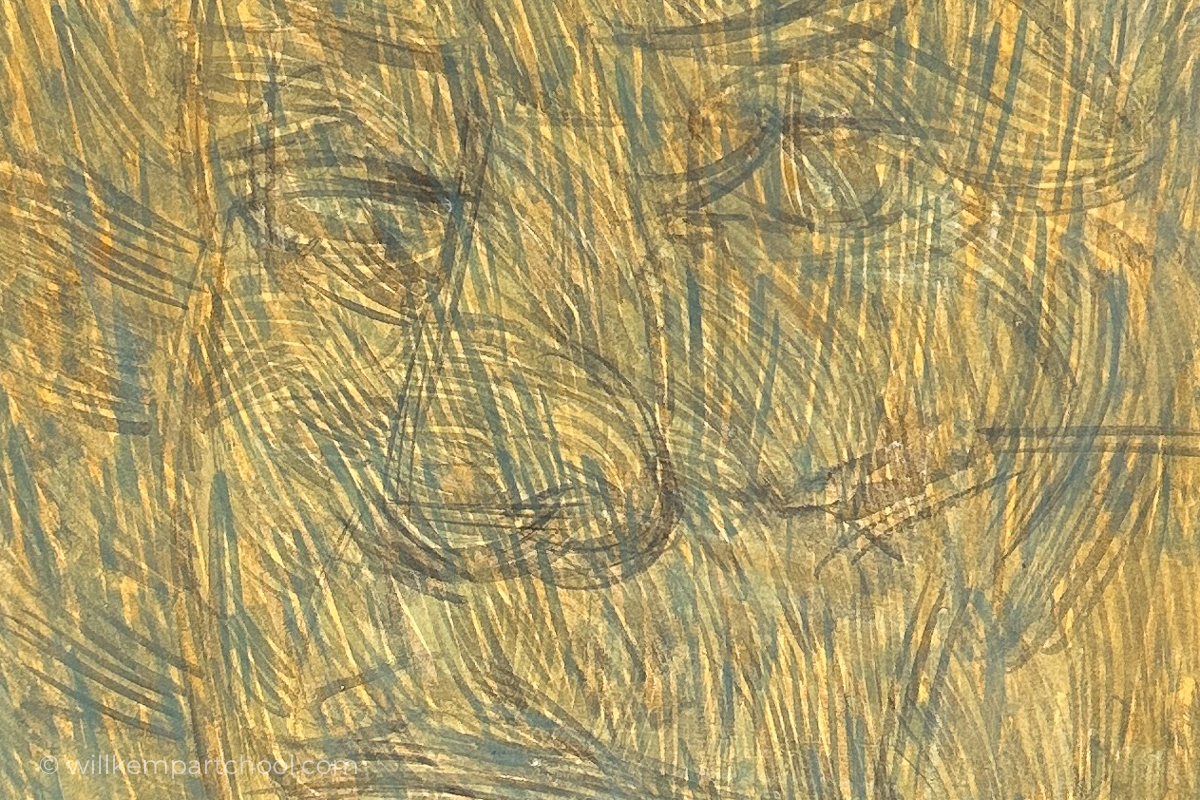
Here you can see more of the effect I was aiming for in Antony’s painting above: flowing lines, gestural underpainting, and a compressed tonal range between layers.
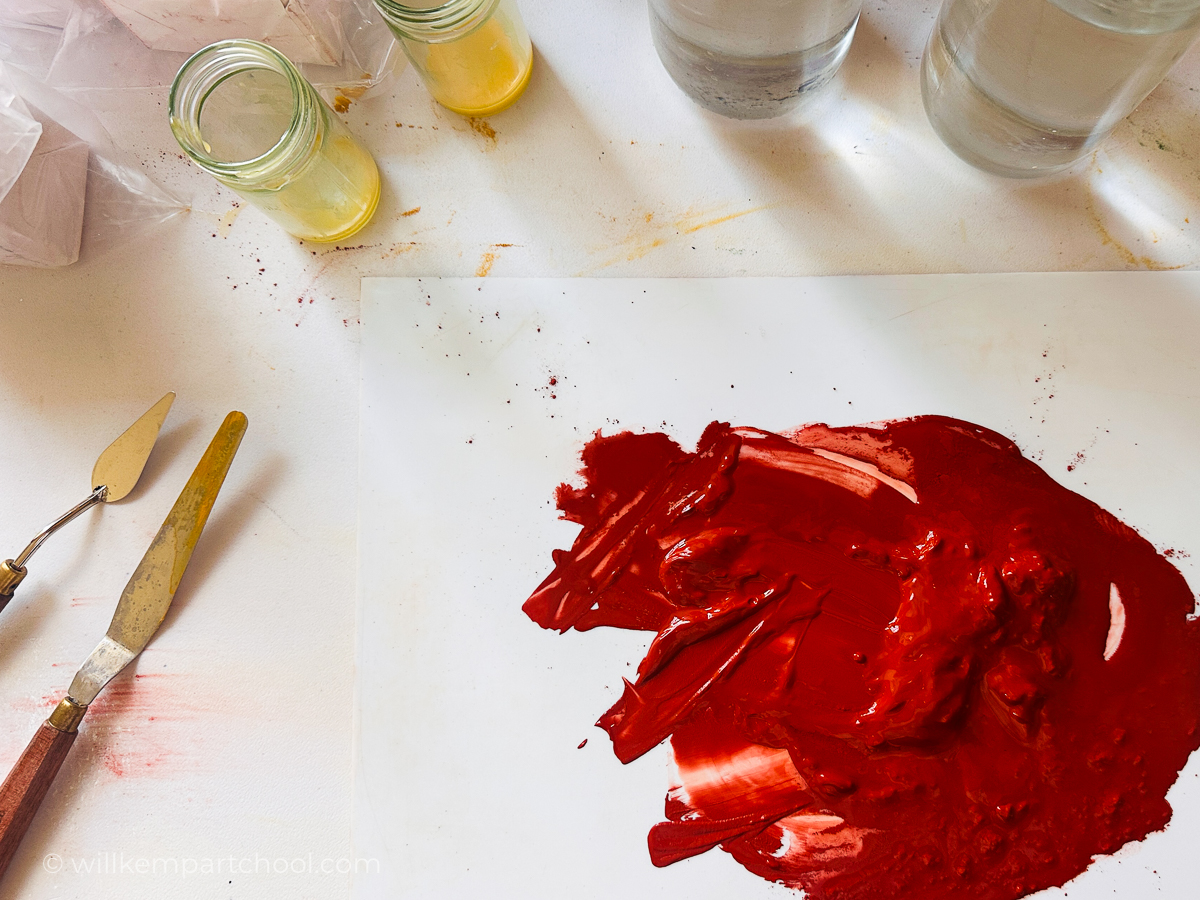
After the green layer, I introduced strokes of this gorgeous, muted Venetian Red, which began to bring some warmth into the portrait. But rather than covering the previous layers completely, I left areas of the underlying colours visible, allowing those broken, painterly marks to interact optically and create depth and richness.
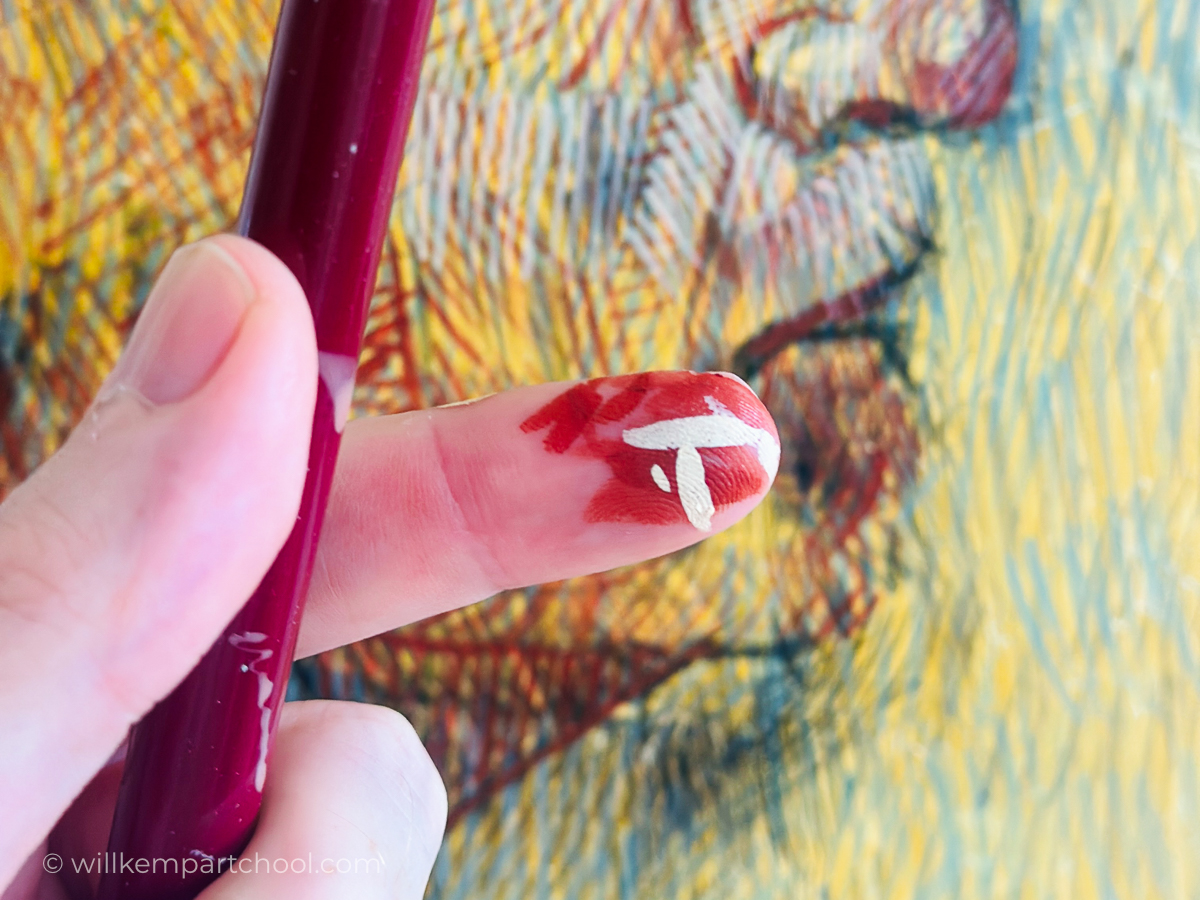
One interesting technique was the way Antony controlled both the moisture and the shape of his brush. Normally, I’d use a paper towel to remove excess moisture, but Antony encouraged us to use our thumb and forefinger instead. By gently squeezing the bristles between applications, you can judge how much moisture remains and control the flow of paint. At the same time, reshaping the bristles into a lovely fine point, allowing for much more precise, delicate marks.
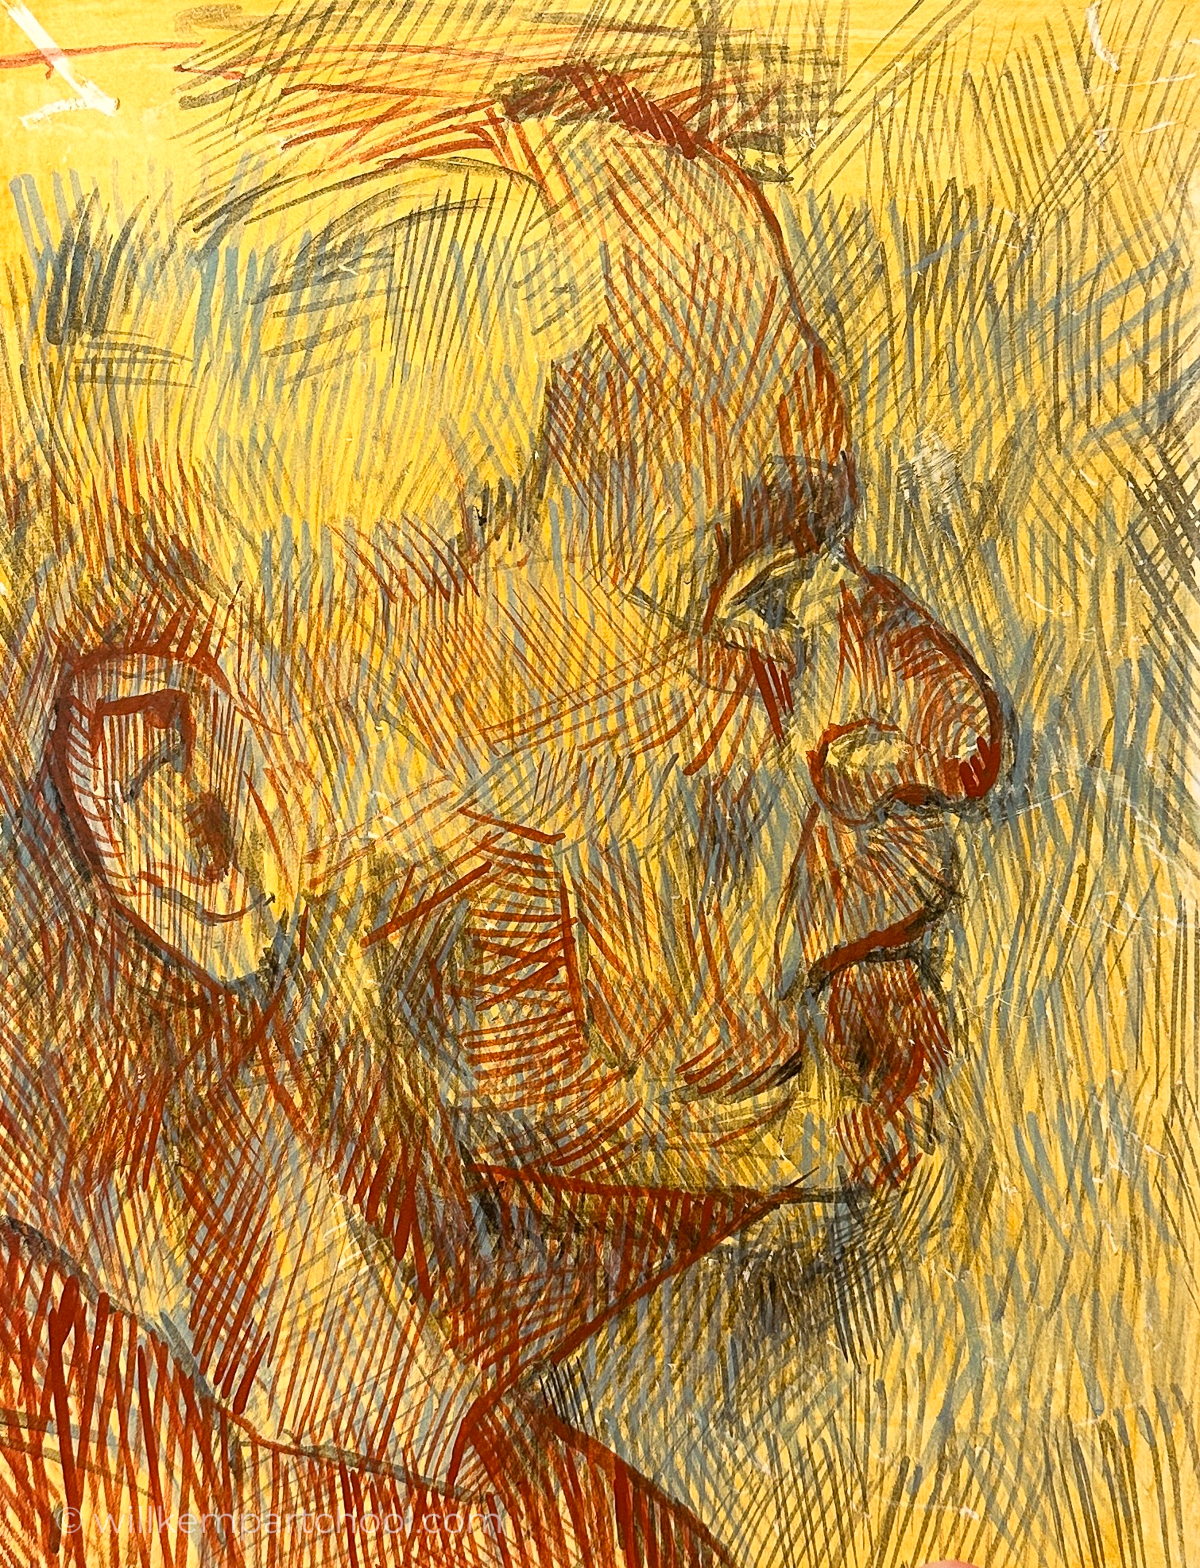
So at this stage, my underpainting is starting to build up, and although there’s some nice variation in the marks, it still feels a little fragmented to me. The different layers aren’t quite working together yet, and the painting doesn’t feel as cohesive as I’d like.
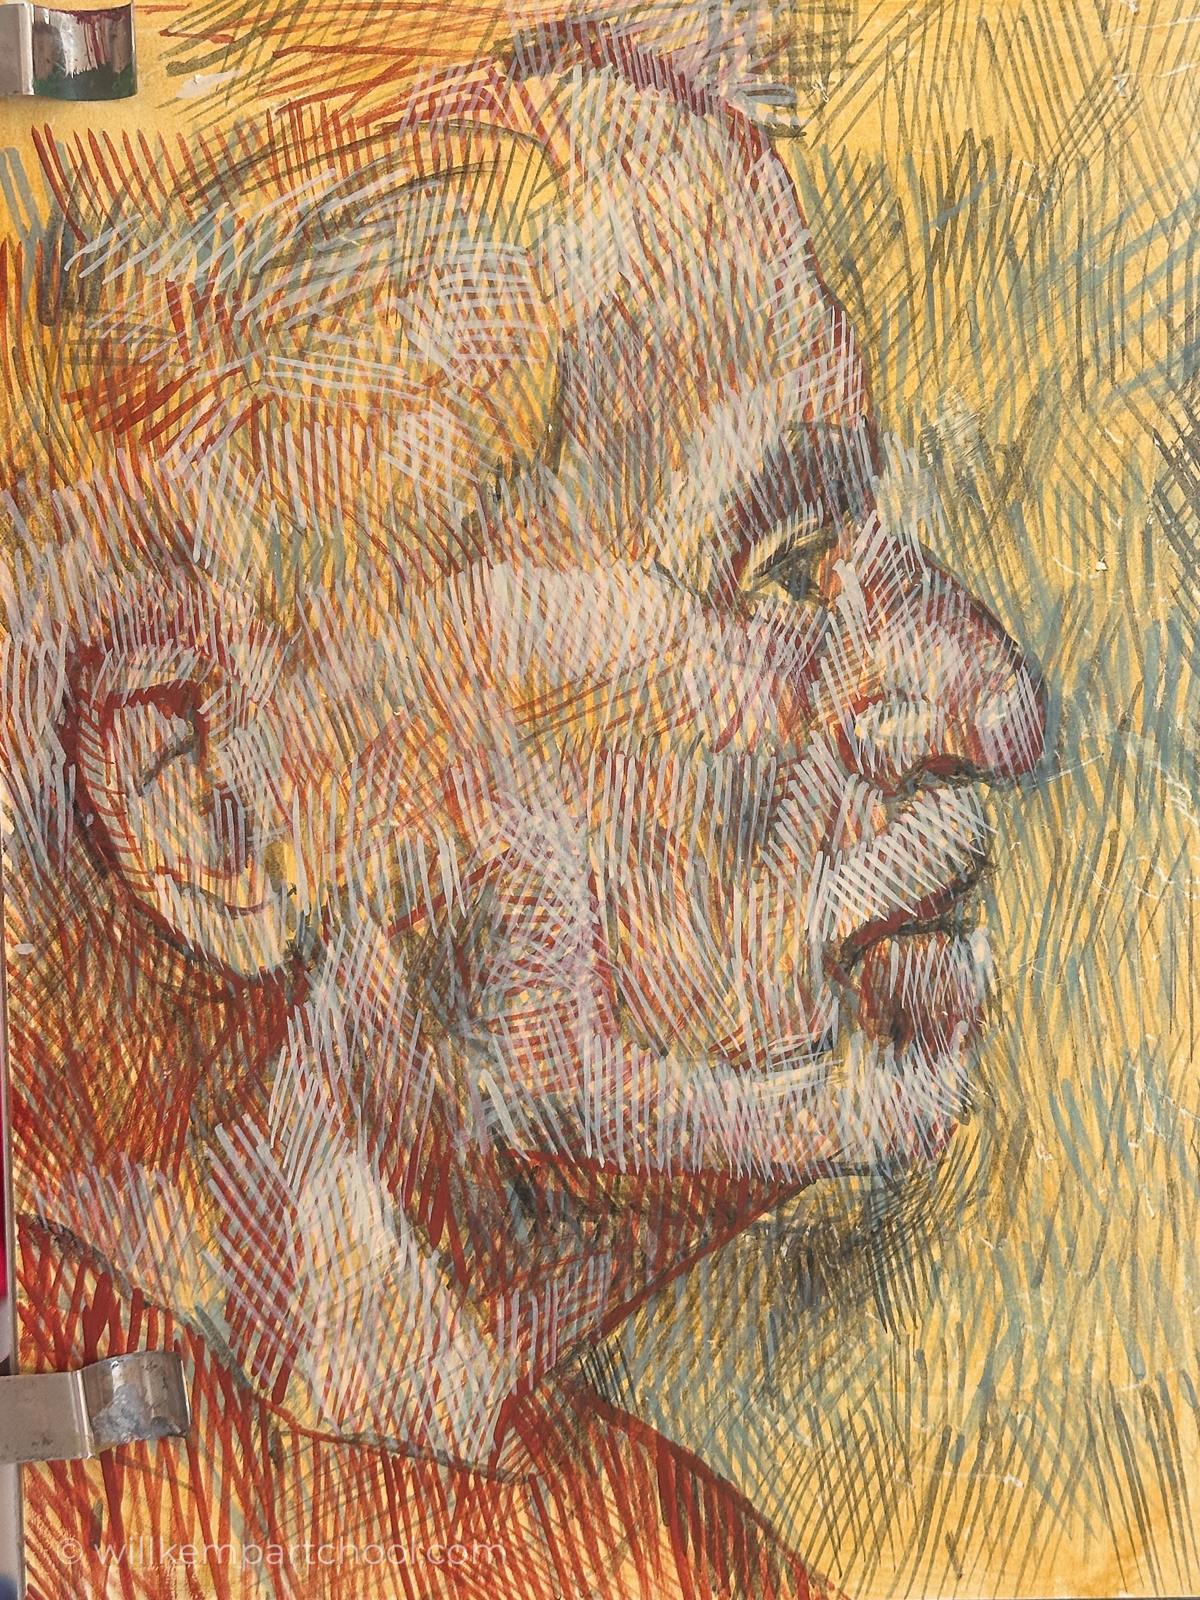
We then introduced Titanium White, working over the surface with the same delicate, fine brushstrokes. This let me gradually build up the lighter tones and focus more closely on the relationships between light and dark in the portrait.
By carefully placing these lighter marks over the underlying colours, I could strengthen the sense of form and volume while still letting the earlier layers show through.
Glazing down
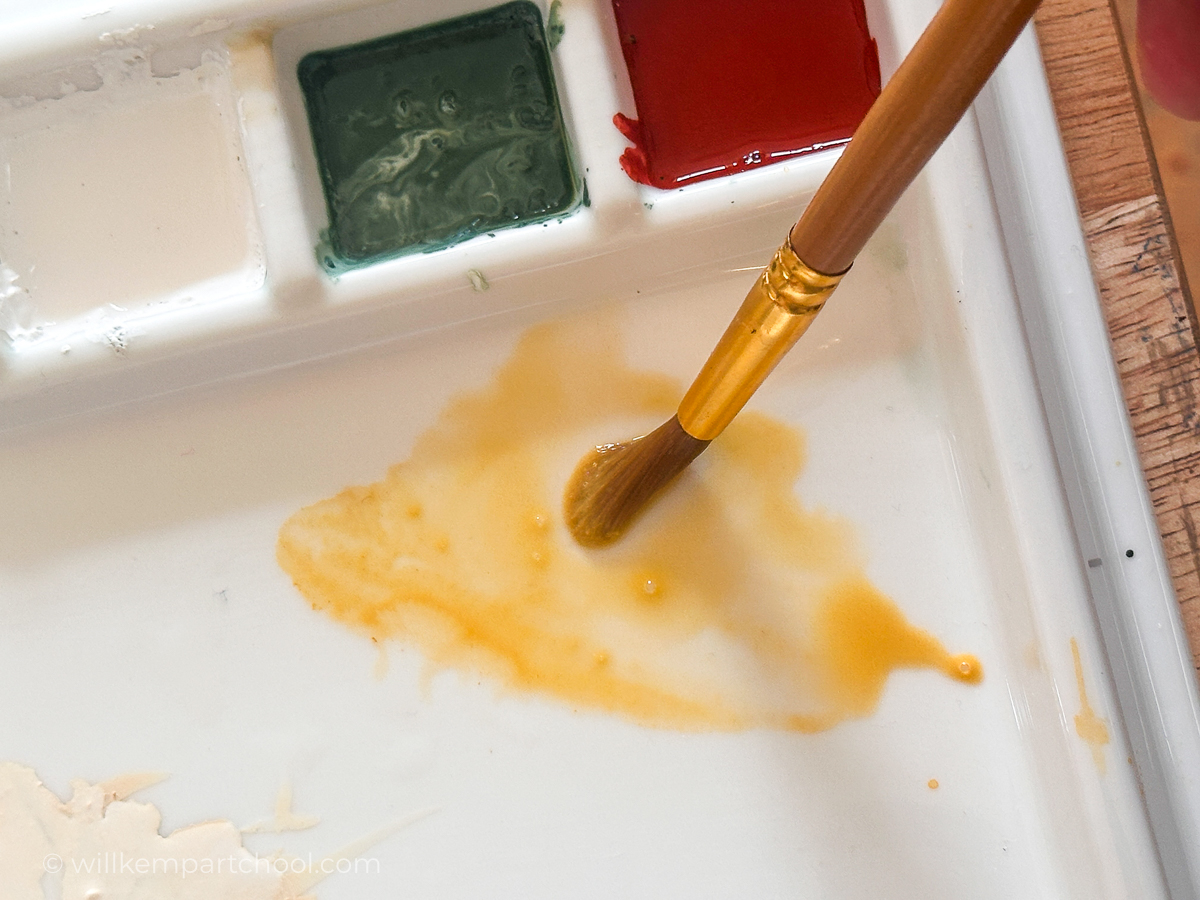
We then went back to the yellow ochre and made a really diluted mix to glaze down areas and bring them together.
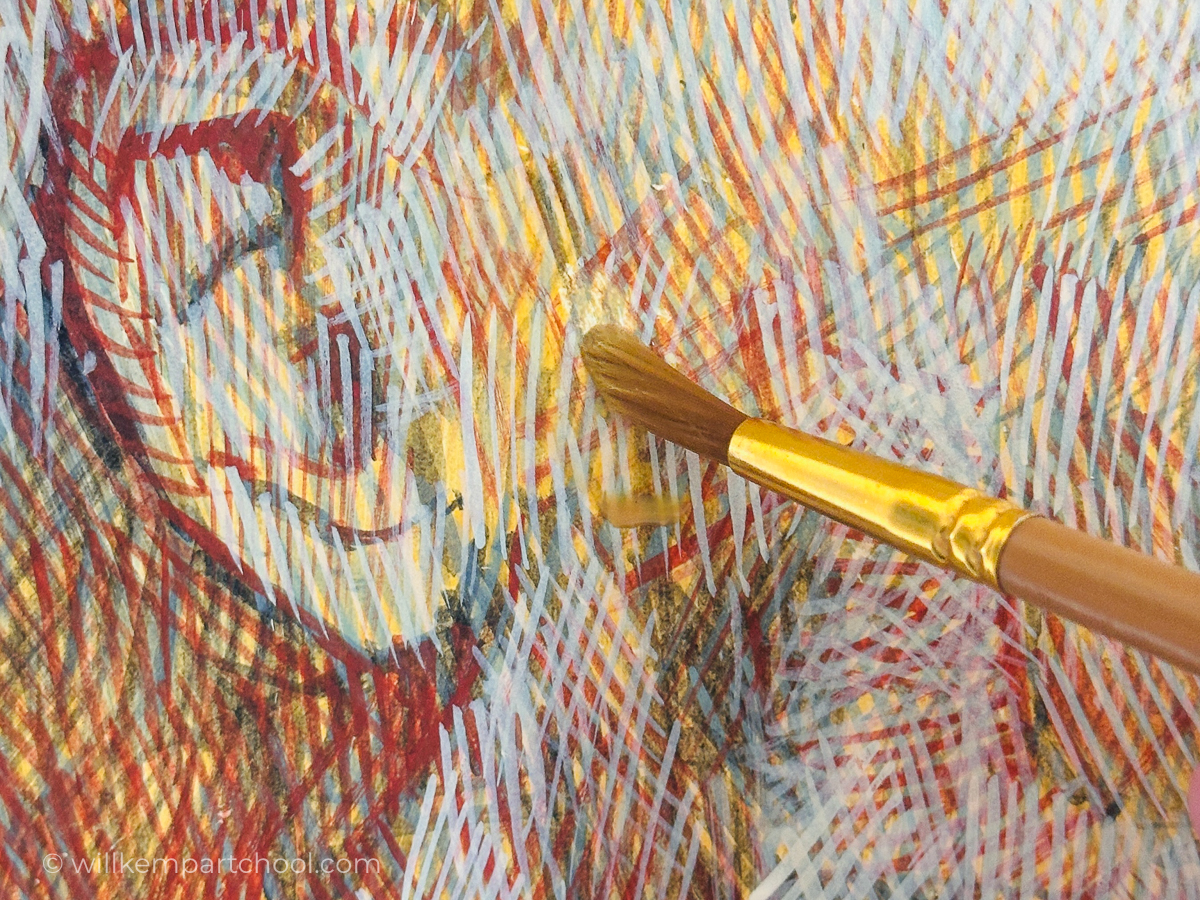
For this, I used a larger soft watercolour brush, and just like glazing in acrylics or oils, it adds a glow and harmony to that area.
It became a method of building up areas and knocking down.
Don’t mix pink
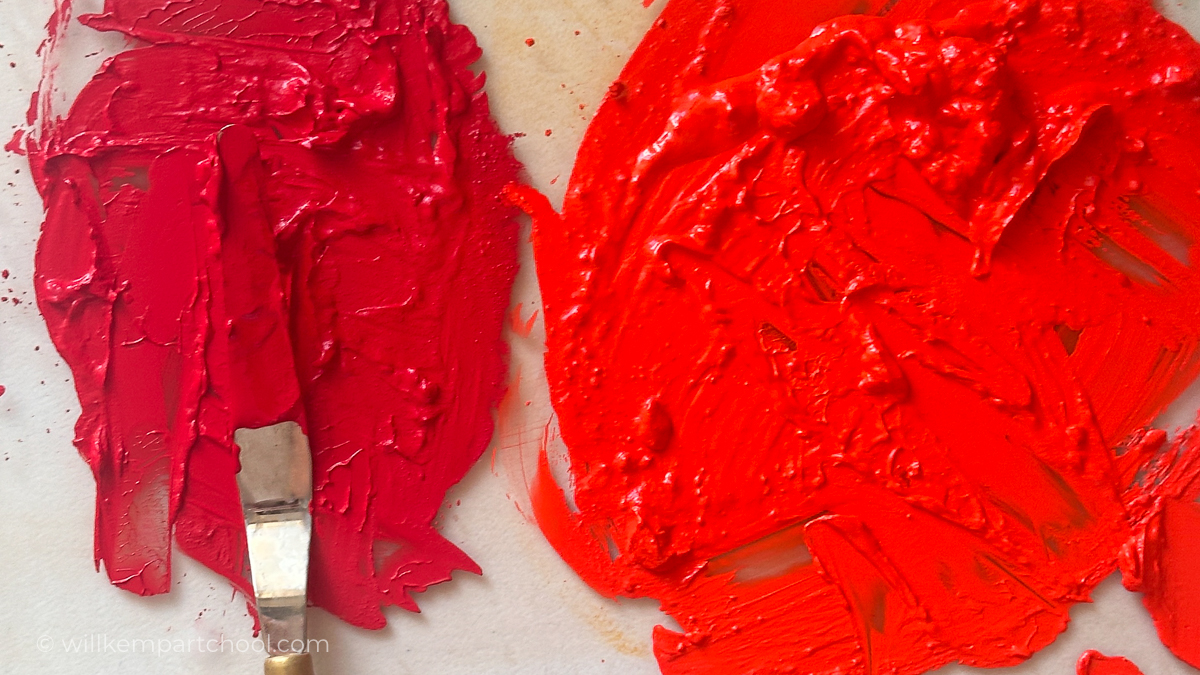
Cadmium Red Deep and Cadmium Red Egg Tempera
We then expanded the palette to include Cadmium Red and Cadmium Red Deep. I initially thought we’d approach the painting more like traditional portraiture, mixing pinks and oranges to capture the warmer flesh tones.
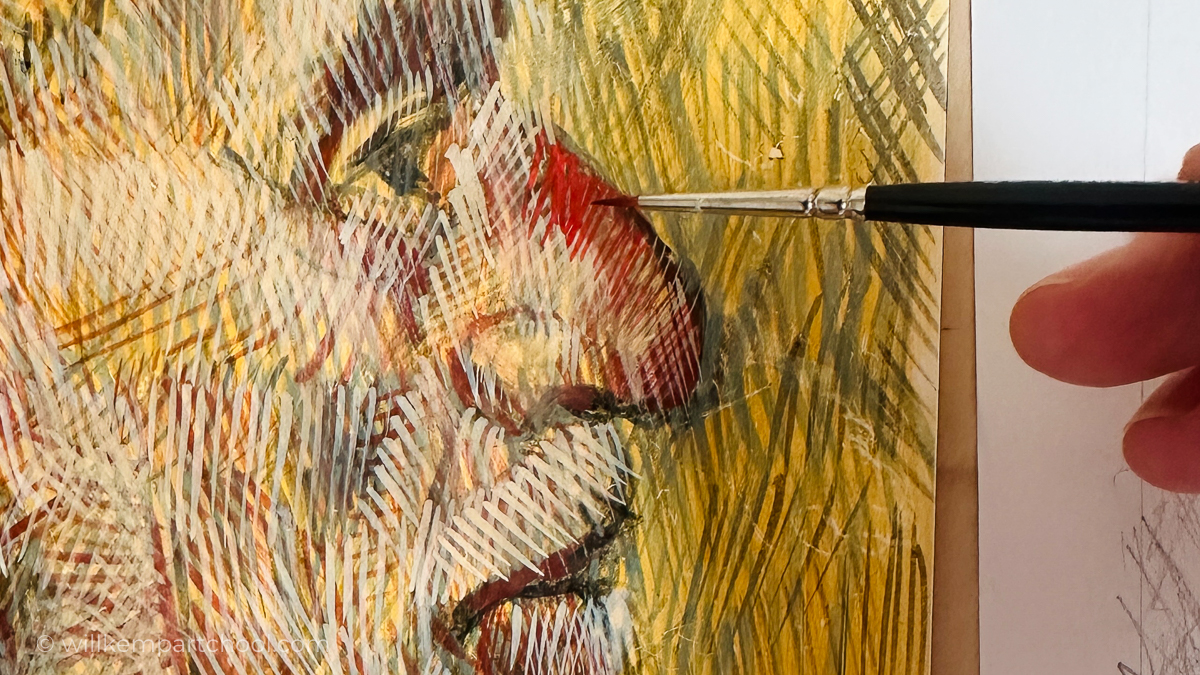
But what was interesting was that, rather than mixing these colours on the palette, we began building them up through layers. We’d apply a lighter colour, like the white, and then introduce red over or alongside it, letting the colours interact optically rather than mix them physically.
We were allowed to mix White and Yellow Ochre! But no mixed oranges or pinks. Instead, the aim was to create the impression of these colours by layering and placing the individual pigments next to one another.
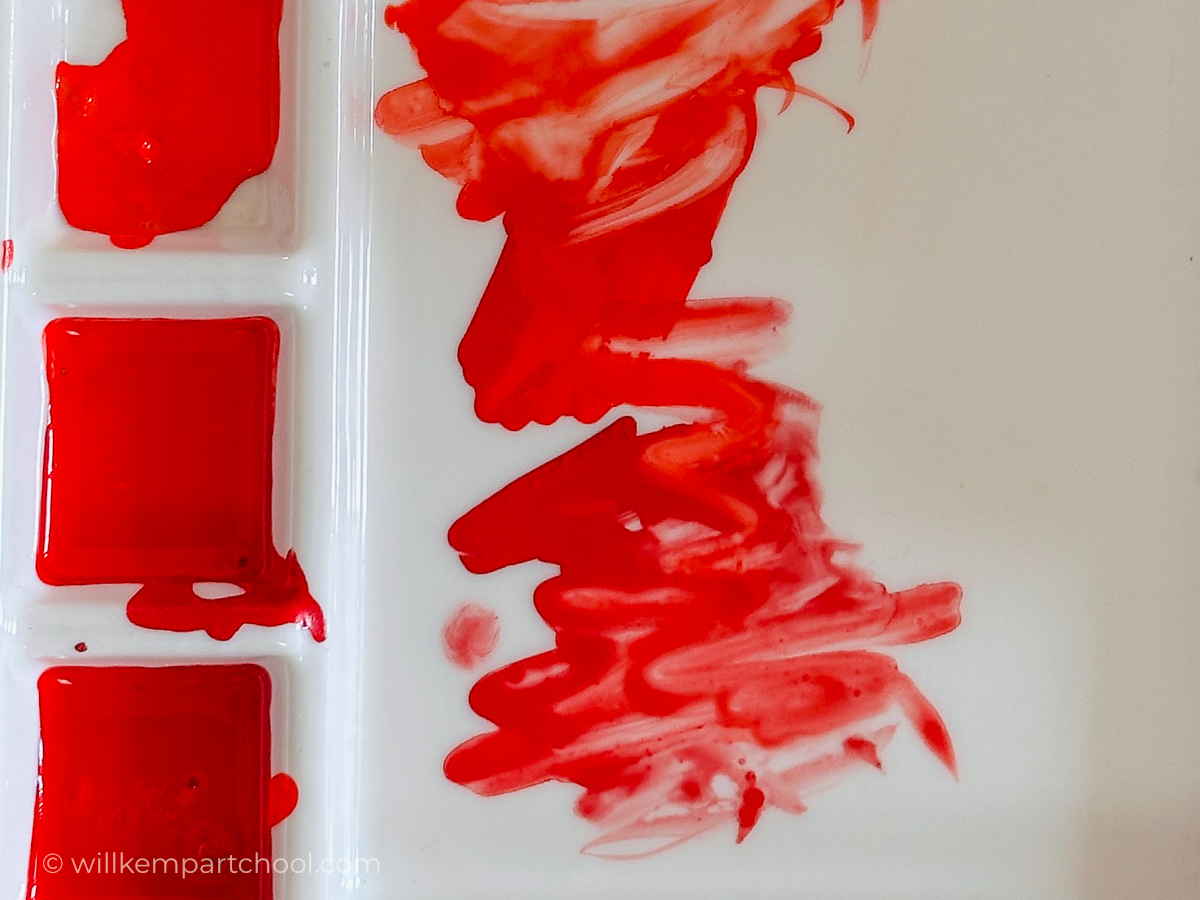
By mixing Cadmium Red Deep and Cadmium Red, then diluting with water, you can achieve a surprising range of subtler tones.

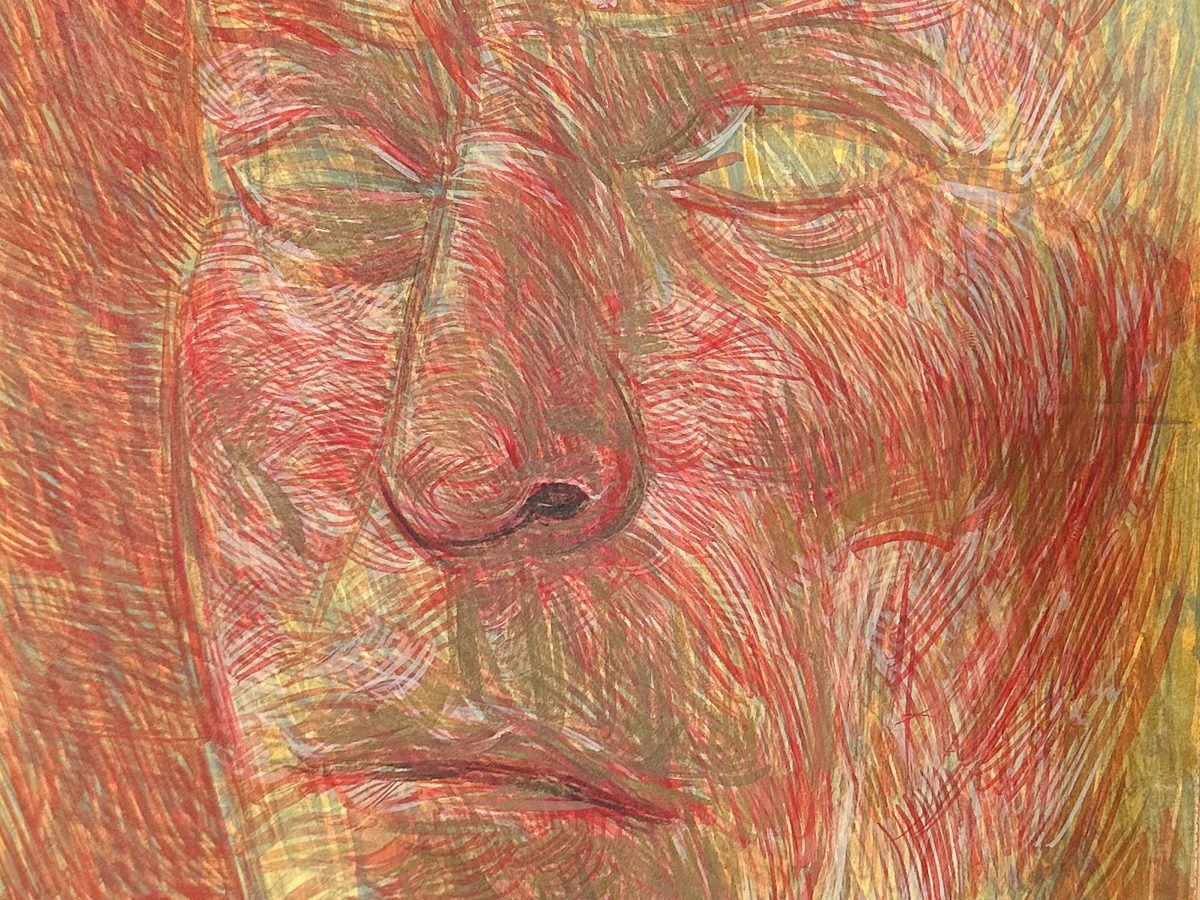
Here’s a close-up of Antony’s demonstration. Notice how the individual brushstrokes beautifully follow the face’s contours, creating a lovely rhythmic pattern.
Rather than simply cross-hatching in different directions (which I found myself doing), I carefully placed each mark to describe the underlying form. You can see the strokes gently curve and change direction as they move across the surface, building a sense of volume and structure.
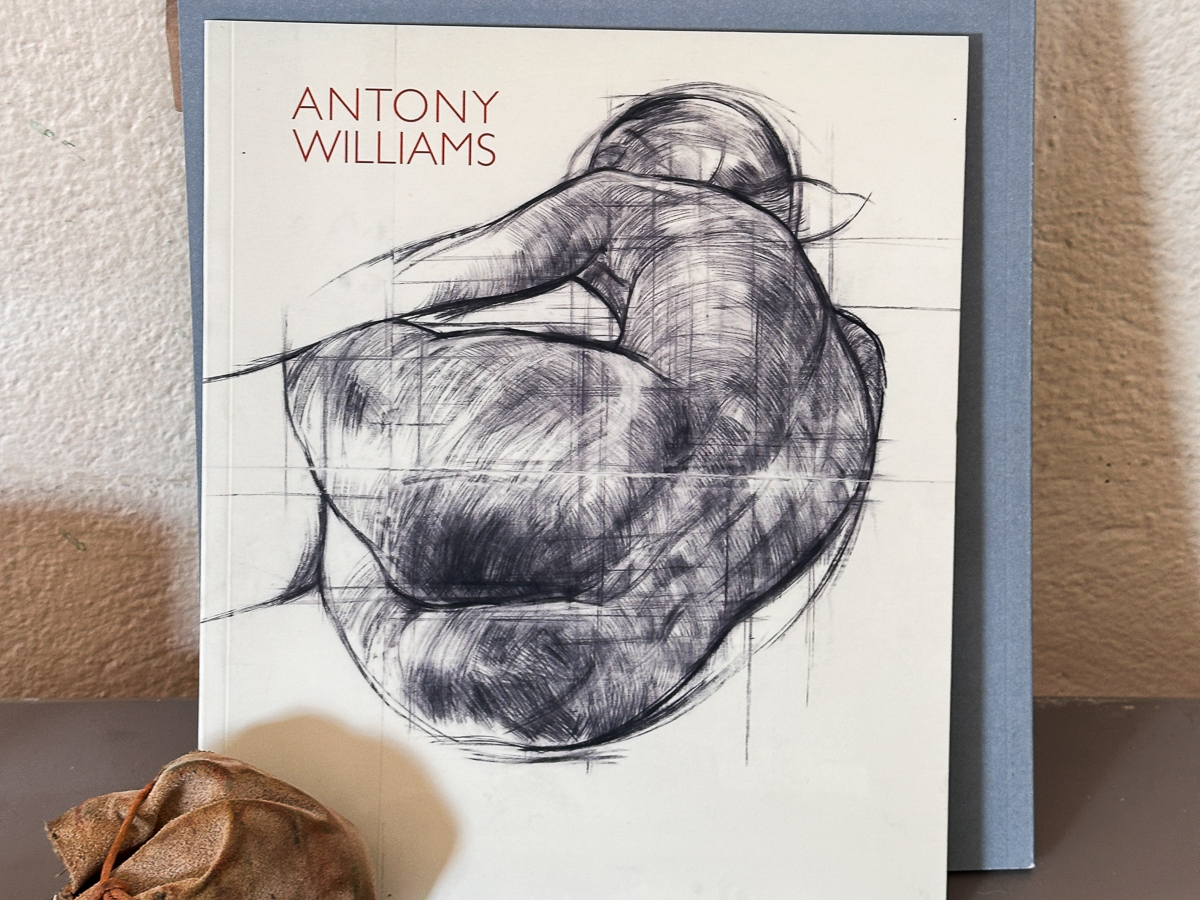
You can see this same dedication to understanding three-dimensional form in one of Antony’s drawings. Notice how the marks change direction to follow the contours and flow of the shapes, creating a wonderful sense of depth and movement.
Antony explained just how integral drawing is to his painting process. He often spends considerable time developing a drawing, carefully studying his subject’s structure and form, before using it as the basis for his painting rather than working directly from a photographic reference.
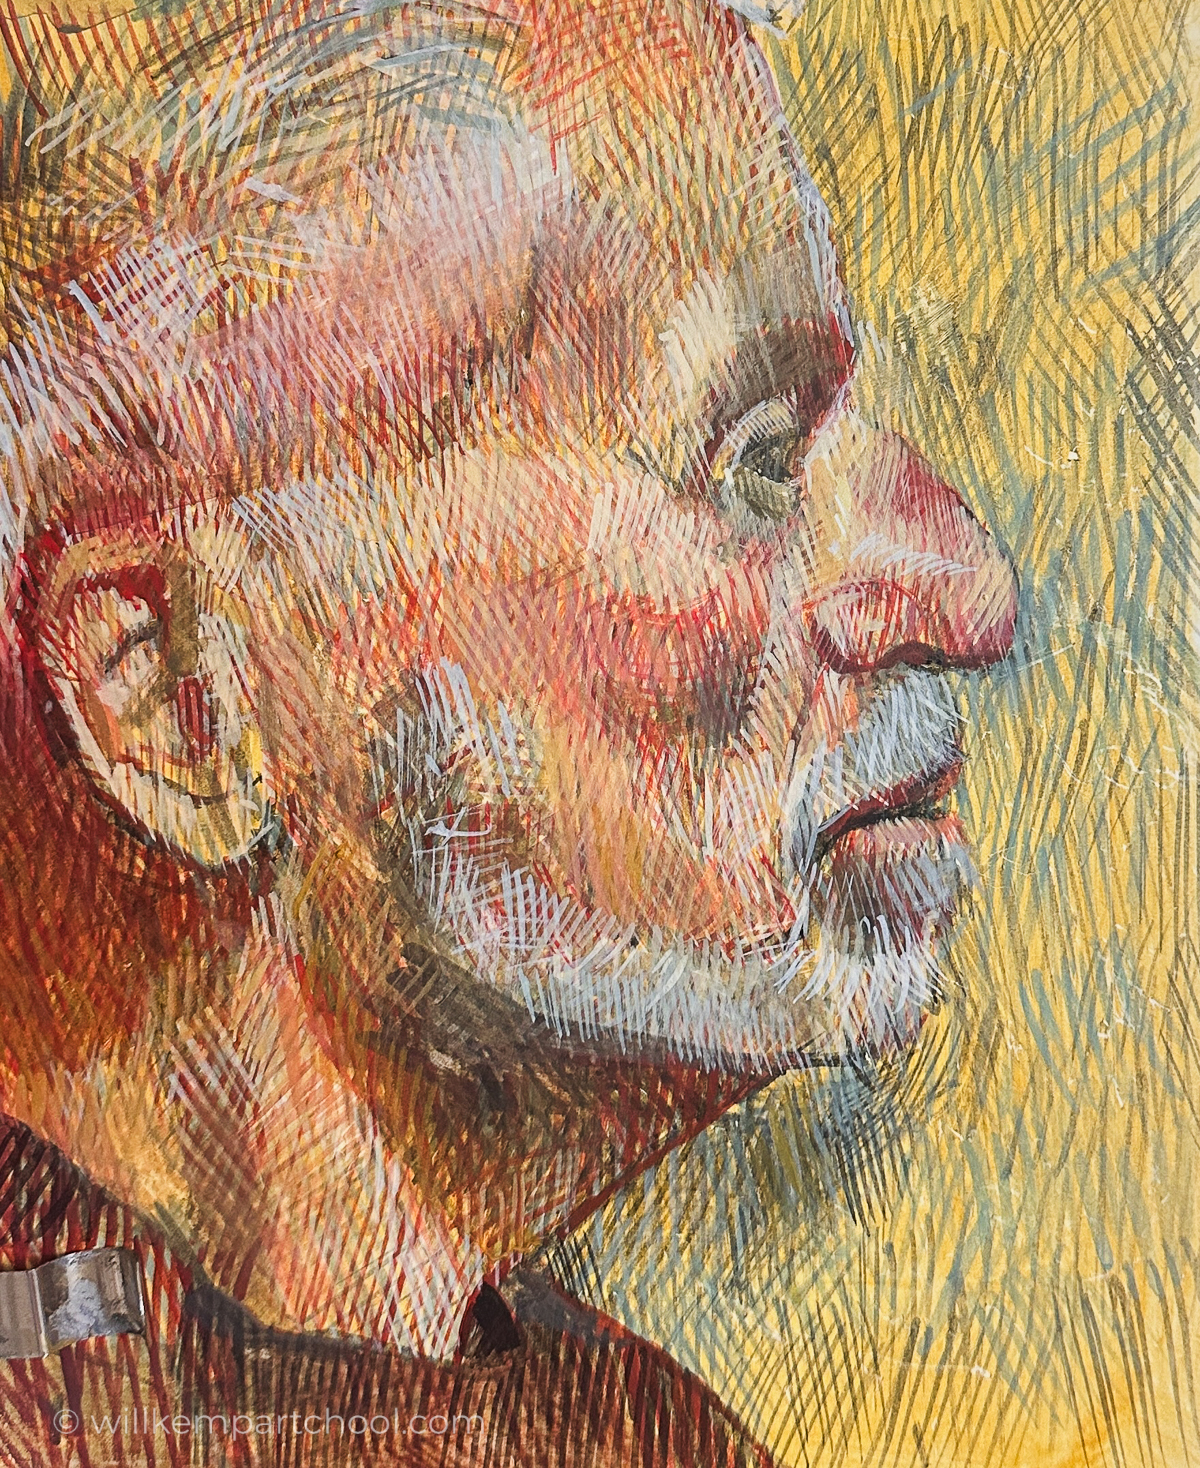
Here you can see the build-up of the cadmium red mark on my portrait of Adam
I then continued refining the portrait, using a mixture of Yellow Ochre, Ivory Black and a touch of Titanium White to adjust the tones. It became a gradual process of darkening certain areas before building the lighter values back up again, slowly developing the form through successive layers.
And this is one of the fascinating things about egg tempera. There’s a wonderful sense of building and refining the painting over time, with each new layer adding subtlety and depth. Anthony mentioned that some of his larger paintings can take up to a year to complete, which gives you an idea of just how much patience and careful observation go into his work.
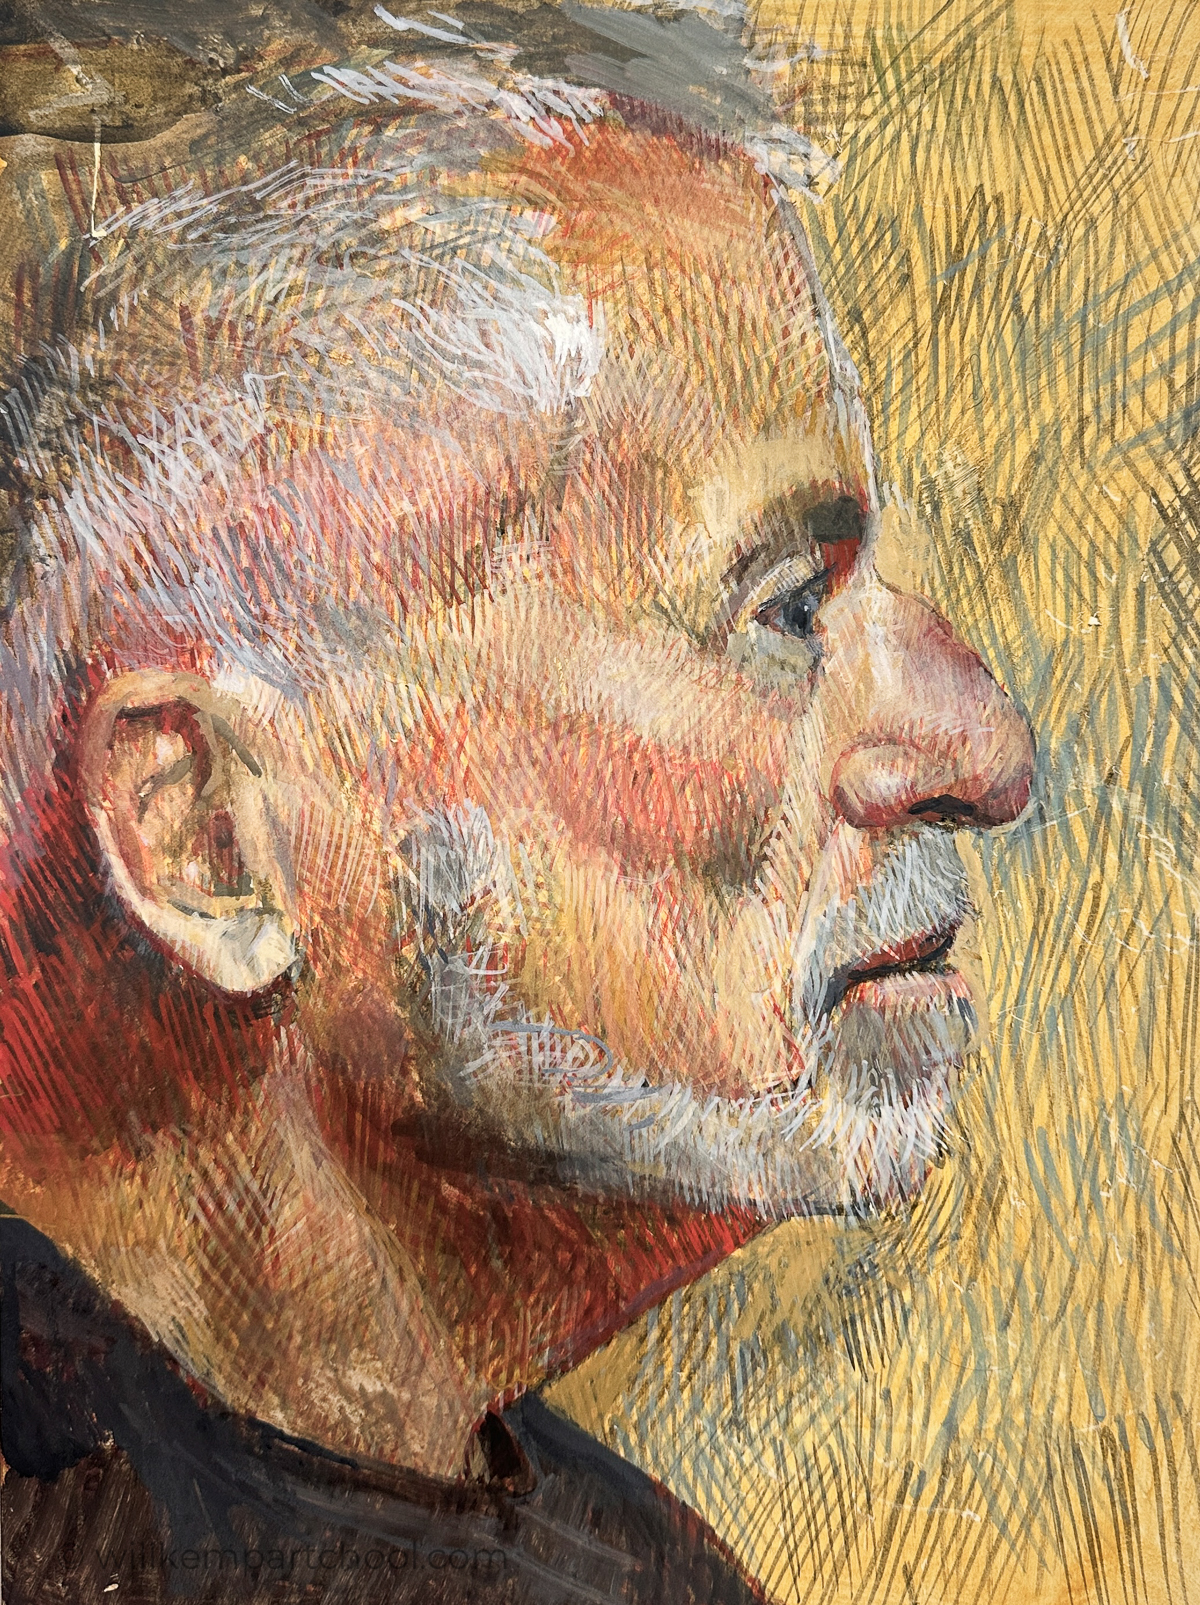
Here is my portrait from the workshop at the end of Day 3.
What I found fascinating about this egg tempera workshop was how we created such a sense of volume and form using tiny, individual brushstrokes without blending them.
It also gave me a new appreciation for working with smaller brushes. At one point, I was using a 5/0, which is absolutely tiny!
But I think one of the biggest things I took away was the importance of trusting the process. By concentrating on each stage, rather than worrying about the finished result, everything gradually came together.
It’s a reminder that sometimes the best thing you can do as a painter is to slow down, enjoy each stage and let the process do its work.
I’ve come away with a whole new appreciation for the technique, and plenty of ideas I’m looking forward to experimenting with in my own paintings!
Have a great week,
Will

A panettone reward for all that concentration!


How interesting! How long does the mixed paint last in the palette? Did you have to mix new every day?
This is reminiscent of Van Gogh’s portrait style.
The other less well known medium (that i have never used) is casein. Andrew Barrowman uses it a lot of the time for plein air sketching.
Hey Roger, Nice to hear from you. Yes, the paint in the little well of the watercolour ceramics stayed workable for a couple of days, and we had a fresh egg yolk every day for mixing any new paints we needed.
Will
Will, this was an amazing video. I can see that patience is paramount. Your final painting is extraordinary. Not sure I will attempt the process at this juncture in my painting career. Thank you for sharing. I gave my sister a lesson of yours for her birthday. After a year she finally started painting and has done an exceptional job on it. Again thank you for your ongoing instruction. I truly enjoy how you start a lesson by saying, “Now get a biscuit and a brew” and start painting.
Glad you’ve been enjoying the lessons Shirley.
Great Read….many valuable lesson for a “beginner” drawer!
Cheers Tim
That was an amazing painting class you took! Thank you for sharing all the steps.
My pleasure Suzanne
What a great article! Thank you for sharing. I can see how patient someone needs to be to appreciate this medium. You did a great job for a three day workshop. Now I wonder if possible with just acrylics or water based oils. Maybe you should create a class with one of these mediums but might be an insult to the tempura medium!
Glad you enjoyed it Sharon, yes, you could adapt the lessons with acrylics due to the speed of drying.
Thanks Will. As a kid long ago I remember my Dad painting with paints called Casein. He said they were made from eggs. I thought he was joking.
Hey John, Casein uses a milk protein as a binder, whereas egg tempera uses egg yolk mixed with pigment.
Thanks Will. So interesting, as always. Maybe I will finally pick up my brushes again. You are so inspiring!
For sure Stephanie
Thanks for this! Your portrait is wonderful.
Glad you enjoyed the article and portrait Eileen.