
One of the fastest ways to improve as an artist is to get into the habit of checking your own work as you make it.
That might sound obvious, but it is one of the biggest differences between a beginner and a more experienced painter.
A beginner often keeps painting, hoping the piece will somehow come together. If anything, desperately picking up the pace when things start to go ‘out’.
A more experienced artist stops. Then checks, then adjusts.
That practice changes everything.
Progress in painting is not about learning new techniques. It is about learning to see. The more accurately you can judge your own work, the less dependent you are on guesswork or hoping for the best.
You start to spot small problems before they become big ones. You notice when a drawing is leaning, when a value is too light, when a shape is too wide.
And once you can see the problem, you can usually fix it.
That is why artists have always used simple checking tools to sharpen their eyes. Not because they lacked skill, but because they understood something important:
Your brain gets used to what it is looking at.
After staring at a painting for too long, mistakes can begin to disappear. The wonky ellipse looks normal. The portrait that is slightly ‘off’ starts to feel convincing. The unbalanced landscape composition seems ok, because you’ve looked at it for an hour.
A mirror breaks that familiarity.
It reflects the painting back to you in a way your brain has not yet memorised.
And suddenly, you can see it again.
A Long Tradition of Looking Backwards

Artists have been using mirrors to train their eyes for hundreds of years.
Leonardo da Vinci famously wrote many of his notes in reverse, readable only when viewed in a mirror. He also used the mirror as an aid to his painting.
“When you are painting, you should take a flat mirror and often look at your work within it. It will then be seen in reverse, and will appear to be by the hand of some other master, and you will be able to judge of its faults than in any other way.” – Leonardo da Vinci, 1452-1519

Landscape painter Claude Lorrain took the idea even further. He used what became known as a “Claude glass”, a small black mirror that artists would hold up to the landscape. The dark reflective surface simplified the scene, reduced the colour intensity, and flipped the composition.
The result was a landscape that looked immediately more painterly.
The mirror helped him see the big shapes and tones rather than the distracting details.
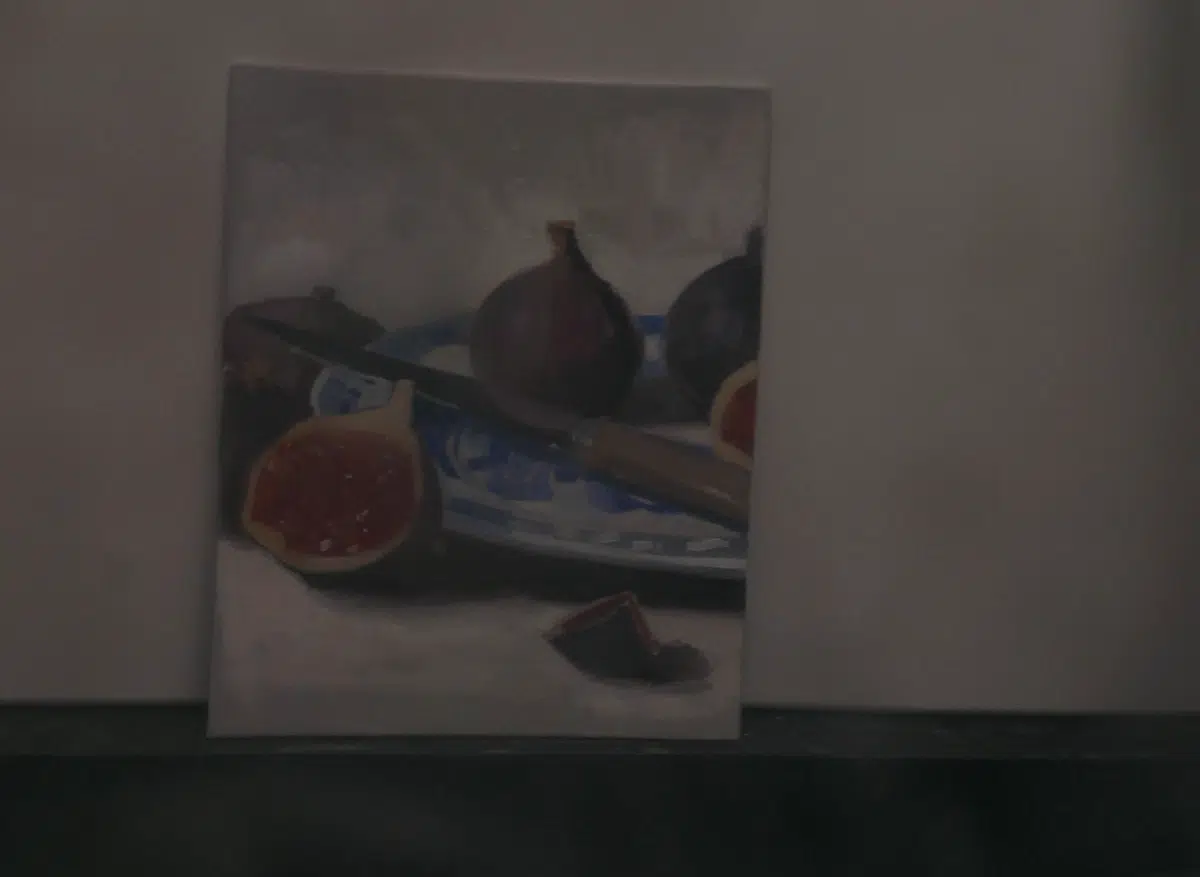
Here is the reflected image in the shiny black surface. Notice how everything is more muted, but you can still see the main areas of light and dark contrast. This is particularly helpful if you’re painting outside, because you’ve got the strength of the sunlight and you can start to see really clear black and white compositions that will work. It’s a bit like designing in notan.
Thomas West explained:
“The person using it ought always to turn his back to the object that he views. It should be suspended by the upper part of the case … holding it a little to the right or the left (as the position of the parts to be viewed require) and the face screened from the sun.” He recommended carrying two different mirrors: “one to manage reflections of great and near objects and a flatter glass for distant and small objects.”[1]
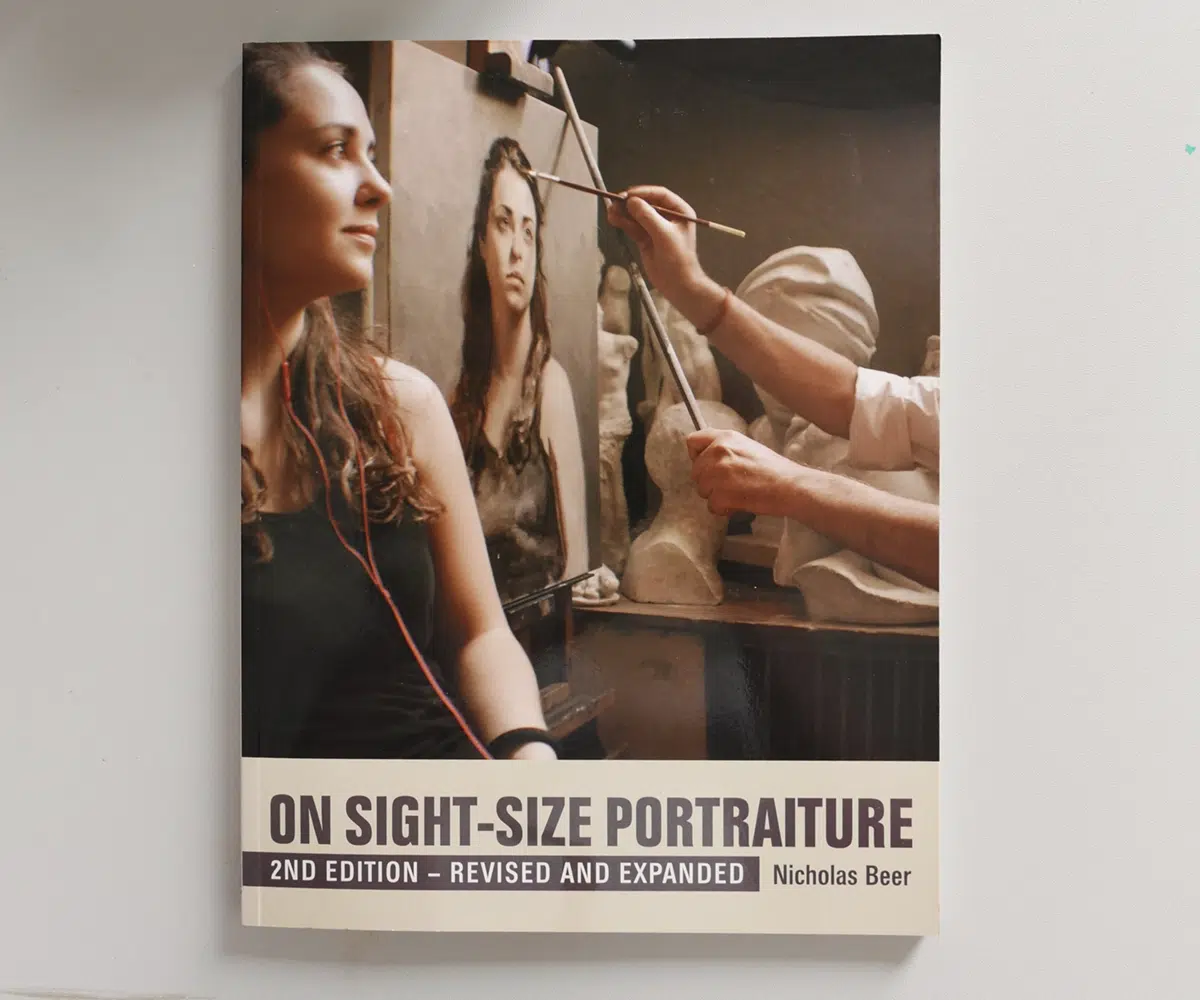
On Sight-Size Portraiture by Nick Beer. A great book looking in focus at the art of sight-size painting. Nick Beer runs workshops on Sight-size at a fab studio at Sarum Studios in Salibury Wiltshire.
In academic ateliers, mirrors still play an essential role. When students draw or paint a portrait using the sight-size method, a mirror is almost always nearby. Every few minutes the artist turns the work around and looks at it reversed.
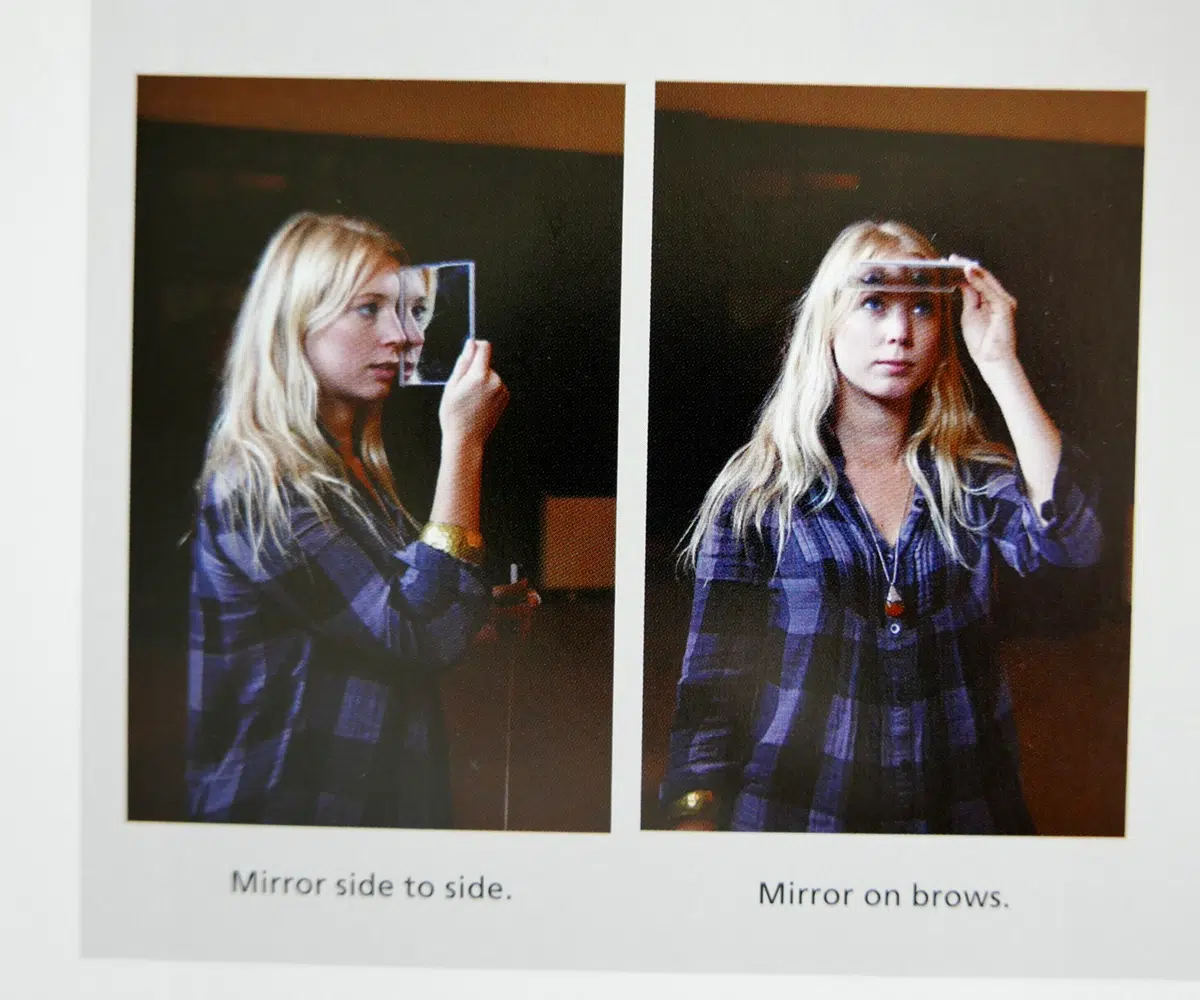
Examples, from On Sight-Size Portraiture, showing mirror position that can be used when looking at your subject and your painting at the same time
It is not a trick.
It is a diagnostic tool.
The mirror gives the artist a fresh pair of eyes without needing another person in the room. It interrupts the habit of looking passively and turns looking into active checking.
And that is where real improvement begins.
Once you start checking your own work, you build an internal feedback loop. You make a mark, step back, compare it, question it, and adjust. Over time, that process becomes quicker and more intuitive.
You become less attached to the first version of something.
You stop seeing corrections as failures.
You begin to understand that every adjustment is part of the painting process.
Good paintings are not made by getting everything right the first time. They are made by noticing what is not working and being willing to change it.
A mirror helps you notice sooner.
And the sooner you notice, the faster you progress.
Have a great weekend,
Will


Excellent article Will! Another tool for refining our work before it gets out of hand & a “fresh pair of eyes” to help us detach & see where we can improve! I will have to track down this black mirror & a few other mirrors, mentioned. Thank you for giving us the tools to self correct our mistakes & improve our outcomes in the end product.
So true Nicole, yes I use a normal mirror the most and the homemade black mirror more to get a general feel of the big impressions of the lightest and the darkest shapes.
Hi Will,
Thanks for this tip. I’m constantly seeing mistakes or anomalies too late in the painting process and either spending hours working through them or abandoning ship. I teach my own classes so will pass this tip on.
Many thanks,
Chris.
Great stuff Chris, hope you find it helpful and your students try it too, can be so helpful.
Cheers,
Will
Excellent advice Will! I have a large mirror on the wall of my studio and use it constantly to look at my paintings as they progress. I also find it invaluable to help decide on cropping my watercolours before framing. Any compositional weakness is immediately noticeable.
Hey John, yes having a large mirror set up in the studio can be really good just for flicking your eyes to it without having to constantly grab a smaller mirror. Out of interest, when you’re deciding on the crop, are you using cut out mounts for the different sizes or are you looking at it as a whole to see where you’re going to crop the piece?
Most enlightening. Thanks
super helpful, thanks Will
Will be trying that this week, always need a fresh pair of eyes