
Absolute Beginners Drawing Course

(Scroll down ↓ to Add to Cart
Ever wanted to learn how to draw?
Have you daydreamed of just picking up a pencil and sketching? But inside, there is a lingering doubt.
A distant memory of a school teacher who told you once you were bad at art. An inner critic that holds you back…. Even before you begin.
But what if you could learn to draw? Wouldn’t you give it a try?
This course has been designed to help frustrated artists find a way to express themselves by drawing with confidence.
Anyone can learn how to draw and success comes down to clear explanations and logical progression, learning the concepts and techniques of drawing – not natural talent.
Over 3 hours of tuition, you’ll go on a creative journey to discover that you can pick up a pencil, wherever, whenever & actually start drawing!
Each step-by-step tutorial is built on the simple principles of shape, simplicity and structure, combining drawing theory and practical examples with worksheets and drawing practice.
You’ll learn about line, value, tone, negative space and perspective and come away with the confidence to start making drawing a daily habit.
£57.00
- Description
- Lesson Breakdown
- Course Delivery
- Course Requirements
- What Students Say
- Student Success
- Gift Card
- FAQs
Description
A solid step-by-step foundation course
I believe anyone can learn how to draw accurately and realistically – without years of gruelling study.
I’ve developed this easy to follow, 7-part online downloadable video course, to help frustrated artists really understand how drawing works.
You will go on a creative journey to learn how to ‘see like an artist’ and learn how to confidently pick up a pencil and draw any scene in front of you.
Imagine gaining a new perspective on the world, ‘seeing’ drawings and compositions around all you!
With years of teaching experience, I want to give you a clear explanation and logical progression so anyone can learn the concepts and techniques of drawing.
With over 3 hours of video tuition, I want you to have that ‘a-ha’ moment and really ‘get drawing’.
The 3 things that are holding you back from learning how to draw:
#1 You think you can’t draw
- You think you can’t draw but it is a myth that artists are born being able to draw, it is a skill that can be learned.
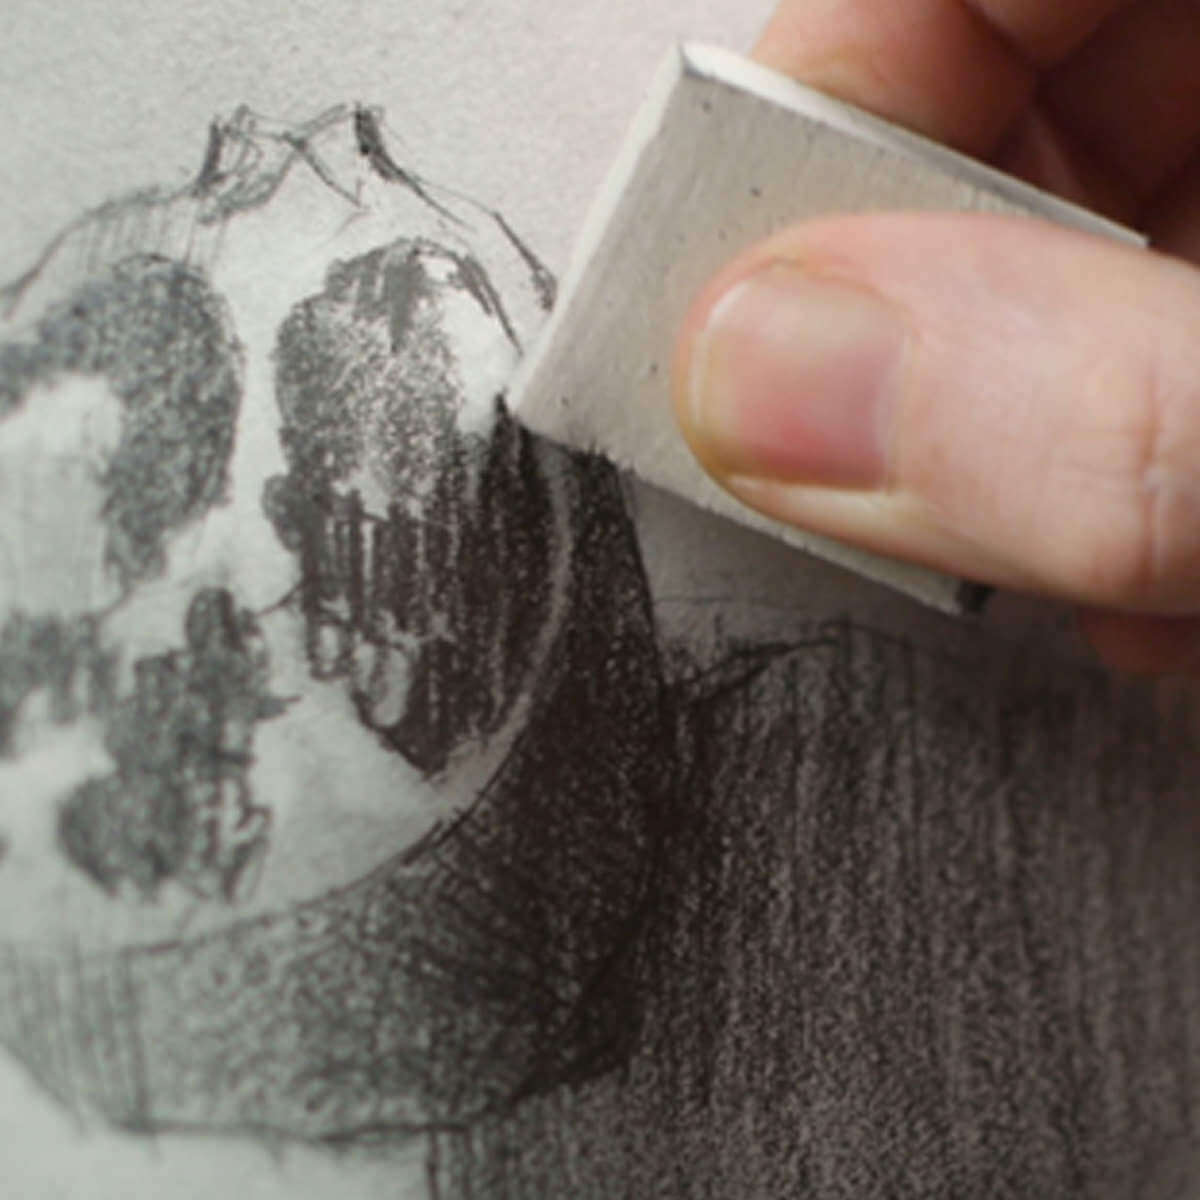
- Erasers are not the enemy, in fact, they can be key in shaping your work.
- It takes a change in perception, not a new pencil!
#2 You don’t know what to draw!
- This course stops procrastination by giving you bite-sized video tutorials that produce successful results.
- Done for you – compositions and perspective lessons made easy, to give the best results possible.
- Downloadable high-resolution home study worksheets to print out and work from.
#3 Lack of time
- No planning is needed, everything has been worked out to produce the best results in the shortest amount of time.
- Downloadable lessons, so you have the control to repeat sections you might need to go through twice, giving you the choice of when to study.
- The breakthrough when to ‘get drawing’ happens in an instant.
Learning to see with an artist’s eyes
I know what you’re thinking… Sure.. you’ve taught some people to draw but they were already ok and I’m really bad… I mean so bad I draw stickmen and even they’re wrong!
Well, I can tell you, if you can sign your name, drive a car or catch a ball, then you can learn to draw.
It is not the ‘holding the pencil’ or ‘choosing the right paper’ it’s a question of learning to see … really see.
“In spite of everything I shall rise again: I will take up my pencil, which I have forsaken in my great discouragement, and I will go on with my drawing.”
Vincent Van Gogh, Artist
In my opinion, drawing success comes down to 3 specific things, shape, simplicity and structure.
I want to focus on a very specific, yet simple set of principles that will give you instant results and the confidence to say ‘I know how to draw that’, even if your practical skills haven’t yet caught up with your new drawing knowledge.
The pleasure of drawing is in the adventure itself.
I hope to show you there is even pleasure derived when dealing with the pitfalls, the near misses and triumphing over perspective.
I can’t tell you how many drawings I’ve done, that at the time I thought were perfect but on reflection, my vision was somewhat distorted! I was so happily absorbed in their creation and thrilled to see something clearly for the first time and say, “I’ve never seen that before!”
- Shape – by focusing on the shapes of the objects (and more importantly the shapes between the objects) you will be able to view drawing a subject with a whole new outlook and focus.
- Simplicity – I’m keen on you getting results. So I want to concentrate on simple subjects and drawing techniques that will teach you the fundamentals of drawing yet still be very powerful when used together.
- Structure – by delivering each lesson in a logical progression, you will have a step-by-step structure that is easy to follow, without being overwhelming. Each lesson is split into 2-3 chapters alongside worksheets and drawing assignments.
I’ve taught drawing for over 10 years and all my students have had amazing journeys, from going on to study Fine Art Degrees to selling their work.
But what all of them gained was a new outlook on the world.
A transformation from wanting to draw, and feeling like it was an unattainable goal, to see like an artist and a holiday album full of sketches rather than photos.
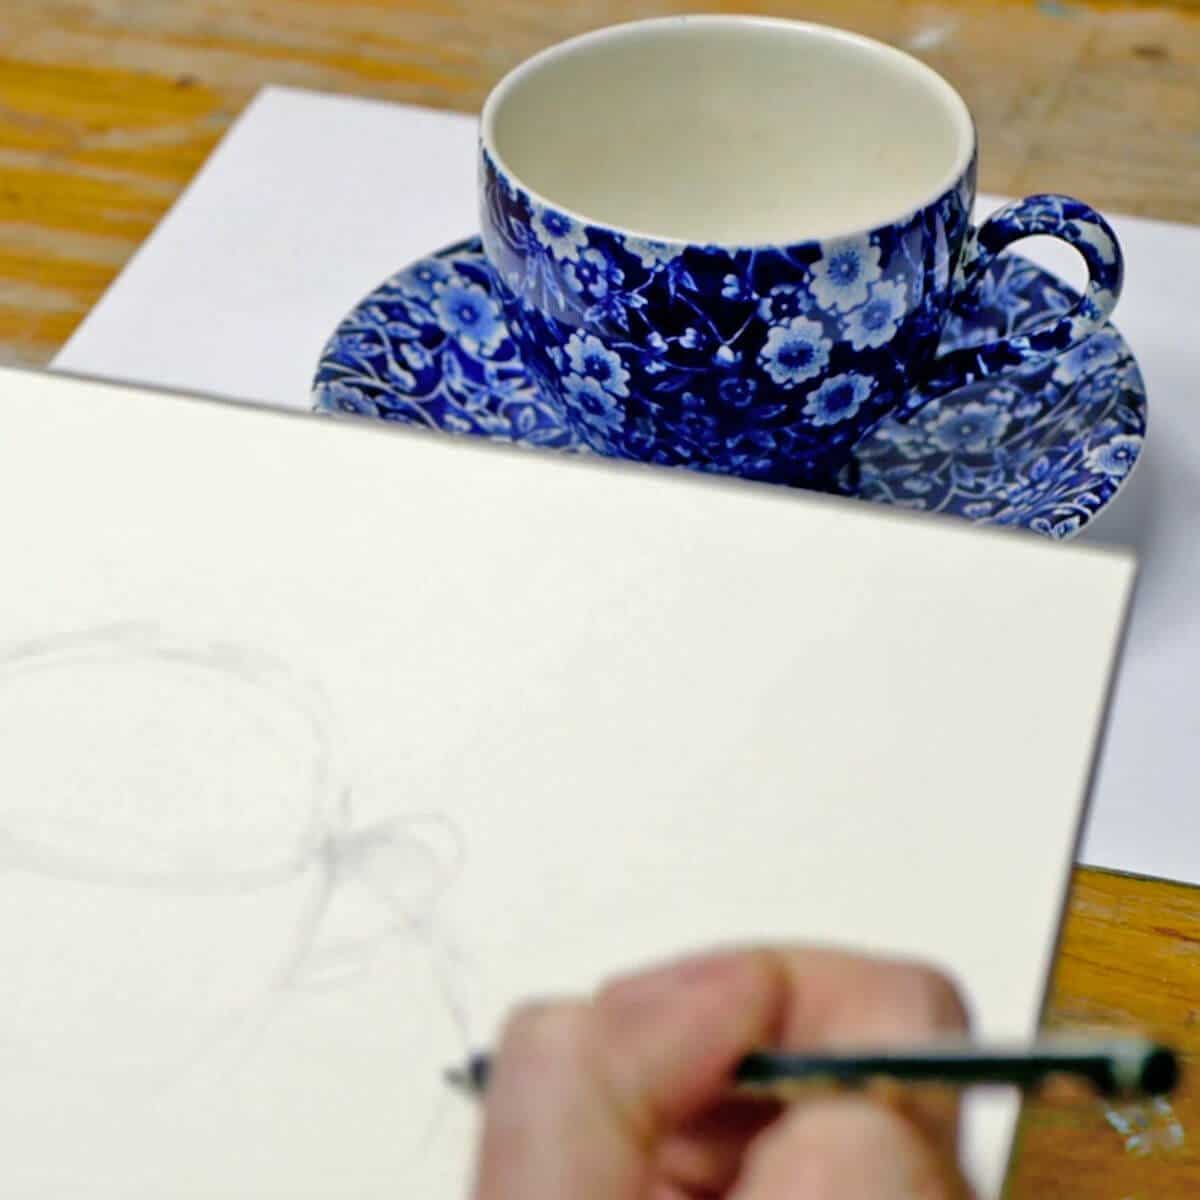
The absolute beginner’s drawing course goes through the theory behind how drawing works and then introduces the basics, from choosing pencils, paper, etc, to developing a still life drawing. We work through a series of still-life projects using downloadable reference images.
What’s in the course?
- Downloadable JPEG reference images and a full materials list
- Over 3 hours of detailed video instruction
- Lifetime access, downloadable on separate devices
Lesson Breakdown

Lesson One
Welcome & Materials Overview
A visual introduction to all the materials and understanding how to ‘see’ like an artist.

Lesson Two
The Importance of Line
Understanding line, using tools and frames to help guide your first drawings and composition.

Lesson Three
Value & Tone
How to get the best tone from your pencils, introducing a value strip and learning how to create contrast with a tonal ground study.

Lesson Four
Simple Composition
Learning about ‘negative spaces’ and simple composition, understanding the relationship between objects and using negative space to create powerful compositions.

Lesson Five
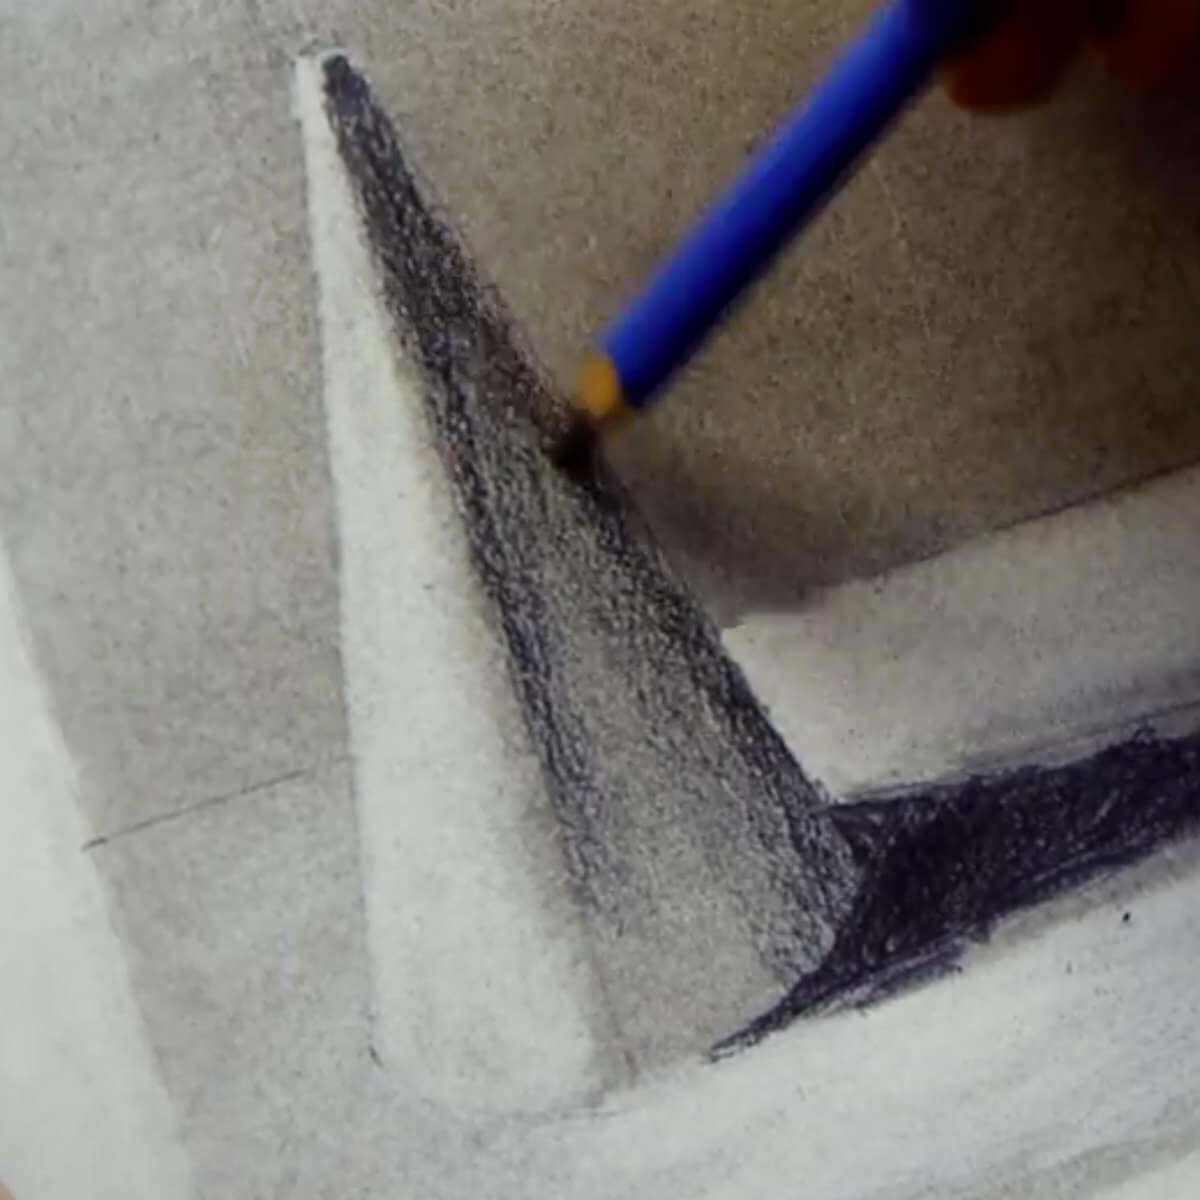
Perspective without Pain
Introducing scale and using a unit of measurement for simple perspective. Looking at different viewpoints and understanding angles.

Lesson Six
Light Logic
Discovering how light and shadows work to create form. Drawing with your eraser to create a three-dimensional rendering of an object with positive light shapes.

Lesson Seven
Final Project
Bringing all the elements and concepts together to create a more challenging still life drawing.
Course Delivery
I’ve taken care to film everything from my perspective so you can see exactly what I’m doing as we go through the entire drawing process in real-time with over 3 hours of video instruction, alongside full-colour photographs and drawing guides.
How is the Course Delivered?
- 7 Downloadable Step-by-Step Video Lessons – over 3 hours of video instruction that once downloaded – you have any time, anywhere access.
- A Quick Start PDF guide – which includes your materials list.
- A Drawing Downloads PDF guide – which includes all the reference images used throughout the course, alongside stages of my more detailed drawings.
- The video files are large (2GB) so you need a broadband internet connection and enough space on your computer hard drive.
Cut by the Artist
I filmed, edited, and coloured the course myself (with a little help from Vanessa!) rather than working with a production company.
Artists have different needs than editors so I wanted to cut the course like an artist, showing you exactly what I wanted to see when I was learning.
I show all the real-time pencil marks so you don’t miss a step.
Course Requirements
Requirements for the Course
A broadband internet connection – the files sizes for the video lessons are quite large (2GB in total) so can take a while to initially download (depending on your internet speed). Once downloaded, they are yours to keep forever, watch without buffering or take to the garden and watch away from an internet connection!
Enough free space on your Computer or iPad – You can download the files to a separate USB stick if you need extra storage space.
A Colour Printer – to print out the reference images or access to a Print Shop.Glossy Photo Printer Paper – I use Epson Photo Glossy.
10 – 30 min – of ‘you-time’ – You’ll need to be able to dedicate 30 minutes for each drawing demonstration, slightly longer for the later lessons.
What Students Say
I have really enjoyed the drawing school and it has made me draw more than I normally would. That is what I like about it – just the reason to get on with it.
I can’t tell you how much I’ve enjoyed this course. You’re a terrific teacher. Thanks again
What an exceptional teacher. I’ve always had a natural talent but the techniques I have learnt through this course have improved my drawing beyond belief! and in such a short amount of time!! Thank you very much!!
Brilliant! Calm, concise…what a pleasure it was to do this course! I have done other art courses but this is the only one that has seen such a huge improvement in my drawings. This is down to Will being very clear without patronizing and having a nice humour throughout. Thank you!
Will’s methodical and systematic approach to rendering and drawing is ideal for those who need to brush up on their drawing skills or for the absolute beginner who finds learning to draw/paint daunting.
Will does a great job of breaking things down into digestible bits and pieces. I am a mechanical artist and my approach is different (it has to be). The problem I always have is simplifying artwork to have a more relaxed, yet realistic look. My attempts at fine art drawing tend to look too mechanical. This is the best presentation I have seen that breaks things down logically, doesn’t get too complicated, yet still offers methods to bring everything together to make it doable for someone just learning. I think this course would be terrific for those who would like to be able to do some recreational drawing, but perhaps does not know where to start, so he or she can learn enough to get into it, and perhaps even build from there. This course was just wonderful!Will uses a friendly approach and a soothing tone. Drawing is something that many people would like to do, but are afraid of it. Will eases one into the subject matter in a friendly manner.
I must say, I found the way you structured the course, I feel allows a student to progress with a less difficulty. Ultimately as a student, I feel more confident now having completed this course.
The content and videos I found to be of an excellent standard. Without a doubt, this is probably the best drawing course, I have seen.
Thanks for the fantastic course Will. I have learnt so many things from it. If a course is ultimately measured on its effectiveness and relevance, I would say you have scored top marks Sir.
Student Success

BEFORE

AFTER

BEFORE

AFTER

BEFORE

AFTER

BEFORE

AFTER

BEFORE

AFTER

FAQs
Absolute Beginners Drawing Course
No, there is no time limit, you can watch them as many times as you like.
The course is a series of downloadable video lessons, once they are downloaded they are yours to keep forever. If you change computer in the future just drop me an email and I’ll send you through some fresh links.
You can watch the lessons and courses as many times as you like and have lifetime access. If you change computer in the future just drop me an email and I’ll send you some fresh links through.
Yes, you can download to an iPad using Files App, or the free app called ‘Documents’. Without either of these apps, you will not be able to download directly to an iPad.
You can also download the video lessons to multiple devices (home PC, laptop etc) and if your storage space is running low on your laptop, you can download to a separate USB stick.
No, not at the moment.
The courses are available as a download only, there is not a streamable option.
If you only have an iPad you need to use either the Files App or the free Documents App to download and have enough space on your device
But there is one exception.
If you open the download links in the Safari browser on an iPad, Safari will give you an option to View or Download, if you click View, you can watch the videos without downloading.
Not hugely, I’ve kept the material list as small as possible.
For the painting courses, I try to keep the colour palette small and use the same base colours for many of the other courses. I demonstrate with artist quality paints which have a higher pigment ratio so a little goes a long way.
Absolute beginner.
An aspiring artist who has always had the urge to learn to draw but has been put off, overwhelmed with where to start.
Yes, there are reference images and drawing worksheets to work from. You can print out the images in A4 size allowing you to work 1:1 with your reference image (a classical technique called ‘sight-size’)
The shopping cart will convert to your local currency. You can use a currency converter to get an idea of the current exchange rate: https://www.xe.com/currencyconverter/
Yes, you can from another screen, such as an iPad or a desktop. That will let you keep the reference image visible while you follow the lesson.
However, in some of the lessons, I physically test colours directly on the printouts. This can be very helpful when you are first learning, because it makes colour matching clearer and easier to judge.
