Floral Still Life Acrylic Painting for Beginners
(Scroll down ↓ to Add to Cart)
Inspiration for a painting often strikes when walking around your garden.
Inspiration often ends when the mass of leaves and flowers you’ve picked are now strewn across your kitchen table, trying to pass themselves off as a still-life!
When you put paint to canvas, the whole thing looks unrealistic and a little dated. Is it the leaves? Is it the vase? Is the composition wrong? Why don’t the petals appear translucent?
Trying to transfer that feeling of simplicity and light into a studio still life can become very frustrating.
Greens that appeared bright outside suddenly become more muted inside, and if you try to paint them as brightly as you observed in the garden, they can appear fake.
Flower heads that appeared really white and flat outside now need added contrast to make them seem three-dimensional on the canvas.
This course will guide you through the process of creating an Impressionistic floral still-life painting in acrylics, recreating nature’s colour palettes from start to finish.
Over 3 hours of tuition, you’ll learn how to simplify and separate tonal values into areas of light and shadow, how to use warm and cool colours effectively and how to mix and balance naturalistic greens, creating a subtle acrylic palette and a realistic sense of sunlight hitting the leaves & petals.
£57.00
- Description
- Lesson Breakdown
- Course Delivery
- Course Requirements
- What Students Say
- Student Success
- Gift Card
- FAQs
Description
Modern Simplicity, Classical Form
I’ve developed this painting course to show you how the arrangement of colours, composition and tonal value range result in a more contemporary painting that will still allow you to see good form.
We’ll be taking classical painting techniques to build up an in-direct floral painting in acrylics.
Once you’ve discovered the importance of accurate drawing, layout and establishing good tonal values – you’ll move on to using colour strings.
This method will develop your knowledge of pigments and allow you to create the perfect balance between warm and cool. It then means when you’re standing at the easel you can feel confident with your colours throughout every stage of the painting.
Working through these simple step-by-step tutorials, you’ll learn how to tune your eyes between subtle shifts of greys, creams and whites, mix a subtle modern colour palette, whilst still learning classical painting techniques.
In just a few hours you can create your own floral masterpiece!
What’s in the Course?
- 1 x Floral Still Life subject from start to finish, based in the studio working from a reference image.
- 8-downloadable video lessons, split into separate chapters that follow on sequentially.
- Step-by-step instructional videos so that you can follow along at your own pace.
- Each stage is a detailed yet easy-to-follow process.
- Lifetime access, downloadable on separate devices.
- Downloadable jpeg reference images, and reference line drawings.
- Printable Class materials list, 3 1/2 hrs of detailed video instruction.
Lesson Breakdown

Lesson One
A Classical Approach
Learn how form is the key to creating realistic florals and how a tonal study of a Lily, illustrates the ‘background effect’.

Lesson Two
Materials & Set up
A visual introduction to all the materials, paints, mediums, palettes and canvas and how to use and apply an archival ground to your painting.

Lesson Three
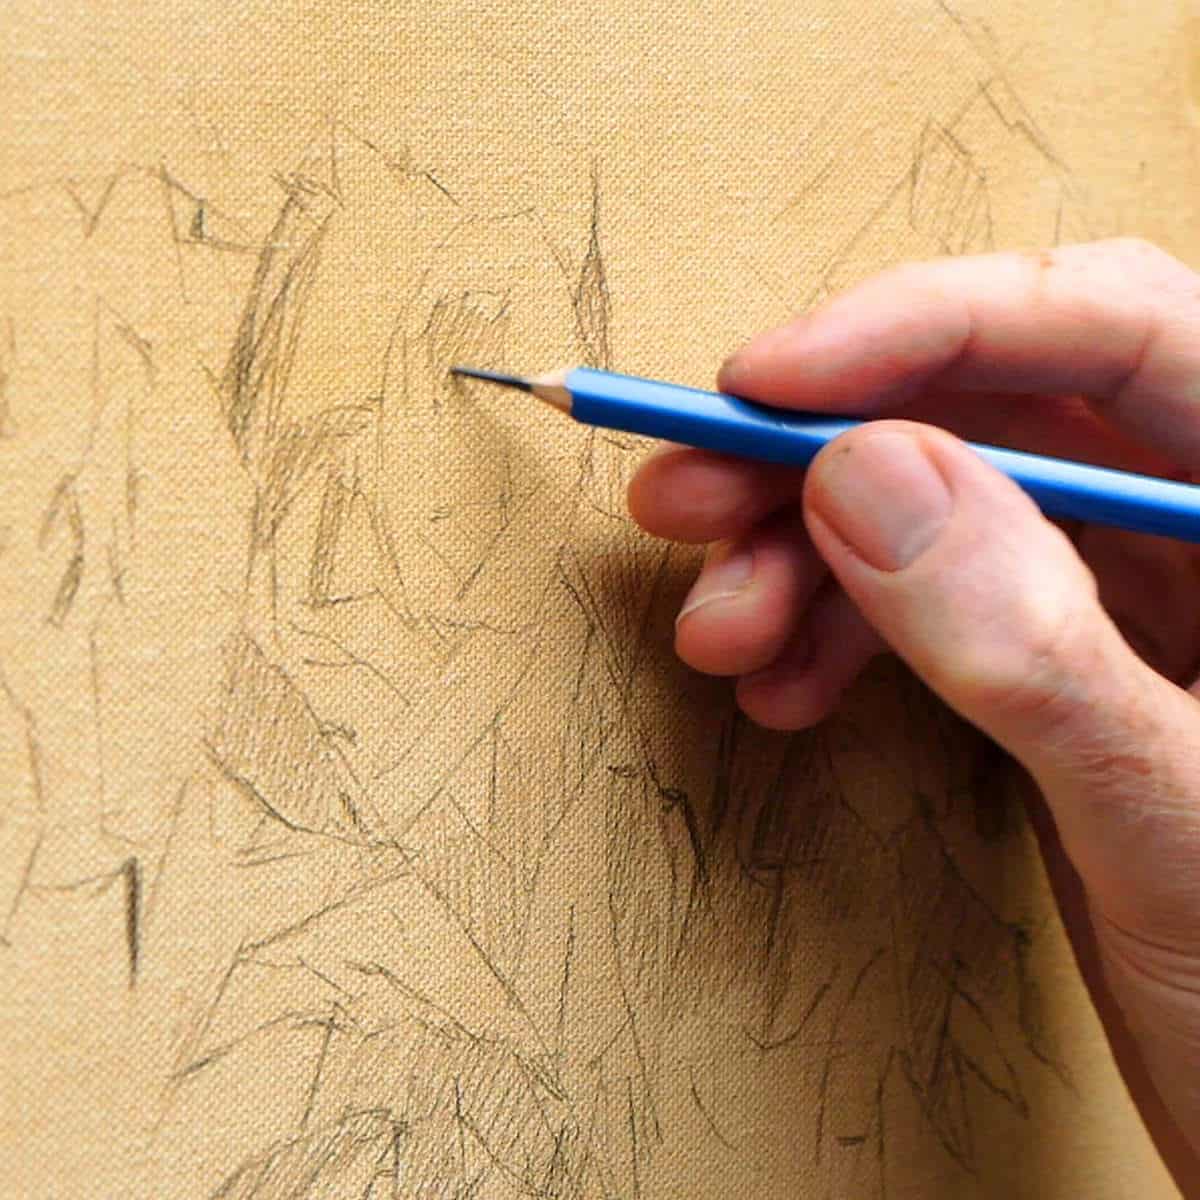
Drawing Out
Clean lines, drawing realistic ellipses and learning to ‘see’ the tones.

Lesson Four
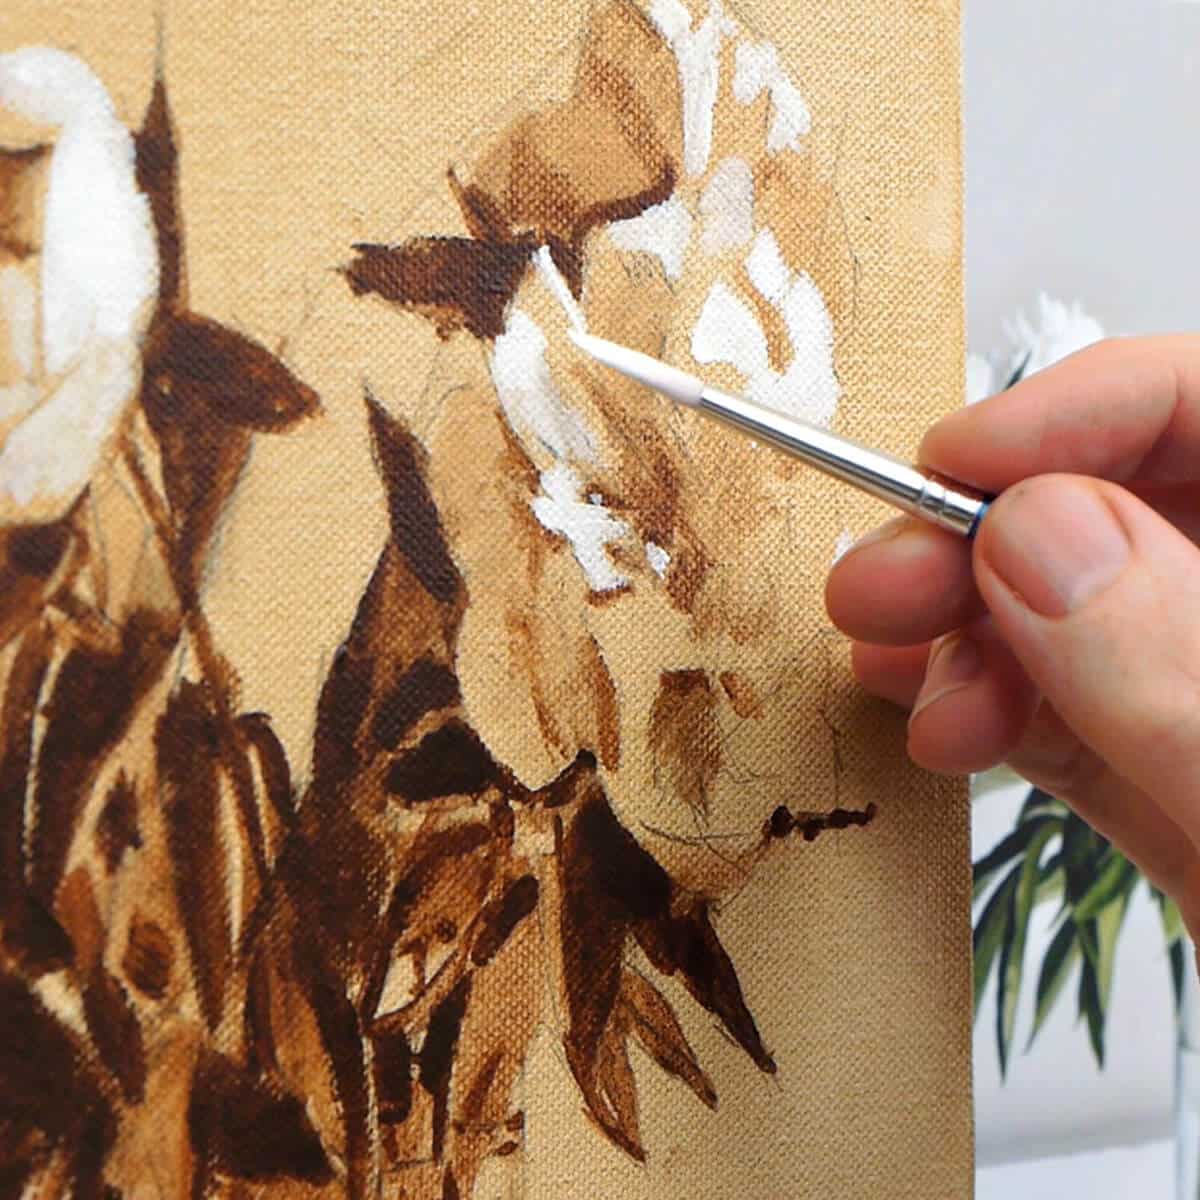
Tonal Underpainting
Developing brush techniques, blocking-in the pattern of darks and pushing your tonal range.

Lesson Five
Painting the background
Controlling tonal steps using a ‘value strip’, mixing perfect greys, using only two colours, and using my favourite acrylic medium to softly blend edges.

Lesson Six
Introducing Colour
Introducing how to use a colour wheel, and a simple palette, to mix the perfect greens whislt using a stay-wet palette to create your own ‘colour strings’.

Lesson Seven
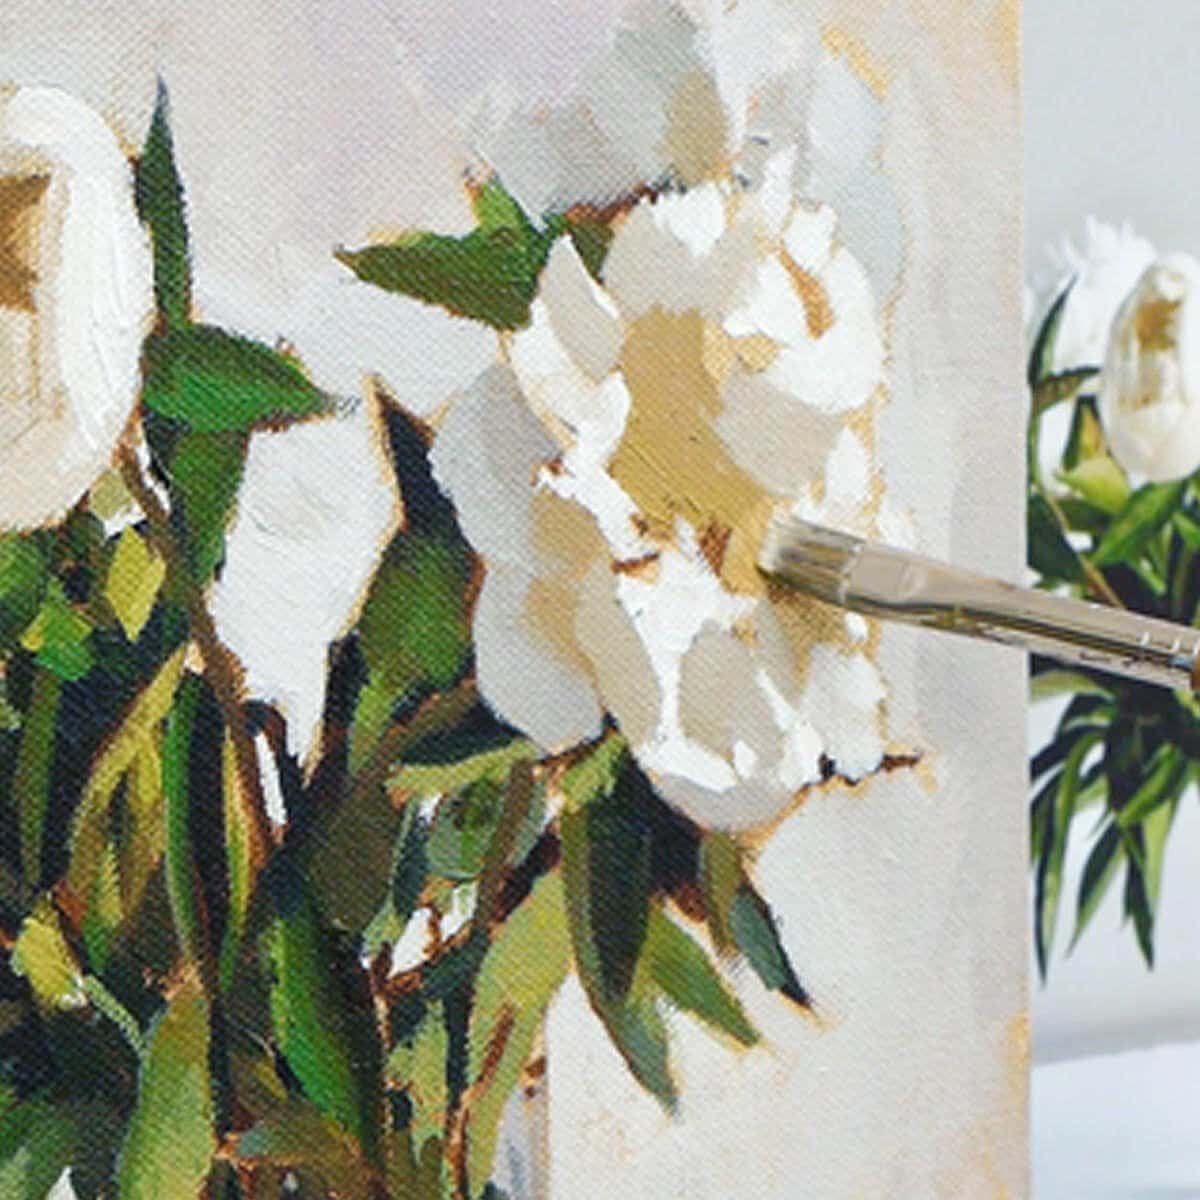
Painting the Flower Heads
Tuning our eyes to observe the subtle shifts within the petals, painting the flower heads using 3 base mixes and balancing warm ochres and cool greys.

Lesson Eight
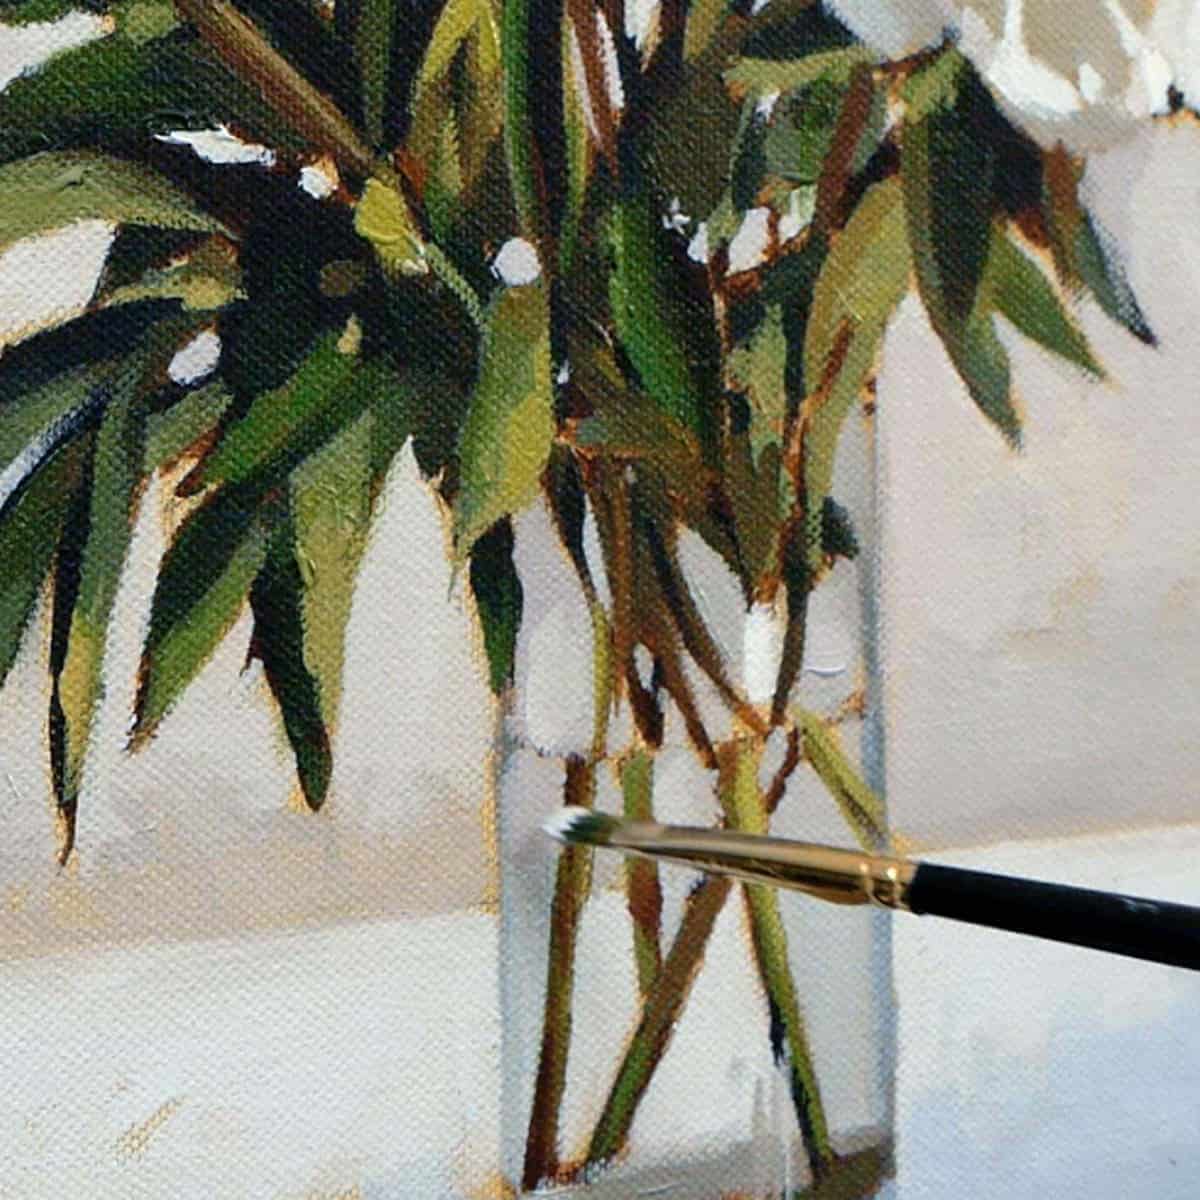
Impasto & Glazing
Using a palette knife to add flair and texture and then finishing with subtle glazing for that final glow to your painting.
Course Delivery
I’ve taken care to film everything from my perspective so you can see exactly what I’m doing as we go through the entire painting process in real-time. With over 3 hours of video instruction, full-color photographs and drawing guides.
This course has been developed with a beginner in mind, carefully going through the steps at a pace that introduces new colours and techniques slowly.
How is the course delivered?
When you purchase the course, you will receive an email with all the downloadable video links to the course. You then have to download and save the Video Lessons onto your home computer/iPad.
- 8 Downloadable Step-by-Step Video Lessons.
- Over 3 hours of detailed video instruction that once downloaded – you have any time, anywhere access.
- A ‘Getting Started & Materials List PDF‘ – which includes your materials list.
- JPEG reference images used throughout the course, including the photo reference I demo with, a copy of my pencil sketch for the line drawing.
- 10 separate JPEG images to guide you through each stage.
- NEW – Video timecode index to instantly jump back to any section of the lessons you’d like to revisit.
- The video files are large (3GB) so you need a broadband internet connection and enough space on your computer hard drive.
Please note: You will not receive a DVD.
Cut by the Artist
I filmed, edited, and coloured the course myself (with a little help from Vanessa!) rather than working with a production company. Artists have different needs than editors so I wanted to cut the course like an artist, showing you exactly what I wanted to see when I was learning. I show all the real-time brushstrokes for the paintings so you don’t miss a step.
There are 3 main camera views I cover:
An over-the-shoulder view of the work – so you can see how I build up the painting as if you were standing behind me in the studio.A close-up of the brush contacting the canvas – with extreme close-ups, so you can see the grain of the canvas and the bristles in the brush.
Stable shot of the palette for when I pick up paint – see exactly how I mix colours. There is nothing worse than when the brush disappears from view, only to reappear with some fantastic new colour. Where did that colour come from?! How did it get mixed?
The palette view is very important, and not just at the beginning of the video. I want to show you every single mix I make, so I film with the palette directly next to the painting, then you can see shots of the palette throughout the course and gain a sense of my approach to colour mixing.
Colour Corrected Footage
Filmed under constant colour balanced conditions, so the paint colours are as accurate as can be. (Computer monitor screens and print-outs can vary)
Real-time filming – No long jumps in progress
I don’t like long jumps in progress when the paintbrush goes off camera, the shot changes and suddenly the picture has seemed to drastically improve.
I include all the stages so you can clearly see the progress of a work.
Course Requirements
Requirements for the Course
A broadband internet connection – the files sizes for the video lessons are quite large (3GB in total) so can take a while to initially download (depending on your internet speed.) Once downloaded, they are yours to keep forever, watch without buffering or take to the garden and watch away from an internet connection!
Enough free space on your Computer or iPad – You can download the files to a separate USB stick if you need extra storage.
A Colour Printer – to print out the reference images or access to a Print Shop.
Photo Printer Paper – I use Epson Archival Matte or Epson Photo Glossy.30 mins – 2 hr per session – You’ll need to be able to dedicate between 30 minutes to 2 hrs for each section, for example, the blocking-in might take 10 minutes, but the painting of the leaves may take a couple of hours.
What Students Say
Wow, many thanks for those really encouraging words. Very much appreciated. However I have to say I think some of the credit has to go to the excellent tutor! The video’s are extremely good. I’ve done many courses to improve my art, but never one which has been as successful as your video tutorials. Your attention to the detail of colour mixing is just so helpful. I’m now working on the Masterclass Still Life, which looks extremely exciting. – Sue, Floral Still Life Course
Hi Will,
I have followed your free online tutorials for a couple of years and have had some success. My husband decided to buy me this floral course and I have just finished the painting and I have to say it was such a lovely experience to go through the whole process with instruction along the way.
I am very pleased with the results and I’m inspired to take on new challenges. I would say that this course helps to free up one’s style to paint more loosely which I have struggled to get away from and often my style can look a bit cartoon like.
I’m currently trying my hand at oils and some portraiture and hope to be able to start another course soon.
Janet, Floral Still Life Course
Hi Will, Thank you for a very helpful video course. I learned so much, from how to do a tonal underpainting, to how to mix accurate colour strings, to how to add impasto touches to a painting. These are all lessons that I can apply to future paintings, and I’m looking forward to trying them out with my own still life compositions.
This course is very clearly explained step-by-step, so it’s suitable for beginners. But I also think that it’s suitable for more experienced painters, as so many skills are covered in the course.
I recommend this course for anyone wanting to create realistic and yet painterly pictures.
Jan R, Floral Still Life Course
Hi Will, I just completed the Floral Still Life painting from your online course. I enjoyed it immensely. I had not worked with only 5 colors before and now I feel confident about mixing greens and a lot of other colors.
Gail, Floral Still Life Course
Student Success

Floral Still Life

Floral Still Life

Floral Still Life

Floral Still Life
FAQs
Floral Still Life Acrylic Painting for Beginners
No, there is no time limit, you can watch them as many times as you like.
The course is a series of downloadable video lessons, once they are downloaded they are yours to keep forever. If you change computer in the future just drop me an email and I’ll send you through some fresh links.
Yes, you can download to an iPad using Files App, or the free app called ‘Documents’. Without either of these apps, you will not be able to download directly to an iPad.
You can also download the video lessons to multiple devices (home PC, laptop etc) and if your storage space is running low on your laptop, you can download to a separate USB stick.
No, not at the moment.
The courses are available as a download only, there is not a streamable option.
If you only have an iPad you need to use either the Files App or the free Documents App to download and have enough space on your device
But there is one exception.
If you open the download links in the Safari browser on an iPad, Safari will give you an option to View or Download, if you click View, you can watch the videos without downloading.
Not hugely, I’ve kept the material list as small as possible.
For the painting courses, I try to keep the colour palette small and use the same base colours for many of the other courses. I demonstrate with artist quality paints which have a higher pigment ratio so a little goes a long way.
Yes, there are jpeg reference images and line drawings to work from.
I’m a big fan of drawing, and if you have a good understanding of how drawing works, it can make the biggest jump forward in your paintings. But if you’re super keen to get started with painting and engrossed in colour, then I’ve added a few downloads to help you out.
All of the images can be printed out A4 size allowing you to work 1:1 with your reference image (a classical technique called sight-size)
I’m a big fan of drawing and if you have a good understanding of how drawing works, it can make the biggest jump forward in your paintings (it seems counter-intuitive but it can make dramatic changes).
But if you’re super keen to get started with painting and engrossed in colour, then I’ve added a few downloads to help you out. These are line drawings that you can work from.
All of the images can be printed out A4 size so you can work 1:1 with your reference image (another classical technique called ‘sight-size’). You can then draw out freehand or trace the lines to get you started, this course is all about getting you painting.
Right away!
The course is a series of downloadable video lessons. Once they are downloaded they are yours to keep forever. There is no time-limit, you can watch them as many times as you like. If you change computer in the future just drop me an email and I’ll send you through some fresh links.
All of the stages are very simple.
From a flat colour ‘coloured ground’ (think painting a wall) to a simple pencil line drawing, to the first painting stage using one colour straight from the tube.
This course is all about progress.
Sure, your colours might be a little different, the drawing may go a little out, and the underpainting may be a bit too thin. But these are all very small changes, the principles are still being developed and learnt, so even if you’re going ‘wrong’ you’ll still be developing as a painter.
You can follow most of the methods as they are derived from classical oil painting techniques. However, the speed of drying and painting over is much slower with oils than with acrylics. So there would be longer to wait in between sections for areas to dry, but the colour mixing principles and brush techniques would stay the same.
A love of tea and biscuits, coffee and cake for those well-earned breaks away from the canvas.
We accept all major credit and debit cards such as Visa, Mastercard. We also accept Paypal.
The shopping cart will convert to your local currency. You can use a currency converter to get an idea of the current exchange rate: https://www.xe.com/currencyconverter/
Yes, you can from another screen, such as an iPad or a desktop. That will let you keep the reference image visible while you follow the lesson.
However, in some of the lessons, I physically test colours directly on the printouts. This can be very helpful when you are first learning, because it makes colour matching clearer and easier to judge.

