Light & Shadow Drawing Course

(Scroll down ↓ to Add to Cart
Want to experiment with new mediums such as charcoal & chalk, but unsure of where to start?
Moving into a new drawing medium can be a challenge, especially if you’re using the wrong materials.
I was trying to draw with charcoal for years and kept on ‘missing’ the vital ingredient. I thought it was my technique, my paper choice.
My problem?
I was using the wrong charcoal.
This course has been designed to help bridge the gap between graphite pencil drawings to charcoal, chalk and pens whilst subtlety introducing colour. Discover how to add three-dimensional depth and richness to drawings, using light and shade.
With over 2 hours of tuition, you’ll discover chiaroscuro, the classic technique for achieving bold contrasts and find out how to make your drawings more balanced with shadow mapping and compositional patterns. Explore how great artists of the past, like Caravaggio and Da Vinci, used light and shadow to make their work more realistic, to draw focus and to paint a mood.
Working through these simple step-by-step tutorials, you’ll learn about new materials, figurative and still life drawings as well as applying tonal paper, charcoal, and chalk to their best advantage.
£35.00
- Description
- Lesson Breakdown
- Course Delivery
- Course Requirements
- What Students Say
- Student Success
- FAQs
Description
How can charcoal improve your pencil drawings?
You wouldn’t think it would make much difference, a burnt stick! But choosing the right materials for the effects you’re trying to achieve – can be vital.
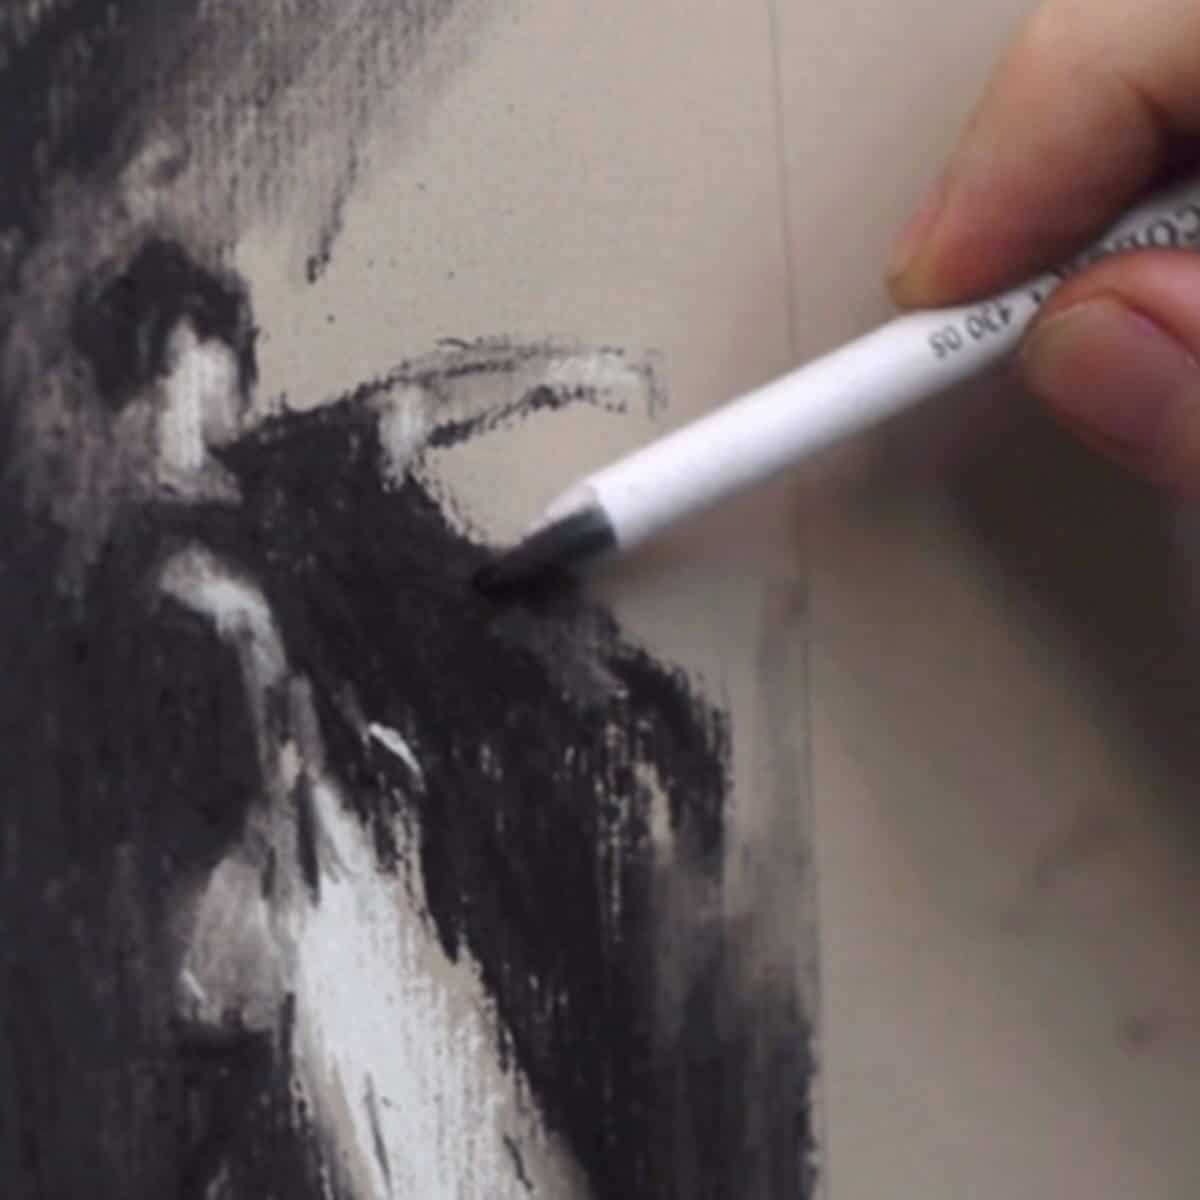
The secret to successful ‘Sfumato’ is easy with charcoal.
But it has to be the right charcoal.
So what is Sfumato?
A smoking of edges that can transform a flat, two-dimensional sketch into a lively three-dimensional drawing. To create drawing studies that look three-dimensional you need to understand how to arrange your compositions to ‘draw themselves’ before we even start.
Think ‘Lights off’
A form is developed by light and shade, without these two everything appears flat.
The problem is, most of our drawing environments at home have far too many lights on at once.
With too many light sources & too many different colours of light, it can be almost impossible to create form under these conditions, your drawings end up looking flat, childlike as if they’ve been outlined.
It’s not your fault.
It’s your lighting.
Would you like to know a simple way to instantly improve your drawing?
It’s easy.
Step 1. Turn off the lights.
I’m serious.
Turn off the lights until you’ve got a dark room.
Then introduce one single table lamp. Voila, instant Rembrandt.
Drawing in the dark (ok semi-dark) can be very enlightening!
A simple approach to three-dimensional drawing
This course shows you how to observe and draw light and shade. Beginning with the basics of drawing simple three-dimensional shapes and then moving onto shadows and cast shadows.
It will develop your observation skills and you’ll discover new materials and techniques, giving you valuable insights into effective drawing and sketching.
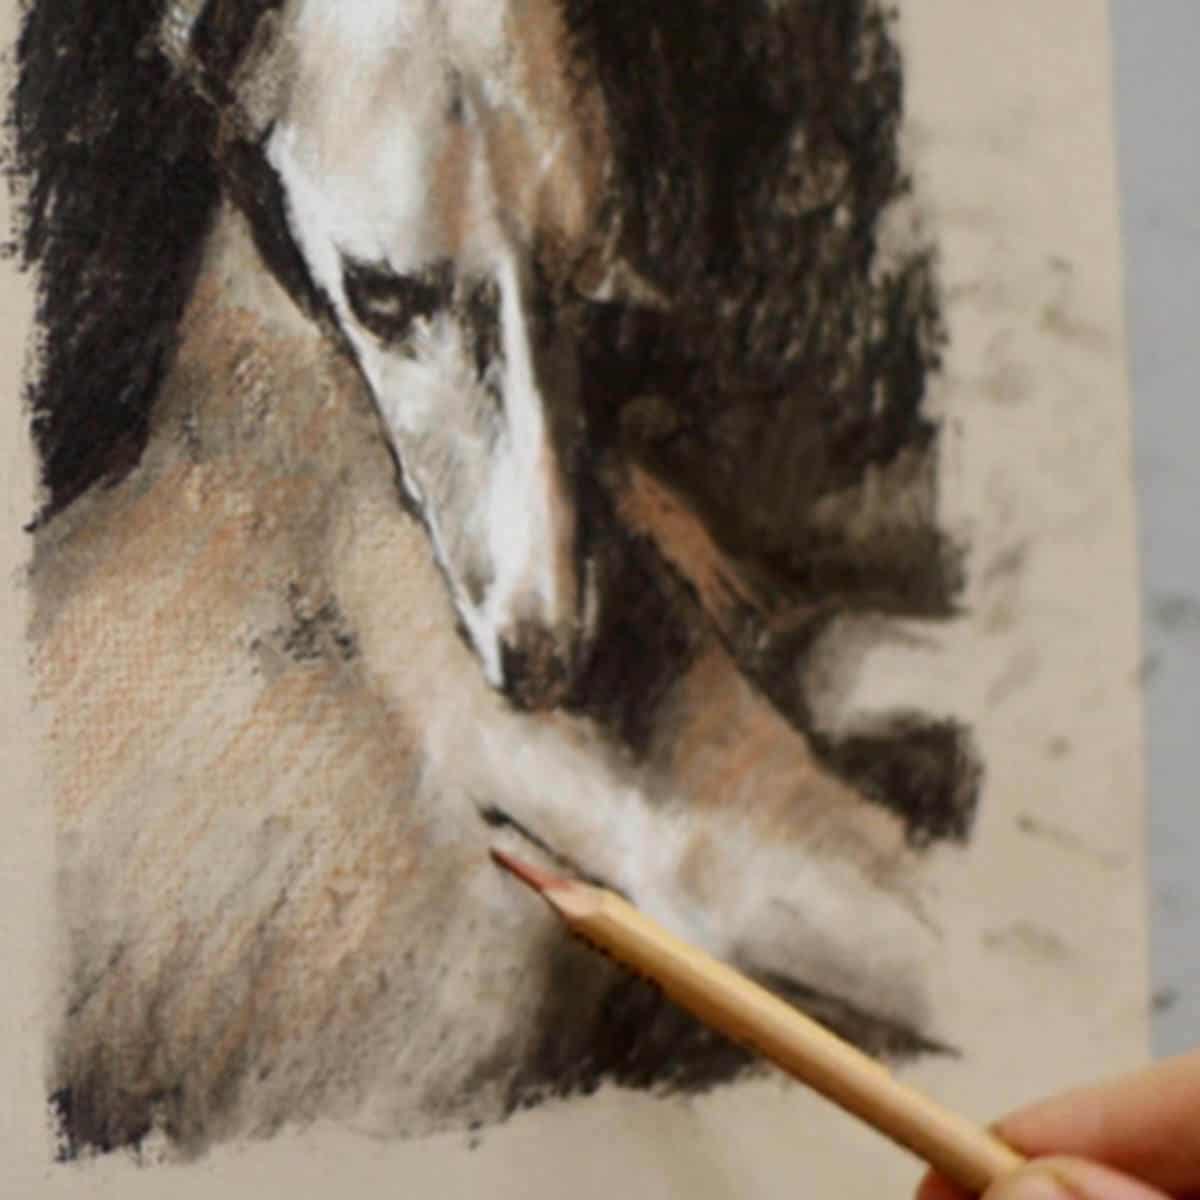
If you can draw simple geometric forms you can quickly and easily move on to figurative, portraiture, and animals. (With step-by-step video demos of all 3 in the lessons)
Giving you the confidence of knowing ‘what to look for’ and then ‘how to draw it’.
A 3 step learning process
This course has been carefully designed to be simple, structured and easy to actually get drawing – not just information overload!
Structure helps you learn progressively – your individual personal style and expression turn you into an artist.
- The Theory
- The History
- The Practical
Simple explanations that give you an insight into the hidden techniques of the Old Masters and a context to base your drawings within. Looking at comparisons with painting (and how the Mona Lisa can help your drawings) to create strong, professional looking drawings.
If there is one ‘secret’ I want you to come away with from the course, it’s the power of edges.
Learning to see lost and found edges and where you can blend out – or sharpen up, will give an instant change to the quality of your work (not just in your drawings but also your paintings!)
“The first things to study are form and values. For me, these are the things that are the basics of what is serious in art.”
Jean Baptiste Corot, Artist
What’s in the Course?
- 9 follow-along drawing demonstrations.
- 7-downloadable video lessons, split into separate chapters that follow on sequentially.
- Practical step-by-step instructional videos so that you can follow along at your own pace.
- ‘Done for you’ reference images to break through overwhelm and get drawing, faster.
- Downloadable jpeg reference images and a full materials list.
- Over 2 hours of detailed video instruction.
- Lifetime access, downloadable on separate devices.
Lesson Breakdown

Lesson One
An Introduction to Lighting and Materials
A visual introduction to all the materials from pencils, chalks, charcoals to paper stumps. Observing different lighting setups and the effects these choices have on the subject. Looking for light source clues within the shadows.

Lesson Two
The Principles of Chiaroscuro
Uncovering the history of light & shade in art to observe patterns of shadows, composition and drama. Considering the characteristics of light to understand the basics of light logic.

Lesson Three
Shaping the Light in Nature
Reflecting on Cezanne’s treatment of nature to then look at soft and hard lighting effects. Observing how different lighting angles change the mood and feel of a subject.

Lesson Four
Value & Form
Looking at the importance of cast shadows with a still life cast shadow tone drawing. Changing the position of an object in relation to surrounding light sources to give a three-dimensional feel and observing reflected light.

Lesson Five
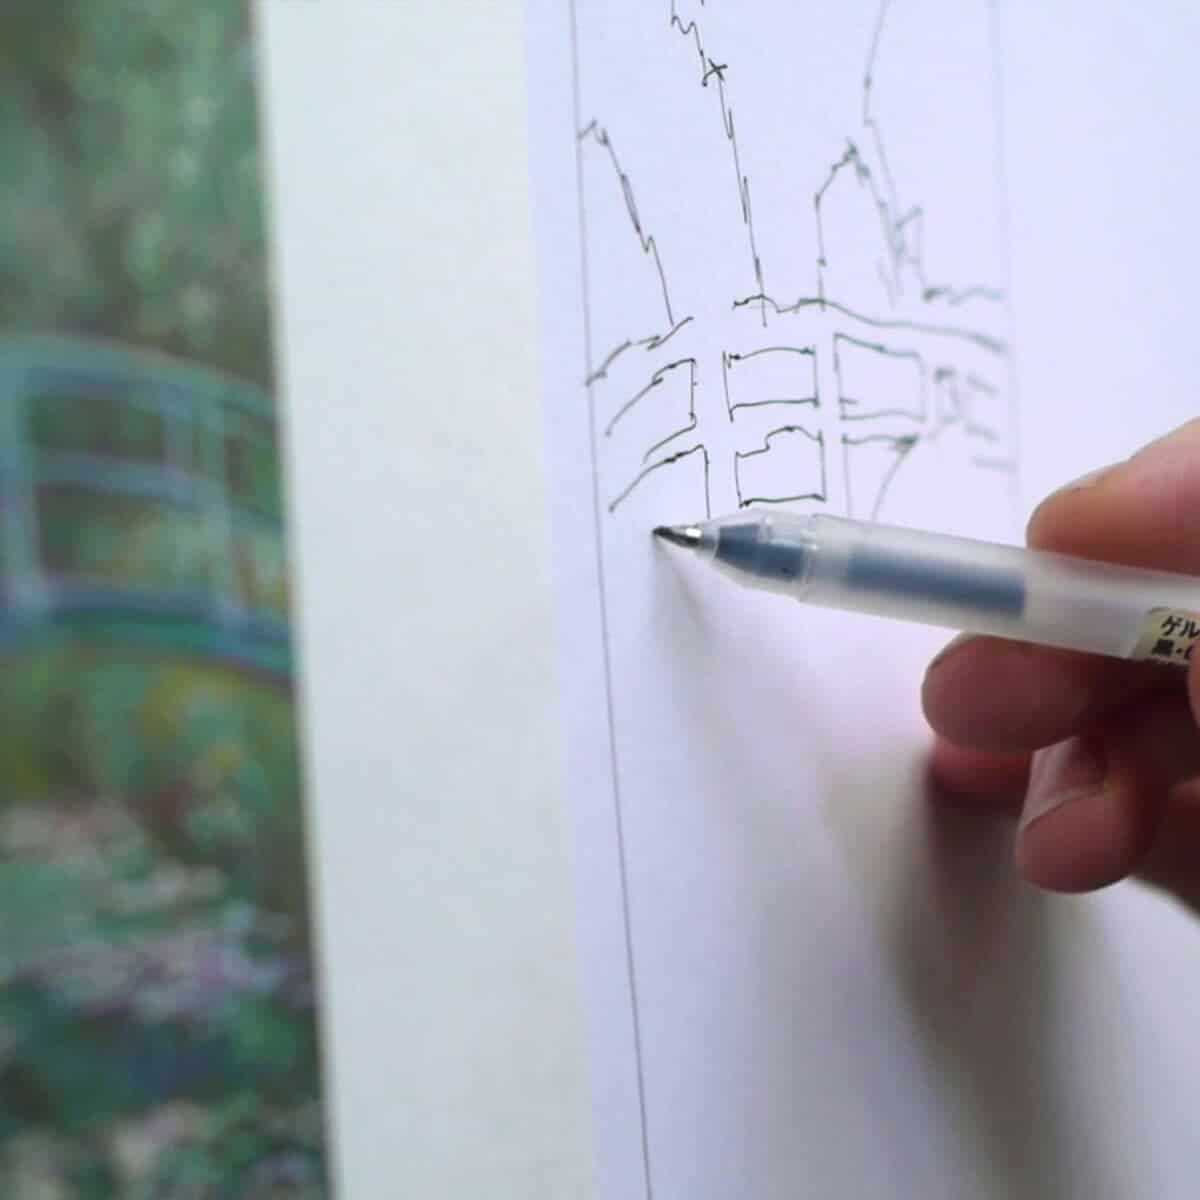
Compositional Patterns
Learning about shadow mapping multiple objects with pen and ink. Observing light & dark patterns to understand compositional rules on figurative and landscape studies.

Lesson Six
Using Tonal Paper
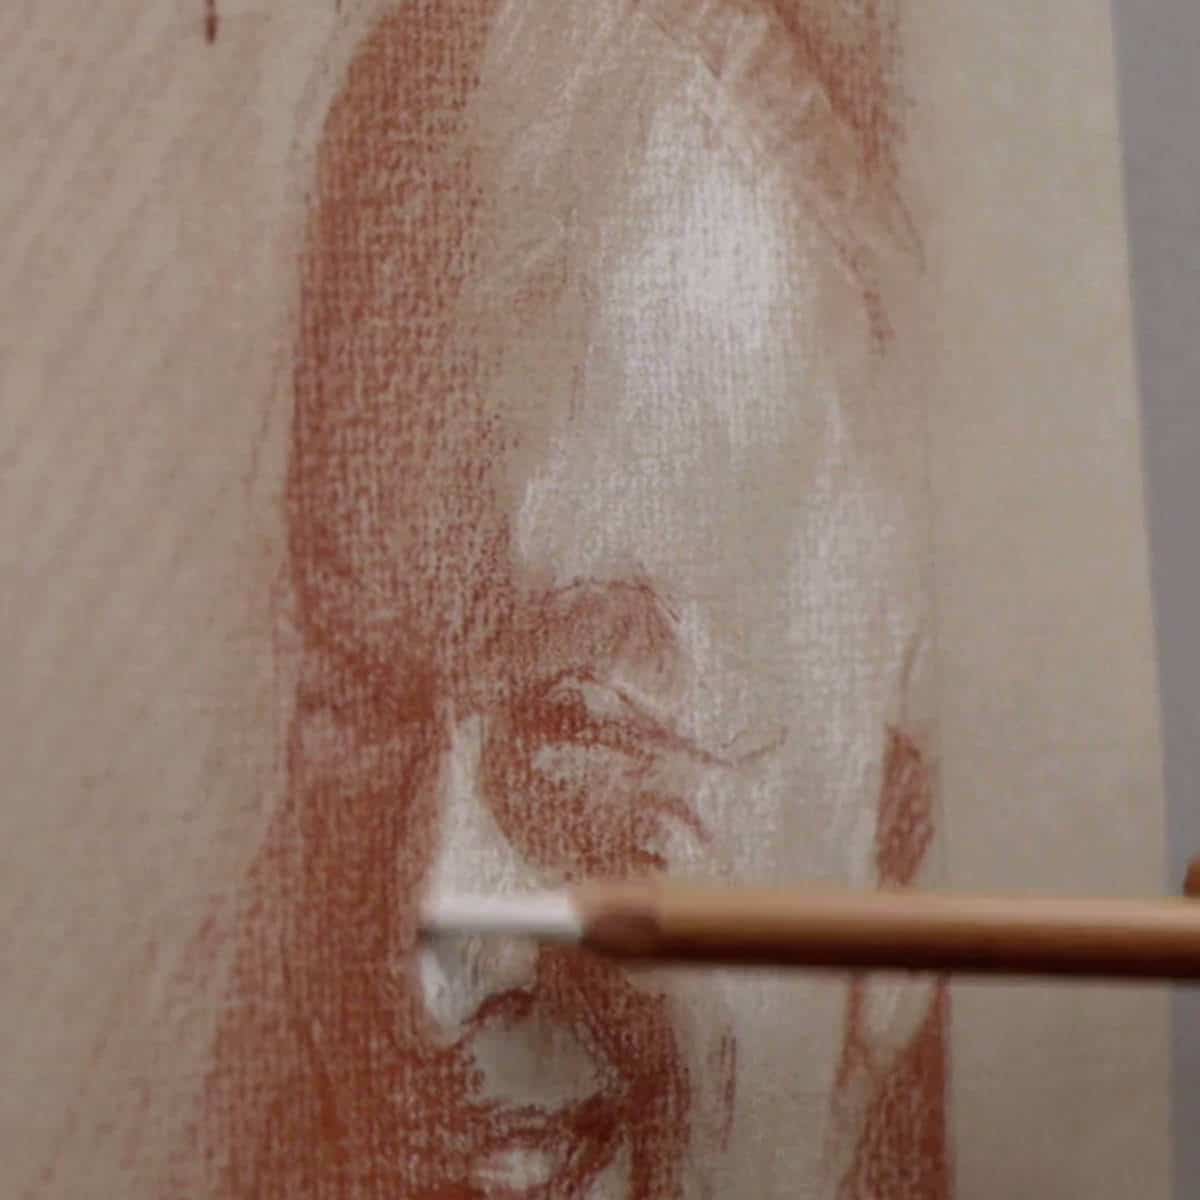
Looking at the three tone masses, lights, mid-tones and darks. Smudging edges to give a Sfumato glow and comparing the visual appearance of hard and soft edges with a portrait.

Lesson Seven
Final Project
Our final project brings all of the elements together.One directional light hitting the subject, with a strong shadow pattern, looking for a wide tonal range, hard and soft, smokey edges to give that illusion of form.
Course Delivery
I’ve taken care to film everything from my perspective so you can see exactly what I’m doing as we go through the entire drawing process in real-time with over 2 hours of video instruction, alongside full-colour photographs and drawing guides.
How is the course delivered?
- 7 Downloadable Step-by-Step Video Lessons – over 2 hours of video instruction that once downloaded – you have any time, anywhere access.
- A Quick Start PDF guide – which includes your materials list.
- ‘A Your Drawing Downloads PDF guide’ – which includes all the reference images used throughout the course.
- The video files are large (1.5GB) so you need a broadband internet connection and enough space on your computer hard drive.
Cut by the Artist
I filmed, edited, and coloured the course myself (with a little help from Vanessa!) rather than working with a production company.
Artists have different needs than editors so I wanted to cut the course like an artist, showing you exactly what I wanted to see when I was learning.
I show all the real-time pencil marks so you don’t miss a step.
Course Requirements
Requirements for the Course
A broadband internet connection – the files sizes for the video lessons are quite large (1.5GB in total) so can take a while to initially download (depending on your internet speed.) Once downloaded, they are yours to keep forever, watch without buffering or take to the garden and watch away from an internet connection!
Enough free space on your Computer or iPad – You can download the files to a separate USB stick if you need extra strorage.
A Colour Printer – to print out the reference images or access to a Print Shop.
Glossy Photo Printer Paper – I use Epson Photo Glossy.
What Students Say
Dear Will,
I did a drawing of apple today. It’s drawn from life with a red apple that I have. It impressed me that how much it’s improved compared with the couple of apples I have done before.
First of all, I’m much clearer about what I was doing, such as the stage I was in, the goal I was after. Also, I forced myself to go way darker than I felt. Then I reminded myself to simplify the shadow shapes, to soften the edges in the back. Finally, when I cropped the image, I remembered what you said about the composition, the rule of thirds. I also remembered many other things that you said in other lectures, such as not to look directly at the object, not to exaggerate the reflection.
Thanks and wish you all the best!
Best Regards,
Ping, Light and Shadow Course
Good Morning Will,
As I work my way through the 4th of your courses (I’ll start the portrait one next), I can’t thank you enough for these wonderful offerings. I was in my acrylics class here in Concord, New Hampshire, USA, starting a new painting, and because of your color-mixing course, I had no problem knowing that I needed an underpainting and how to mix the colors in the painting I was making.
The Light and Shadow drawing course, which I’m about to finish, is fantastic. I’ve told everyone I know about your excellent classes and I can’t wait for you to offer more!
Thank you so much,
Erica, Light and Shadow Course
Will does a great job of breaking things down into digestible bits and pieces. The problem I always have is simplifying artwork to have a more relaxed, yet realistic look.
Light and Shadow Course
Student Success

Light & Shade

Light & Shade

Light & Shade

Light & Shade

Light & Shade

Light & Shade

Light & Shade

Light & Shade

Light & Shade

Light & Shade
FAQs
Light & Shadow Drawing Course
No, there is no time limit, you can watch them as many times as you like.
The course is a series of downloadable video lessons, once they are downloaded they are yours to keep forever. If you change computer in the future just drop me an email and I’ll send you through some fresh links.
You can watch the lessons and courses as many times as you like and have lifetime access. If you change computer in the future just drop me an email and I’ll send you some fresh links through.
Yes, you can download to an iPad using Files App, or the free app called ‘Documents’. Without either of these apps, you will not be able to download directly to an iPad.
You can also download the video lessons to multiple devices (home PC, laptop etc) and if your storage space is running low on your laptop, you can download to a separate USB stick.
No, not at the moment.
The courses are available as a download only, there is not a streamable option.
If you only have an iPad you need to use either the Files App or the free Documents App to download and have enough space on your device
But there is one exception.
If you open the download links in the Safari browser on an iPad, Safari will give you an option to View or Download, if you click View, you can watch the videos without downloading.
Not hugely, I’ve kept the material list as small as possible.
For the painting courses, I try to keep the colour palette small and use the same base colours for many of the other courses. I demonstrate with artist quality paints which have a higher pigment ratio so a little goes a long way.
Yes, there are reference images and drawing worksheets to work from. You can print out the images in A4 size allowing you to work 1:1 with your reference image (a classical technique called ‘sight-size’)
Beginner to intermediate.
A basic understanding of the foundations of drawing, if you’re completely new to drawing I would recommend the Absolute Beginners Drawing Course which gives you a great overview to how drawing ‘works’.
If you can draw a reasonable outline of common forms, spheres, cubes etc. this course will help you to turn those flat shapes into realistic three-dimensional forms.
If you can draw a reasonable outline of common forms, spheres, cubes etc but have only worked in pencils, this course will help you to turn those flat shapes into realistic three-dimensional forms whilst introducing new mediums and methods.
The shopping cart will convert to your local currency. You can use a currency converter to get an idea of the current exchange rate: https://www.xe.com/currencyconverter/
Yes, you can from another screen, such as an iPad or a desktop. That will let you keep the reference image visible while you follow the lesson.
However, in some of the lessons, I physically test colours directly on the printouts. This can be very helpful when you are first learning, because it makes colour matching clearer and easier to judge.

