Still Life Masterclass Course
(Scroll down ↓ to Add to Cart)
How do you make your paintings look more professional?
At some point in every artist’s development, you get to a stage where your paintings are looking pretty good. You’ve got a basic understanding of colour mixing, paint application and your drawings are sound.
But some tricky subjects still elude you.
And you begin to wonder, is it just me, or are there painting techniques I haven’t mastered yet?
This acrylic still life course looks at the more complex subject of painting reflective surfaces such as silver, ceramic and mahogany.
Over 3 hours of tuition, you’ll be guided through 3 studio-based, full-colour acrylic paintings from start to finish.
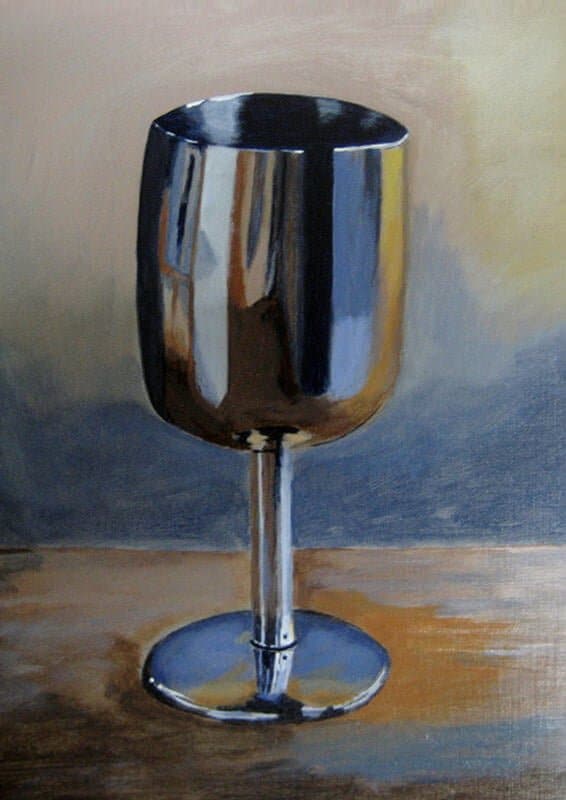
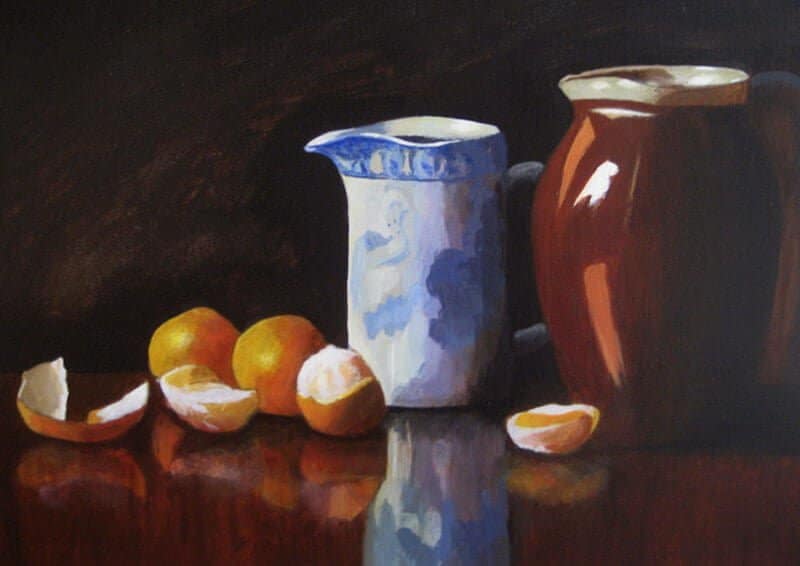
You’ll begin the process with a silver goblet painting using just two colours, followed by a more challenging still life using a wider range of pigments and optical glazing techniques.
Plus a bonus lesson on a small coloured glass study.
This additional lesson tackles how to add sheen to glass and realistic reflections in wood while still achieving a painterly feel.
Working through these simple step-by-step tutorials, you’ll learn how to use classical oil painting techniques, achieve realistic paintings that still have a sense of flair and expression and bring your paintings to a more professional finish.
£57.00
- Description
- Lesson Breakdown
- Course Delivery
- Course Requirements
- What Students Say
- Student Success
- FAQs
Description
Discover how classical oil techniques can revolutionize your acrylics
This course tackles the tricky subject of painting reflections in Silver, Ceramic, Mahogany and Glass.
Sometimes all your painting needs is a few subtle touches to transform it. Taking a limited palette, you’ll learn how less is more when trying to create the illusion of metal with acrylics.
Building up the painting from the darks to the lightest sparkling reflections, you’ll see how the real skill is looking for the ‘abstract’ within the object to be able to paint it realistically.
The bonus lessons look at ways of achieving lifelike glass with acrylics yet still having a painterly feel. This indirect method of painting allows you to follow the ‘course’ chronologically to accomplish a new level of painting.
“No art is less spontaneous than mine. What I do is the result of reflection and the study of the great masters.”
Edgar Degas, Artist
What’s in the Course?
- 1 x main still life subject from start to finish, based in the studio working from a reference image.
- 1 x study painting of a silver goblet using only two colours.
- 1 x BONUS painting- Small Glass Course (previously £18.50).
- Downloadable video lessons, split into separate chapters that follow sequentially.
- Step-by-step instructional videos so that you can follow along at your own pace.
- Each stage is a detailed yet easy-to-follow process.
- Lifetime access, downloadable on separate devices.
- Downloadable jpeg reference images and reference line drawings.
- Printable Class materials list, 3hrs of detailed video instruction.
Lesson Breakdown

Lesson One
Introduction & Materials
A visual introduction to all the materials, paints, mediums, palettes and canvas for the course.

Lesson Two
Silver Goblet – Part One
Using a limited palette you’ll learn how to balance warm and cool tones and discover how “less is more” when trying to create the illusion of metal with acrylics.

Lesson Three
Silver Goblet – Part Two
Building up the painting from the darks to the lightest sparkling reflections, you’ll see how the real skill is looking for the ‘abstract’ within the object to be able to paint it realistically.

Lesson Four
Reflections – Part One
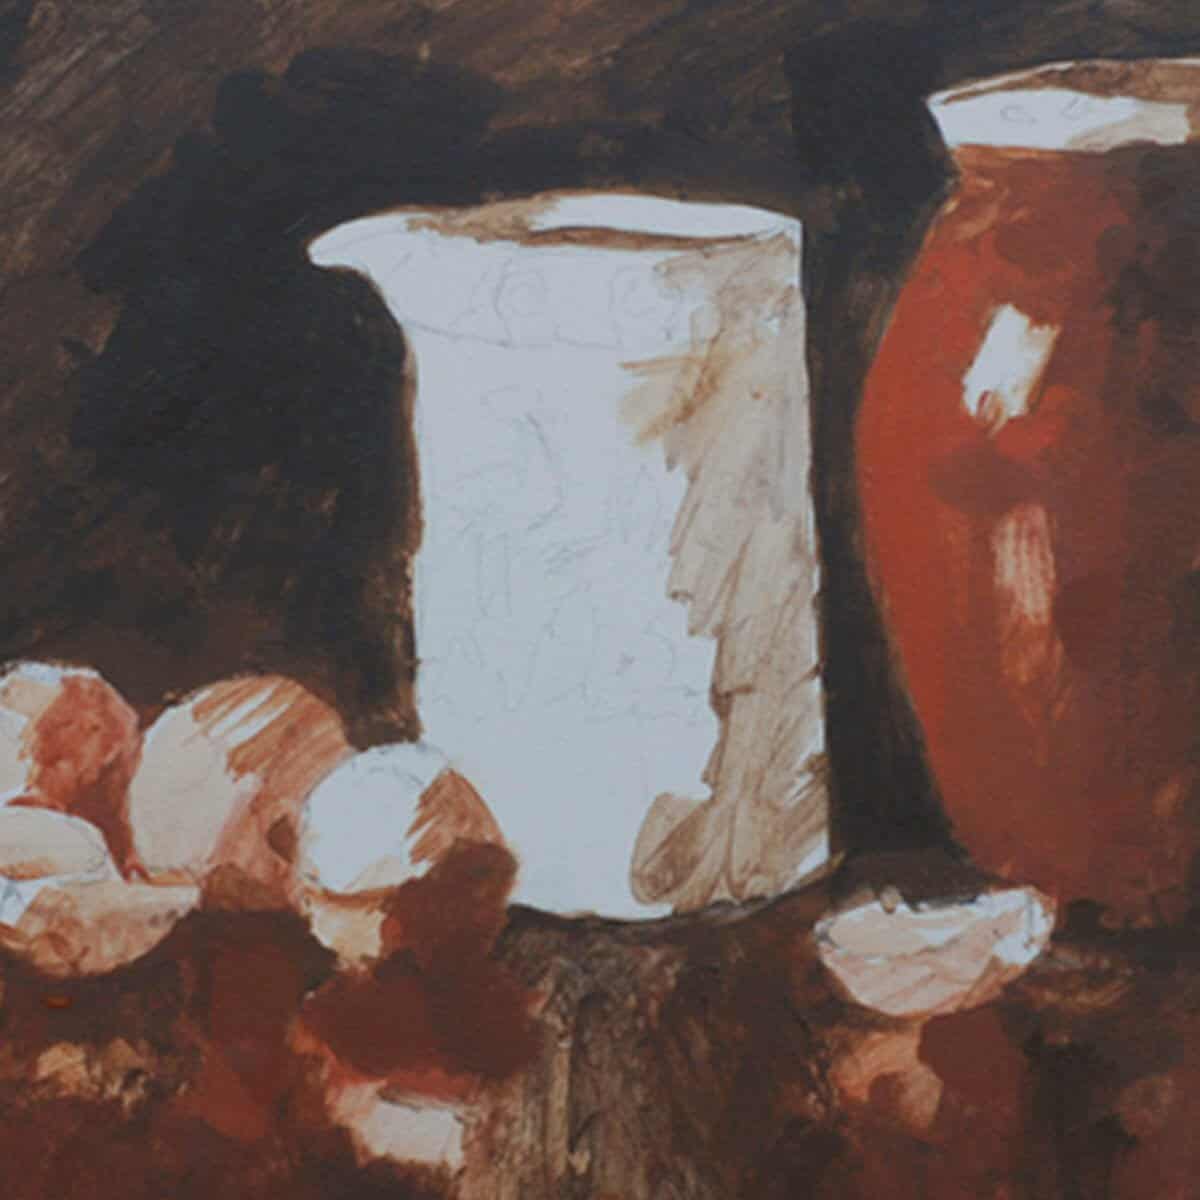
The importance of selecting the ‘right’ colour ground for rapid blocking-in of the first stages when we establish the darks.

Lesson Five
Reflections – Part Two
Choosing the right pigments for balancing a harmonious colour scheme.Learning about ‘edge control’ to add 3-dimensional form to objects and controlling the viewers gaze.

Lesson Six
Reflections – Part Three
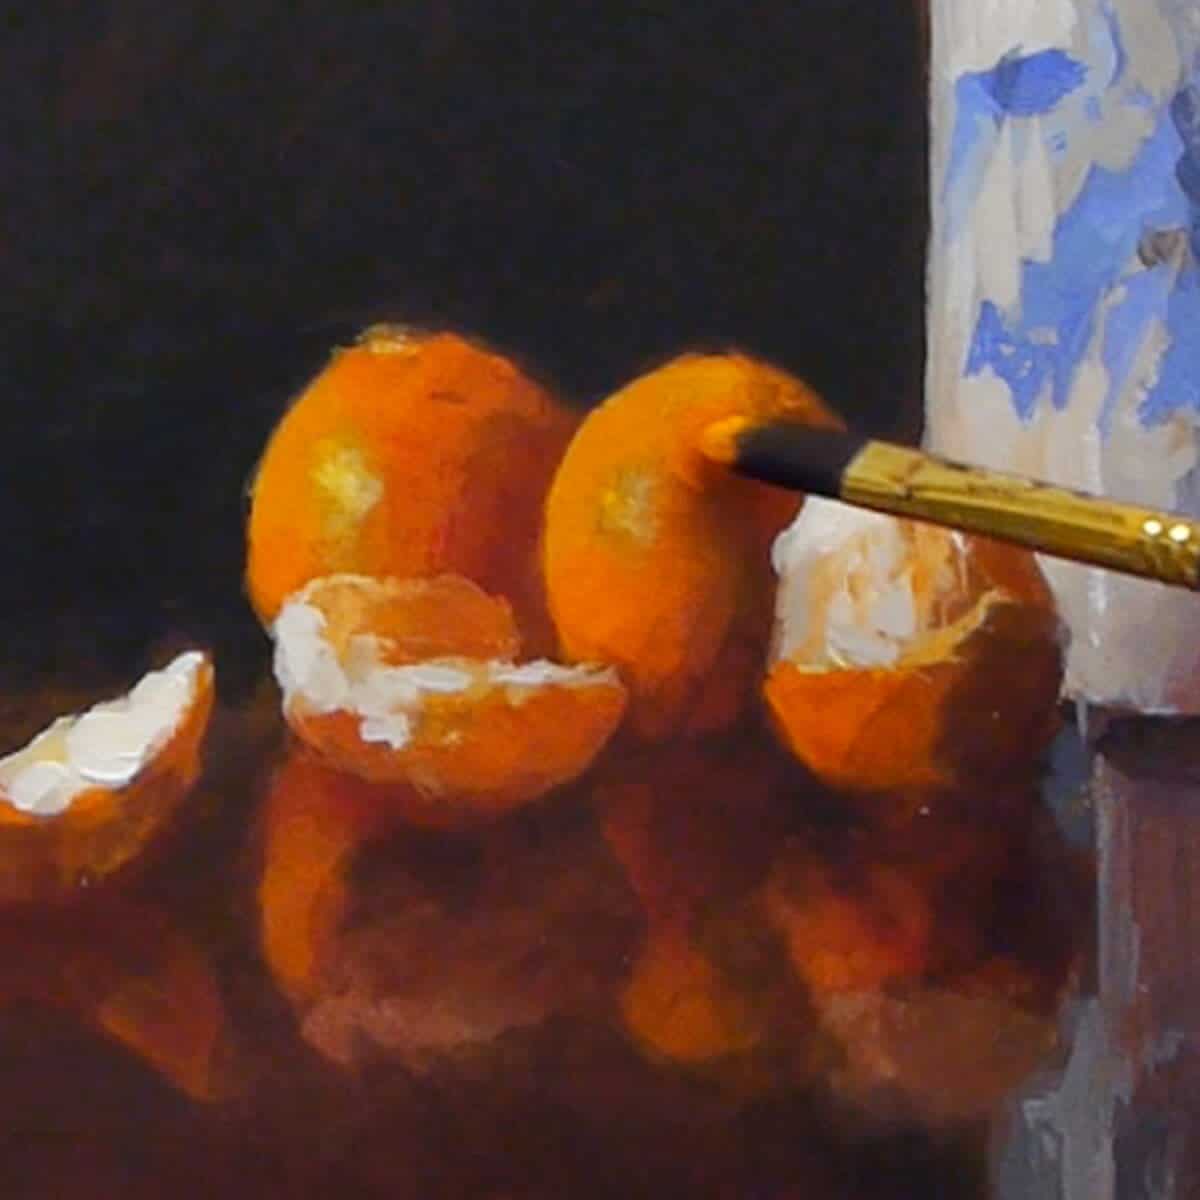
Using modern pigments with classical oil painting techniques to bring a sophisticated finish to the painting using subtle glazing.

Lesson Seven (Bonus)
Small Glass – Part One
Being selective with composition, laying down a coloured ground and observing the key points for our drawing of the small glass study.

Lesson Eight (Bonus)
Small Glass – Part Two
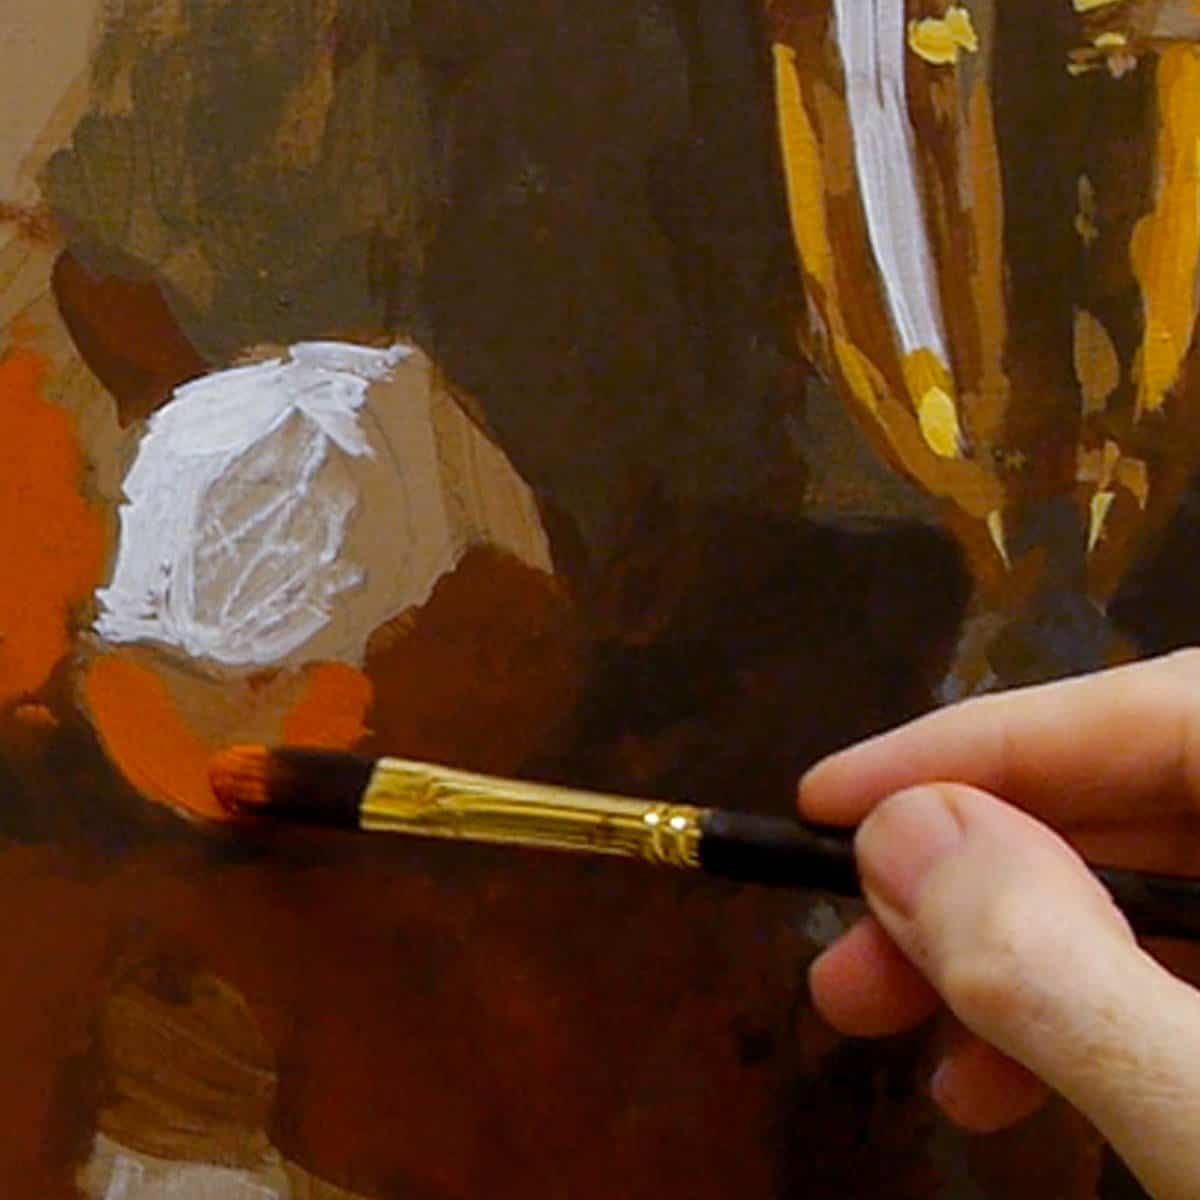
Introducing lights and contrast by adding an opaque Titanium White. Using a vivid Cadmium Orange, and learning how a cup of tea can add new insights to your painting!

Lesson Nine (Bonus)
Small Glass – Part Three
Bringing the study to a finer finish by unlocking techniques to add a new level of sophistication, including how to add sheen to glass and creating realistic reflections in wood.
Course Delivery
I’ve taken care to film everything from my perspective so you can see exactly what I’m doing as we go through the entire painting process in real-time. With over 3 hours of video instruction, full-color photographs and drawing guides.
How is the course delivered?
When you purchase the course, you will receive an email with all the downloadable video links to the course. You then have to download and save the Video Lessons onto your home computer/iPad.
- 9 Downloadable Step-by-Step Video Lessons.
- Over 3 hours of detailed video instruction that once downloaded – you have anytime, anywhere access.
- A ‘Getting Started & Materials List PDF‘ – which includes your materials list.
- JPEG reference images used throughout the course, including the photo reference I demo with.
- BONUS – Small Glass study video course.
- The video files are large (2 GB in total) so you need a broadband internet connection and enough space on your computer hard drive.
Please note: You will not receive a DVD
Cut by the Artist</h3
I filmed, edited, and coloured the course myself (with a little help from Vanessa!) rather than working with a production company.
Artists have different needs than editors so I wanted to cut the course like an artist, showing you exactly what I wanted to see when I was learning.
I show all the real-time brushstrokes for the paintings so you don’t miss a step.There are 3 main camera views I cover:An over-the-shoulder view of the work – so you can see how I build up the painting as if you were standing behind me in the studio.
A close-up of the brush contacting the canvas – with extreme close-ups, so you can see the grain of the canvas and the bristles in the brush.
Stable shot of the palette for when I pick up paint – see exactly how I mix colours. There is nothing worse than when the brush disappears from view, only to reappear with some fantastic new colour. Where did that colour come from?! How did it get mixed?The palette view is very important, and not just at the beginning of the video. I want to show you every single mix I make, so I film with the palette directly next to the painting, then you can see shots of the palette throughout the course and gain a sense of my approach to colour mixing.
Colour Corrected Footage
Filmed under constant colour balanced conditions, so the paint colours are as accurate as can be. (Computer monitor screens and print-outs can vary)
Real-time filming – No long jumps in progress
I don’t like long jumps in progress when the paintbrush goes off camera, the shot changes and suddenly the picture has seemed to drastically improve. I include all the stages so you can clearly see the progress of a work.
Course Requirements
Requirements for the Course
A broadband internet connection – the files sizes for the video lessons are quite large (2GB in total) so can take a while to initially download (depending on your internet speed.) Once downloaded, they are yours to keep forever, watch without buffering or take to the garden and watch away from an internet connection!Enough free space on your Computer or iPad – You can download the files to a separate USB stick if you need extra storage space.
A Colour Printer – to print out the reference images or access to a Print Shop.
Photo Printer Paper – I use Epson Archival Matte or Epson Photo Glossy
30 mins – 2 hr per session, You’ll need to be able to dedicate between 30 minutes to 2 hrs for each section, for example, the blocking in might take 10 minutes, but the painting of the leaves may take a couple of hours.
What Students Say
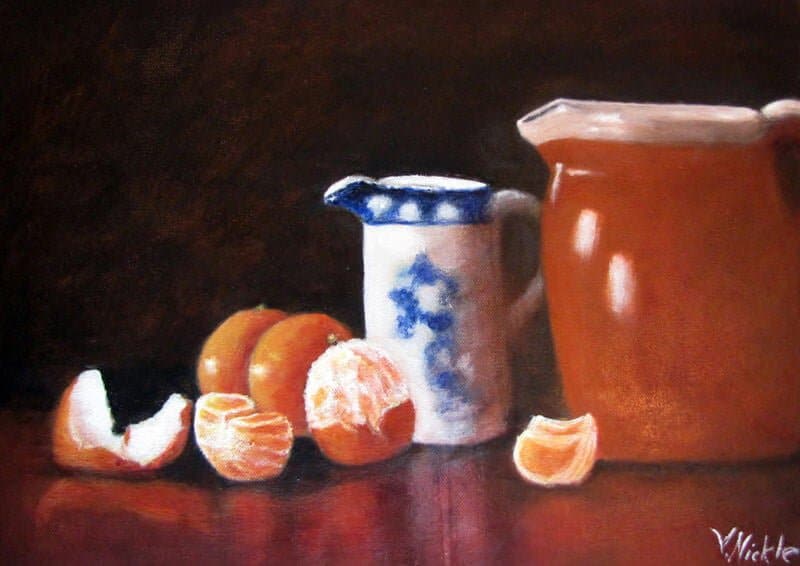
Will, I really enjoyed this course and learned loads. I didn’t realize just how useful the glazing liquid could be. Thanks for all that you share on your site – that’s where I’ve learned to paint. I’ve attached a photo of each of my paintings. They’re a huge step forward for me so thanks again.
Eamonn, Still Life Masterclass Course
Hello Will,
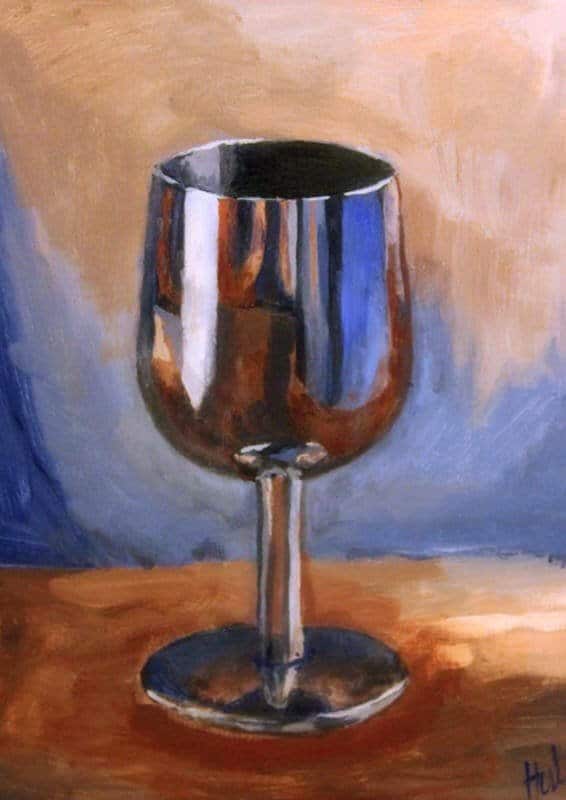
Just thought I’d drop a note to relay that I love the new Acrylics master course. I’ve watched through all of the videos and tonight I made an attempt at the silver goblet exercise.
I’m pretty happy with my first attempt at painting a reflective surface. I love your site and your approach to teaching. The detail you go into it fabulous and you make it feel like I’m warmly welcomed into the studio for a lesson. It’s much appreciated.
Dr Connie, Still Life Masterclass Course
Hi Will,
I have just completed the goblet and am on to the reflective surfaces ( jugs and oranges). I never thought I could paint like this – it has been an eye opener and boosted my confidence no end. I love the way you explain everything so clearly and take it step-by-step. I never really understood how glazing worked but now I do. It seems like sort of miracle when you see the end result.
Thank you so much – you are a real inspiration.Michelle, Still Life Masterclass Course
Student Success

Masterclass Still Life
Masterclass Still Life

Masterclass Still Life
Masterclass Still Life
Masterclass Still Life

Masterclass Still Life

Masterclass Still Life
Masterclass Still Life
FAQs
Still Life Masterclass Course
No, there is no time limit, you can watch them as many times as you like.
The course is a series of downloadable video lessons, once they are downloaded they are yours to keep forever. If you change computer in the future just drop me an email and I’ll send you through some fresh links.
You can watch the lessons and courses as many times as you like and have lifetime access. If you change computer in the future just drop me an email and I’ll send you some fresh links through.
Yes, you can download to an iPad using Files App, or the free app called ‘Documents’. Without either of these apps, you will not be able to download directly to an iPad.
You can also download the video lessons to multiple devices (home PC, laptop etc) and if your storage space is running low on your laptop, you can download to a separate USB stick.
No, not at the moment.
The courses are available as a download only, there is not a streamable option.
If you only have an iPad you need to use either the Files App or the free Documents App to download and have enough space on your device
But there is one exception.
If you open the download links in the Safari browser on an iPad, Safari will give you an option to View or Download, if you click View, you can watch the videos without downloading.
Not hugely, I’ve kept the material list as small as possible.
For the painting courses, I try to keep the colour palette small and use the same base colours for many of the other courses. I demonstrate with artist quality paints which have a higher pigment ratio so a little goes a long way.
Yes, there are jpeg reference images and line drawings to work from.
I’m a big fan of drawing, and if you have a good understanding of how drawing works, it can make the biggest jump forward in your paintings. But if you’re super keen to get started with painting and engrossed in colour, then I’ve added a few downloads to help you out.
All of the images can be printed out A4 size allowing you to work 1:1 with your reference image (a classical technique called sight-size)
I’m a big fan of drawing and if you have a good understanding of how drawing works, it can make the biggest jump forward in your paintings (it seems counter-intuitive but it can make dramatic changes).
But if you’re super keen to get started with painting and engrossed in colour, then I’ve added a few downloads to help you out. These are line drawings that you can work from.
All of the images can be printed out A4 size so you can work 1:1 with your reference image (another classical technique called ‘sight-size’). You can then draw out freehand or trace the lines to get you started, this course is all about getting you painting.
Right away!
You can follow most of the methods as they are derived from classical oil painting techniques. However, the speed of drying and painting over is much slower with oils than with acrylics. So there would be longer to wait in between sections for areas to dry, but the colour mixing principles and brush techniques would stay the same.
A love of tea and biscuits, coffee and cake for those well-earned breaks away from the canvas.
All of the stages are very simple.
Even though the course is called a masterclass, it’s all about progress.
Sure, your colours might be a little different, the drawing may go a little out, and the underpainting may be a bit too thin. But these are all very small changes, the principles are still being developed and learnt, so even if you’re going ‘wrong’ you’ll still be developing as a painter. The first tutorial of the silver goblet only uses a couple of colours and then we progress these ideas onto the more developed main painting.
The video course is self-paced.
I’ve structured the lessons into easy-digestible ‘painting chunks’ so you can paint each section at a time to fit into your lifestyle.
If you have to break for a few days before you can get back to the easel, no problem. Once downloaded the course is yours to keep forever so there isn’t a time limit.
If you’ve painted a couple of still lifes but want to tackle a more challenging subject. This course is aimed at someone who has painted a couple of pieces, knows they can improve but doesn’t know how to make the transition to a more refined painter.
