

Absolute Beginners Acrylic Course
(Scroll down ↓ to Add to Cart)
Do you ever dream of becoming an artist but keep putting it off until you have ‘more time’?
It’s easily done.
The very thought of the blank white canvas can cause a state of anxiety. You can quickly find yourself as the ‘art admirer’ rather than the ‘art creator’.
And you begin to wonder, what if, when you start painting, your paintings look …terrible. It’s enough to leave your paints in the box and promise you’ll start next week!!!
In this course, I teach you the foundations of working with acrylic paint and how they are the simplest and most effective way for an absolute beginner to learn how to paint successfully. They can be used in thin layers like watercolours or in thicker, more opaque applications like oil paint. They dry quickly and can be diluted and cleaned with water, making them simple to use and odourless.
With over 3 1/2 hours of tuition, you’ll observe beginner and advanced acrylic painting methods from underpainting and glazing to impasto and textural effects. Split over 7 lessons this course can be tackled daily, perfect if you want a painting week or you can study one lesson every weekend to start your painting practice.
The course covers setup and materials, colour mixing and pigment choice, brush-handling and palette-knife techniques, as well as gels and mediums.You’ll complete a still-life, landscape & seascape using three different colour palettes, from vivid turquoise to muted earth tones.
So why don’t you grab a brew and join me on this acrylics beginners course to unleash your inner artist, put paint to canvas and gain a solid foundation of painting knowledge.
£57.00
- Description
- Lesson Breakdown
- Course Delivery
- Course Requirements
- What Students Say
- Student Success
- FAQs
Description
On this Absolute Beginners Acrylic Painting Course, I want to engage aspiring artists who have been putting off their creative adventures and build confidence by slowly introducing painting concepts one at a time.
Why do we put off starting the things we’d love to achieve?
#1 You lack confidence
You want your first paintings to look great, but are anxious they might not, so you put off the inevitable and don’t paint at all.
In the beginning, you will make some mistakes. We all do.
But here’s a little secret from my easel.
During every new painting I’m working on, there’s a stage where the painting seems to take two steps back.
It’s part of the process.
If you follow the lessons you’ll begin to develop an intuitive understanding of what you’re doing, you’ll get better and start to see results.
#2 You’re pushed for time
This course has been designed in ‘bite-size’ lessons, each one no longer than 45 minutes. They have been broken down into chapters, so even if you only have 15-minute sessions, you can still learn a key concept.
#3 You’re feeling overwhelmed
Trying to learn a new anything feels so huge! There’s so much to learn and you just don’t know where to start.
Bearing that in mind, I’ve designed this course so each lesson is easily achievable, with a full material list that only uses a few paint colours, 2 brushes and limited other materials.
I’ve included my line drawings for you to work from, so you don’t have to be an experienced draughtsman. Each time I tackle a new technique on the course, I explain why I’m doing it and the results I’m looking for – so you can follow along really easily.
#4 You don’t know what to paint.
You feel like you’re creatively blocked. You want to have moments of inspiration and blurred days without sleeping or eating just painting at the easel, but when you try and think what to paint, your mind goes as blank as the canvas.
For this course, I’ve created 3 demonstrations with downloadable reference images for you to work along from. This will take the pressure off and can often jump-start your own ideas and inspirations. Each demonstration uses a different colour mood and painting techniques, so you can start to explore which style of painting suits you best.
This is a simple, easy-to-follow downloadable video course with over 3 hours of tuition, where you will discover the essentials of how to create an acrylic painting ‘that works’ and is aimed as if you’re completely new to painting.
I come from an art education background where I’ve designed art curriculums for schools, developed interactive learning resources with the National Gallery, London and taught students from all different starting points the principles of how drawing and painting work.
This course has been designed as a step-by-step rounded learning experience bringing together all my knowledge as a student, painter and teacher.
“The advice I like to give young artists, or really anybody who’ll listen to me, is not to wait around for inspiration. Inspiration is for amateurs; the rest of us just show up and get to work. If you wait around for the clouds to part and a bolt of lightning to strike you in the brain, you are not going to make an awful lot of work. All the best ideas come out of the process; they come out of the work itself”
Chuck Close, Artist
What’s in the Course?
- 3 x acrylic paintings taking you step-by-step from drawing, right through to the final glazes.
- 7-downloadable video lessons, split into separate chapters that follow on sequentially.
- Over 3 hours of detailed video instruction so that you can follow along at your own pace.
- Downloadable reference jpeg images, line drawings, and a full materials list.
- Lifetime access, downloadable on separate devices.
Lesson Breakdown

Lesson One
Introduction to Materials
An introduction to all the materials for the course. Brushes, palette choices, surfaces, canvases and all the extra essentials you might need as a beginner.

Lesson Two
The Power of Consistency
Introducing acrylic mediums to the palette and how they change the paint handling properties, thinning acrylics with water and the importance of paint consistency.

Lesson Three
Classical Painting Techniques
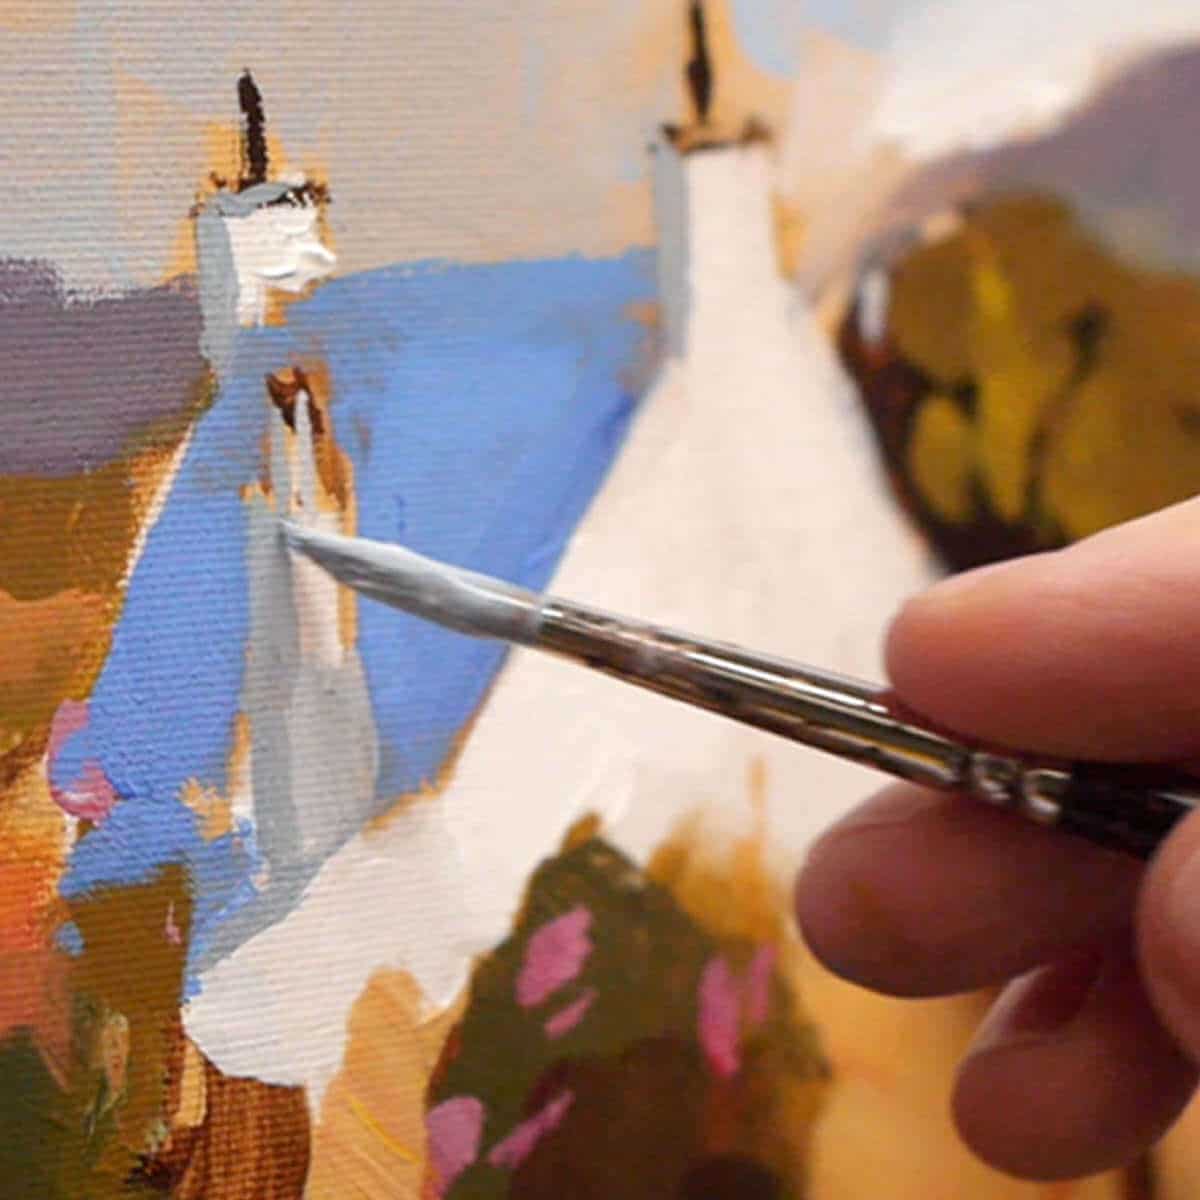
Learning how to prepare a canvas and establishing the 3 tone masses. Introducing brush handling, coloured layers and applying thin glazes of colour to add depth and complexity to complete our first landscape study.

Lesson Four
Understanding Pigments
Comparing and contrasting pigments from an art historical perspective – earth colours to man-made colours. Discovering the hidden bias in your paint tubes, the key to successful colour mixing.

Lesson Five
A Simple Colour Palette
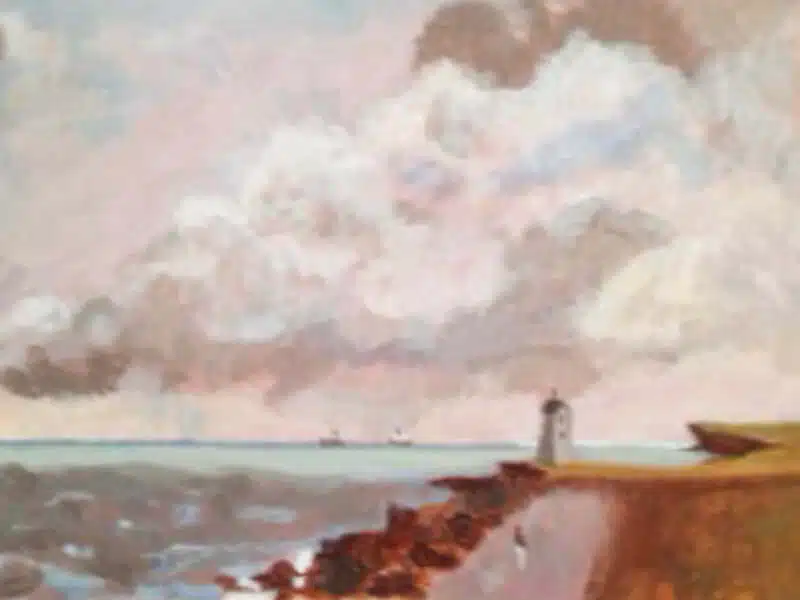
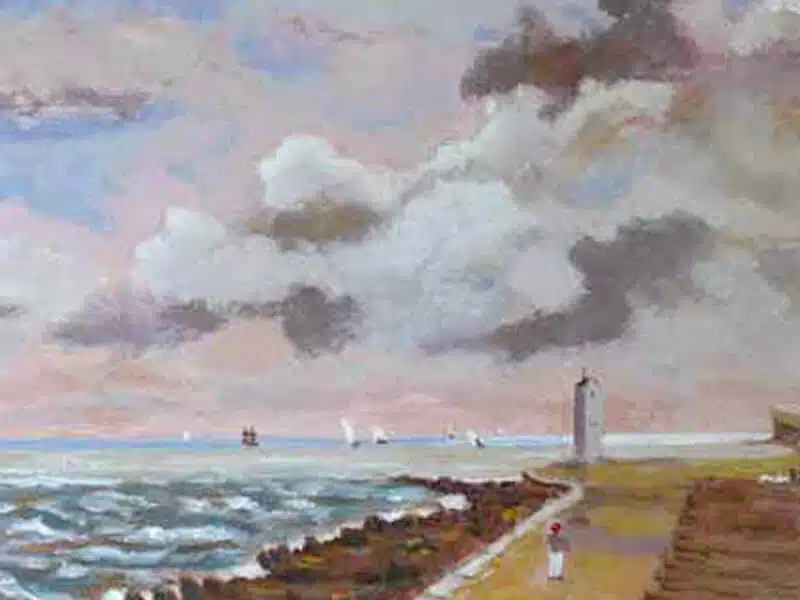
Introducing a simple colour palette that gives a wide range of possibilities with minimal outlay and maximum results. How to mix and match a paint swatch and use classical techniques to create harmony and balance in our seascape.

Lesson Six
Creating Texture
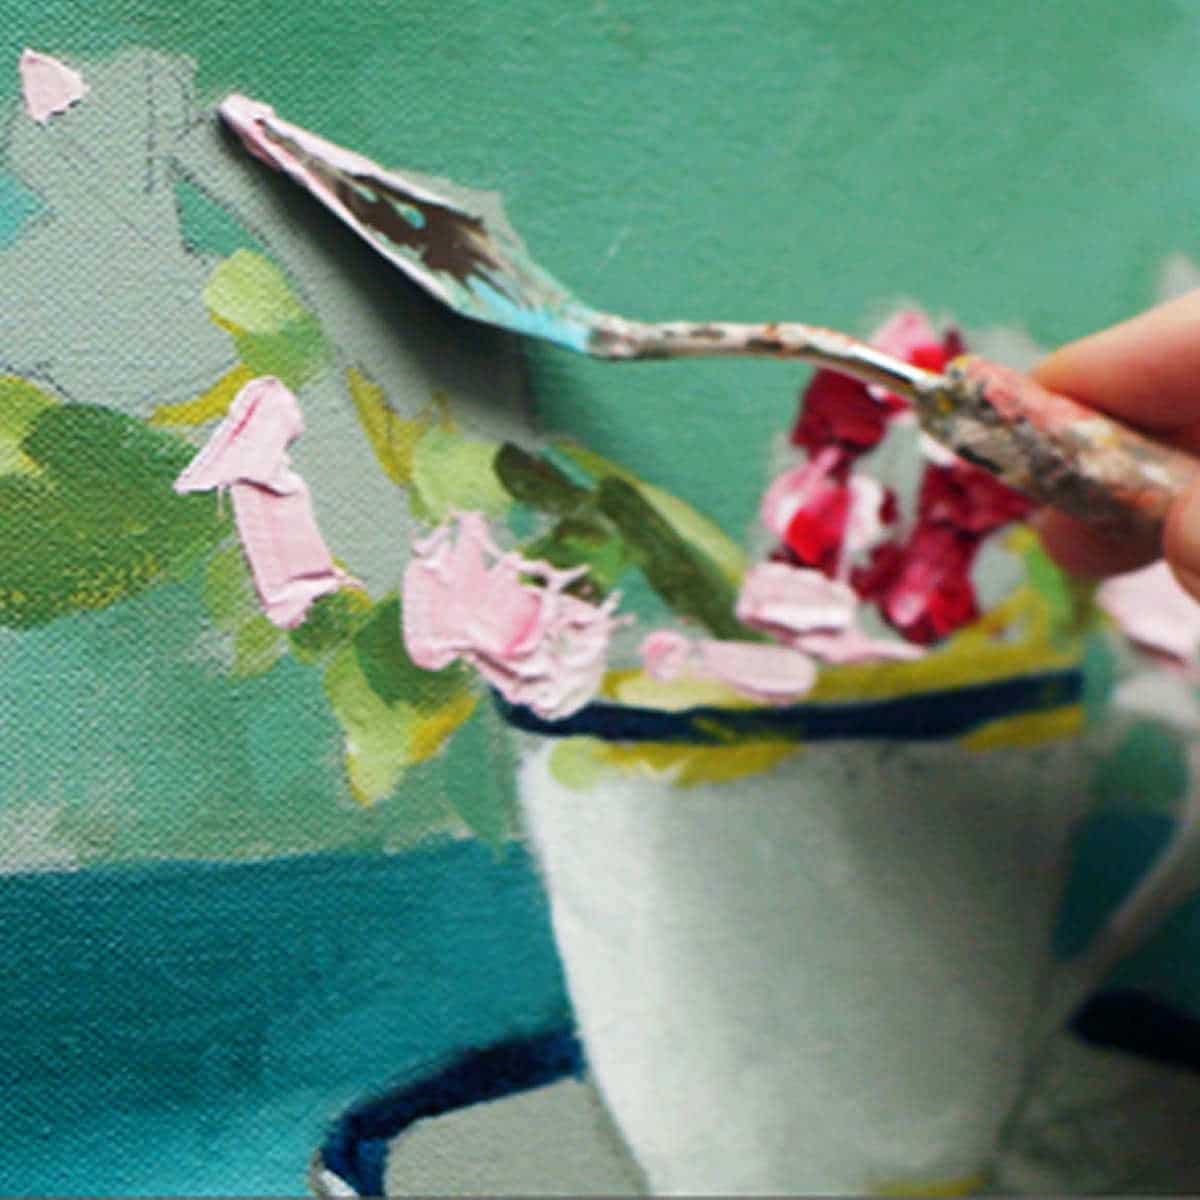
Introducing gels and pastes that create texture and body before we get creative with a sunset! Using alternative tools and approaches to paint abstract, rather than using a traditional brush.

Lesson Seven
Final Project
Bringing our knowledge together, combining watery washes, thick impasto and textural mediums to create an exciting still life final piece.
Course Delivery
I’ve taken care to film everything from my perspective so you can see exactly what I’m doing as we go through the entire painting process in real-time. With over 3 hours of video instruction, full-color photographs and drawing guides.
How is the course delivered?
- 7 Downloadable Step-by-Step Video Lessons – over 3 hours of video instruction that once downloaded – you have any time, anywhere access. (please note: you do not receive a DVD).
- A Your Materials PDF – which includes a full materials list.
- A Your Paintings Downloads PDF guide – which includes all the jpeg reference images used throughout the course, alongside line drawing guides.
- The video files are large (2.5GB) so you need a broadband internet connection and enough space on your computer hard drive.
Cut by the Artist
I filmed, edited, and coloured the course myself (with a little help from Vanessa!) rather than working with a production company. Artists have different needs than editors so I wanted to cut the course like an artist, showing you exactly what I wanted to see when I was learning. I show all the real-time brushstrokes for the paintings so you don’t miss a step.
There are 3 main camera views I cover:
An over-the-shoulder view of the work – so you can see how I build up the painting as if you were standing behind me in the studio.
A close-up of the brush contacting the canvas – with extreme close-ups, so you can see the grain of the canvas and the bristles in the brush.
Stable shot of the palette for when I pick up paint – see exactly how I mix colours. There is nothing worse than when the brush disappears from view, only to reappear with some fantastic new colour. Where did that colour come from?! How did it get mixed?
The palette view is very important, and not just at the beginning of the video. I want to show you every single mix I make, so I film with the palette directly next to the painting, then you can see shots of the palette throughout the course and gain a sense of my approach to colour mixing.
Colour Corrected Footage
Filmed under constant colour balanced conditions, so the paint colours are as accurate as can be. (Computer monitor screens and print-outs can vary)
Real-time filming – No long jumps in progress
I don’t like long jumps in progress when the paintbrush goes off-camera, the shot changes and suddenly the picture has seemed to drastically improve. I include all the stages so you can clearly see the progress of a work.
Course Requirements
Requirements for the Course
- A broadband internet connection – the files sizes for the video lessons are quite large (2.5 GB in total) so can take a while to initially download (depending on your internet speed.) Once downloaded, they are yours to keep forever, watch without buffering or take to the garden and watch away from an internet connection!
- Enough free space on your Computer or iPad – the video files are quite large (2.5GB in total) You can download the files to a separate USB stick
- A Colour Printer – to print out the reference images or access to a Print Shop
- Glossy Photo Printer Paper – I use Epson Photo Glossy
- 1 hour of distraction-free ‘you-time’ – You’ll need to be able to dedicate 1 hour for each painting demonstration
- A love of tea & biscuits (optional, but some might say essential!)
What Students Say
Dear Will,
Thanks for your fantastic online tutorials. I’m a computer science lecturer and have recently taken to acrylic painting to relieve stress during our recent strike action, having never really painted before. Your tutorials have helped me very much in understanding what I’m doing and I’m getting a lot of pleasure out of it. Looking forward to progressing through your lessons.
Dr. Julie, Beginners Acrylics Course
Below you will find my last painting studies from this course. My saucer in the flower/cup is somewhat wonky but I must say it was a fun learning experience, especially using the heavy gel, which of course I got carried away with in the application, Oh Well! without mistakes we don’t learn, laugh, or carry on in our struggle to be better.
Thanks again Will for encouraging & sharing. See you soon in your Color Course/Portrait Course!
Brenda, Beginners Acrylics Course
Student Success
Beginners Acrylic
Beginners Acrylic

Beginners Acrylic

Beginners Acrylic

Beginners Acrylic

Beginners Acrylic

Beginners Acrylic

Beginners Acrylic

Beginners Acrylic

Beginners Acrylic

Beginners Acrylic

Beginners Acrylic
FAQs
Absolute Beginners Acrylic Course
No, there is no time limit, you can watch them as many times as you like.
The course is a series of downloadable video lessons, once they are downloaded they are yours to keep forever. If you change computer in the future just drop me an email and I’ll send you through some fresh links.
You can watch the lessons and courses as many times as you like and have lifetime access. If you change computer in the future just drop me an email and I’ll send you some fresh links through.
Yes, you can download to an iPad using Files App, or the free app called ‘Documents’. Without either of these apps, you will not be able to download directly to an iPad.
You can also download the video lessons to multiple devices (home PC, laptop etc) and if your storage space is running low on your laptop, you can download to a separate USB stick.
No, not at the moment.
The courses are available as a download only, there is not a streamable option.
If you only have an iPad you need to use either the Files App or the free Documents App to download and have enough space on your device
But there is one exception.
If you open the download links in the Safari browser on an iPad, Safari will give you an option to View or Download, if you click View, you can watch the videos without downloading.
Not hugely, I’ve kept the material list as small as possible.
For the painting courses, I try to keep the colour palette small and use the same base colours for many of the other courses. I demonstrate with artist quality paints which have a higher pigment ratio so a little goes a long way.
Yes, there are jpeg reference images and line drawings to work from.
I’m a big fan of drawing, and if you have a good understanding of how drawing works, it can make the biggest jump forward in your paintings. But if you’re super keen to get started with painting and engrossed in colour, then I’ve added a few downloads to help you out.
All of the images can be printed out A4 size allowing you to work 1:1 with your reference image (a classical technique called sight-size)
I’m a big fan of drawing and if you have a good understanding of how drawing works, it can make the biggest jump forward in your paintings (it seems counter-intuitive but it can make dramatic changes).
But if you’re super keen to get started with painting and engrossed in colour, then I’ve added a few downloads to help you out. These are line drawings that you can work from.
All of the images can be printed out A4 size so you can work 1:1 with your reference image (another classical technique called ‘sight-size’). You can then draw out freehand or trace the lines to get you started, this course is all about getting you painting.
No, all the painting demonstrations are studio based.
Mmm, it’s hard to say, If you’re absolutely new to painting I’d say no.
Many of the demonstrations and tutorials look at materials that are specific to acrylic painting – so I wouldn’t want you to have the additional complication of adapting the methods to oils.
However, If you’ve been painting with oils for a while, you could adapt the painting tutorials with oil paint as many of the techniques stem from a classical oil painting approach.
The demonstrations have been designed to utilize the quick-drying properties of acrylics and to work around all the issues that acrylics can have.
No, this course focuses on standard acrylics.
If you follow the lessons in progression by the end of the course, you will have three finished paintings, a still life, a landscape and a seascape.
Each completed with three different styles of colour palette, from vivid turquoise to muted earth tones.
You’ll have gained a foundational knowledge of what can be achieved with acrylic paint and how quickly you can progress as an artist when you take the right approach to painting.
Maybe, if you’ve watched through all of the videos on my youtube channel or have completed more advanced painting courses you may have come across many of the principles I demonstrate, just in a more scattergun effect.
This course organizes all of these concepts into a concise way of understanding the whole picture. Once completed, you can branch off into more specialized individual courses or re-visit older lessons with a new vantage point.
An absolute beginner or an aspiring artist who has tried a few paintings on their own but have been disappointed with their results.
The shopping cart with convert to your local currency. You can use a currency converter to get an idea of the current exchange rate: https://www.xe.com/currencyconverter/
