
NEW! Nectarine Still Life in Oils Course
(Scroll down ↓ to Add to Cart)
OFFER RUNS: 30th October to 6th November
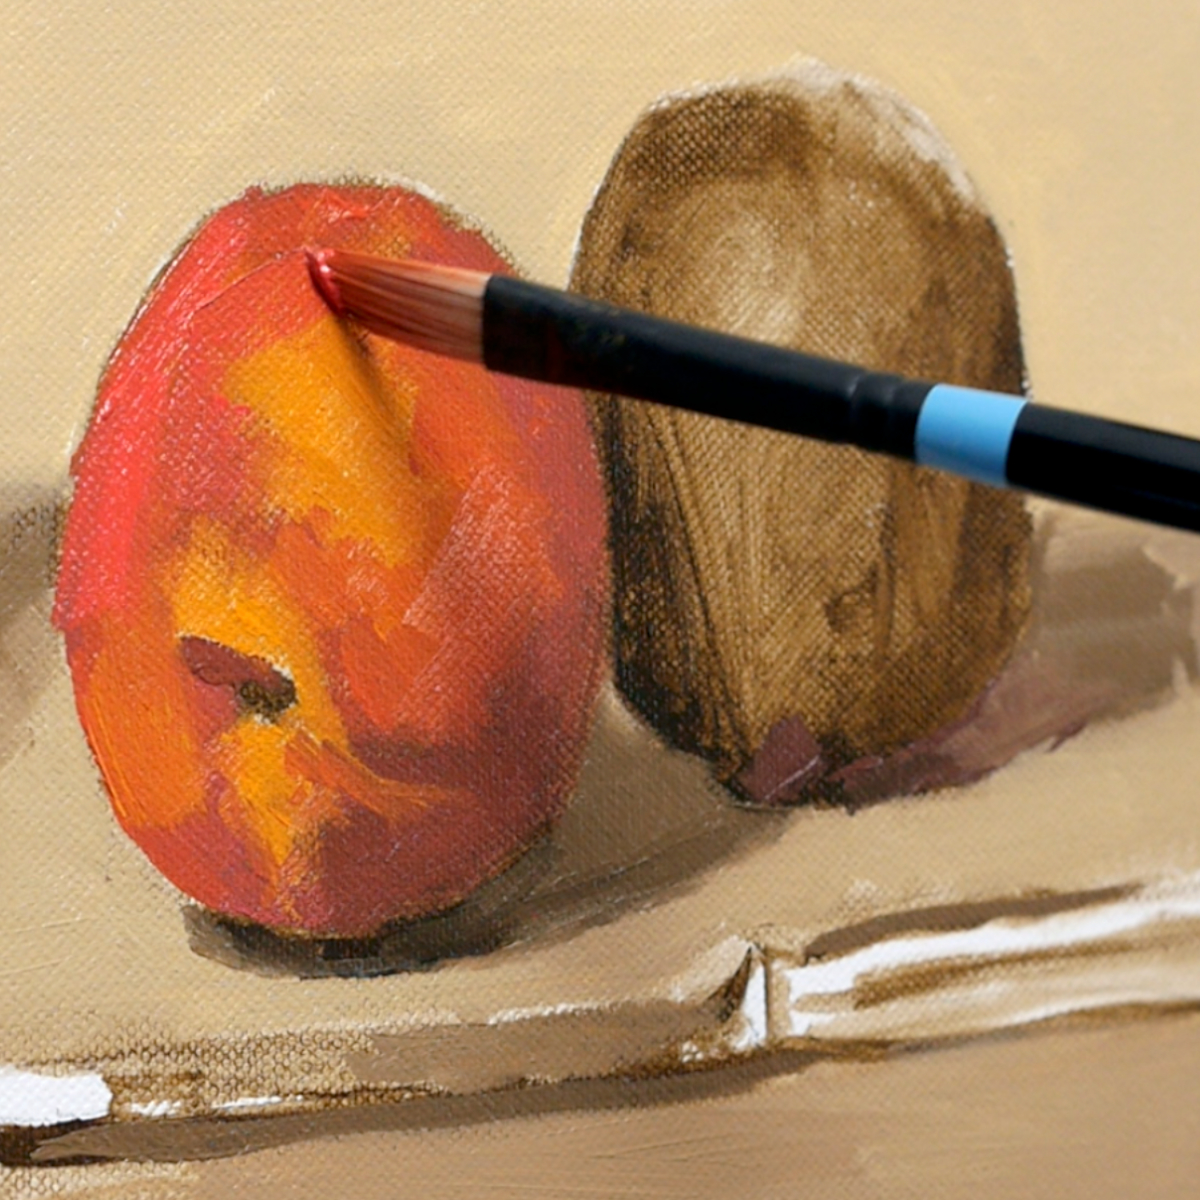
Welcome to this Nectarine Still Life in Oils Course.
One thing I really wanted to do with this course was show you how much easier oil painting can be with a clear path.
You might feel intimidated by the complexity of oil painting, struggle with basic drawing techniques, lack confidence in your colour-mixing skills, or not know where to start.
Don’t worry; I’ve got you covered!
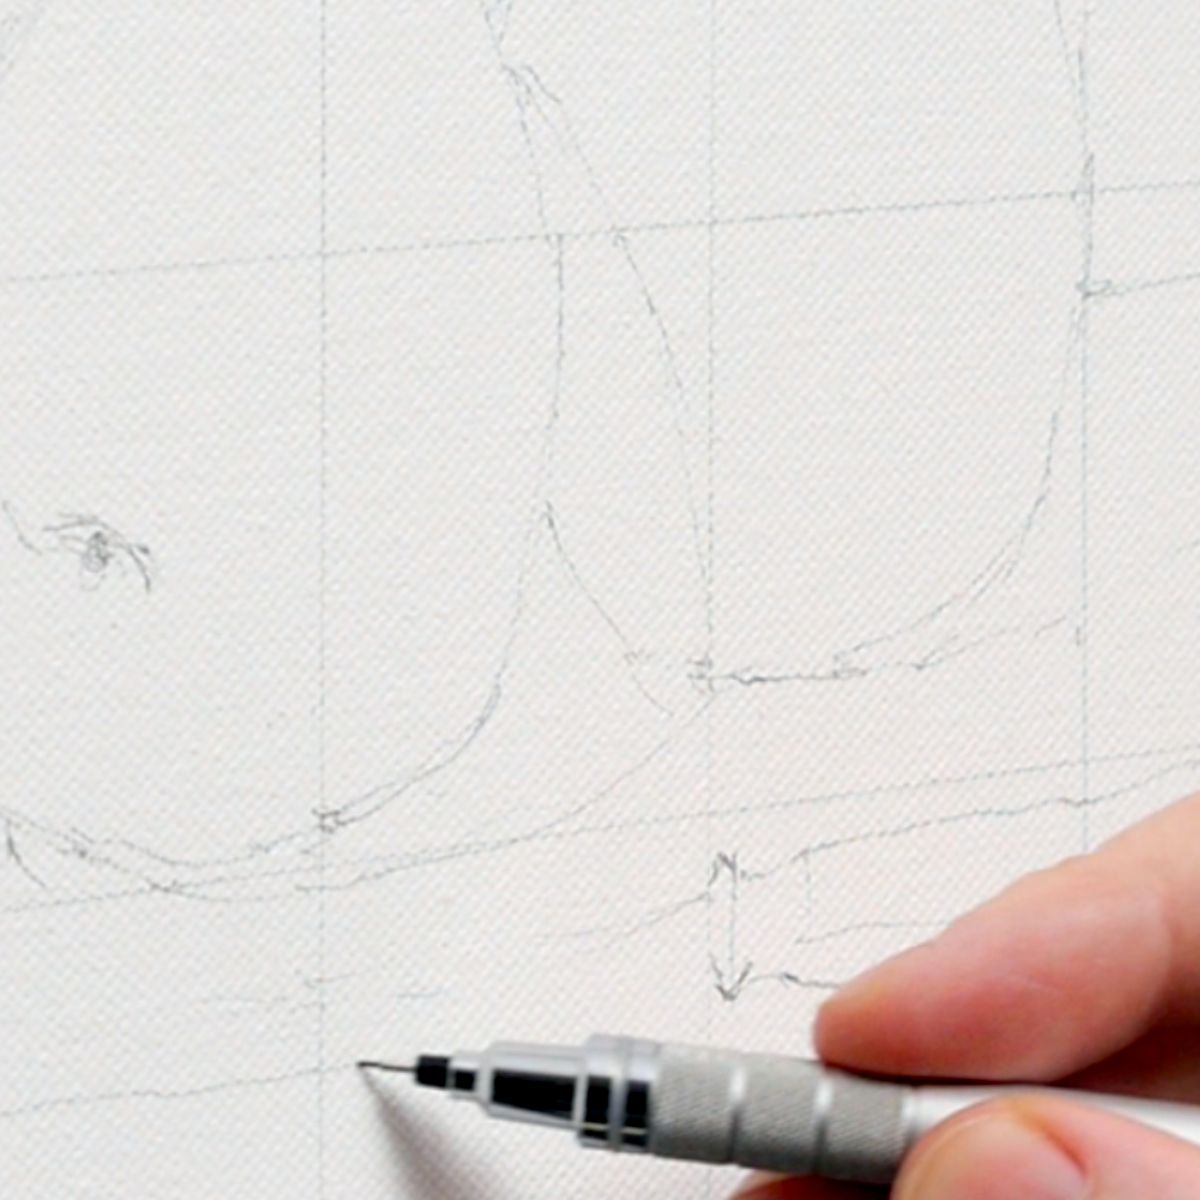
We start with the drawing, using a grid method to help you get the proportions right,
We’ll follow classical painting techniques to construct an oil still life.
Then we work with an open grisaille to map out our values.
Next we prepare our colour mixes in advance. It’s a fantastic way to train your eye, improve your colour mixing and really speed up the next stage painting process.
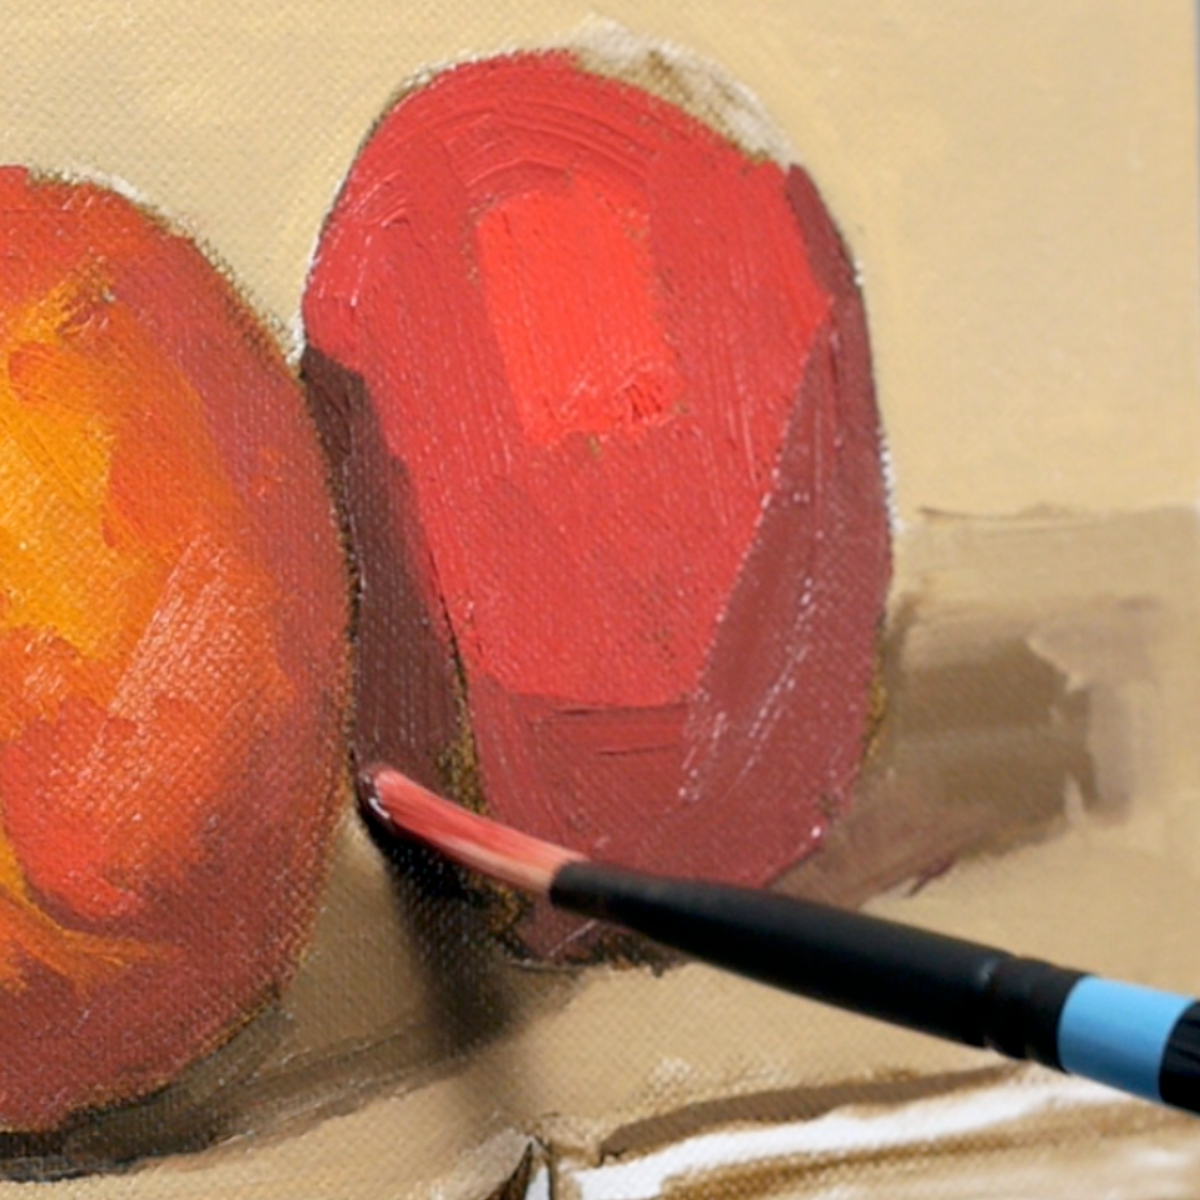
And when we come to putting paint onto the canvas, we’ve already made so many of those important decisions. You can focus on your brush techniques, the edges and bringing the painting to life.
We’re keeping the mediums straightforward: odourless mineral spirits and a solvent-free gel, without adding extra oil medium, so you don’t have to worry about fat over lean.
If you’ve already taken my Beginner’s Oil Painting Course, you’ve got all the colours and brushes you need!
The whole idea is to give you a practical painting method that you can follow from start to finish, and then use again in your own paintings.
Once you understand the order of things, how to approach the drawing, prepare your colours, and build up the painting, you can make progress much faster.
And that’s what I really want you to take away from this course.
Not just a finished still life, but a process that makes your next paintings easier too.
What’s in the Course?
- 1 x Still life painting from start to finish, based in the studio, working from a reference image. ✅
- 5-Lesson curriculum (split into separate chapters that follow sequentially.) ✅
- Step-by-step oil painting lessons that you can follow at your own pace.
- A clear, easy-to-follow process for building the painting in stages.
- A drawing template to help you overcome the blank-canvas hurdle and start with confidence.
- Downloadable reference JPEG images, line drawings, and a full materials list.✅
- LIFETIME ACCESS to video lessons, download on separate devices, keep forever.✅
- Over 2+ hrs of detailed video instruction so you can follow along at your own pace.✅
(Please note: The price shown below is in UK pounds (GBP £), and your invoice will show £45.00. The amount you pay in your local currency may vary depending on the exchange rate. For example, customers in the US will pay approximately USD $59, customers in Canada will pay approximately CAD $83, customers in Australia will pay approximately AUD $84, and customers in the EU will pay approximately EUR €53.)
Original price was: £45.00.£27.00Current price is: £27.00.
Description
The difficulty with learning oil painting isn’t necessarily the oil paint itself, it’s making too many decisions at once.
If you want to paint from life, there’s quite a lot to organise before you make your first brushstroke.
You need a subject that works, you need to arrange it into a composition, you need an easel, your palette and somewhere comfortable to work, and then you need to think about the lighting.
Natural light can be beautiful, but it’s constantly changing. Shadows move, colours shift, and something that looked perfect when you started can look completely different a couple of hours later.
You might wonder whether the shape is right, whether a colour is too warm, whether a shadow is dark enough, or why an object still doesn’t look three-dimensional. For an experienced painter, many of these decisions have become almost automatic, but when you’re just beginning, each one requires your full attention.
That’s why painting directly from life can sometimes feel much harder than expected. You’re not learning one new skill. You’re trying to coordinate several new skills at once.
So for this course, I wanted to take a different approach.
Instead of throwing everything at you at once, we break the painting process into manageable stages.
- We work from a printed reference image, so the composition and lighting remain completely consistent throughout the painting. You won’t have to race against changing daylight or recreate the still life setup every time you want to continue.
- We begin with a gridded pencil drawing, so you can forget colour and paint handling for a moment and focus on the proportions, shapes, and placement of the objects.
- Then we introduce a monochrome underpainting, called a grisaille. This lets you focus purely on value and see how the pattern of lights and darks creates the illusion of form, without also having to find the perfect colour.
Only once those foundations are in place do we introduce colour.
Isolated colour swatches make colour mixing much easier to judge.
Rather than looking at the whole scene and wondering, “What colour is that?”, you can compare one small area at a time and ask simpler questions. Is it lighter or darker? Warmer or cooler? More saturated or more neutral?
You can mix, compare and adjust.
Along the way, you’re also becoming familiar with the oils themselves. You start to understand how they move under the brush, how much paint you need, how colours mix, how slowly the paint dries, and how one layer can build on another.
So instead of trying to learn drawing, composition, value, colour mixing, and oil painting technique all at once, we break the process down.
And that’s really the aim of the course. It’s not to keep you from painting from life. It’s to give you enough experience with each individual part of the process that, when you do set up your easel in front of a still life, you’re no longer trying to solve everything for the first time.
What’s in the Course?
- 1 x Still life painting from start to finish, based in the studio, working from a reference image. ✅
- 5-Lesson curriculum: (split into separate chapters that follow sequentially.) ✅
- Step-by-step oil painting lessons that you can follow at your own pace.
- A clear, easy-to-follow process for building the painting in stages.
- A drawing template to help you overcome the blank-canvas hurdle and start with confidence.
- Downloadable reference JPEG images, line drawings, and a full materials list.✅
- LIFETIME ACCESS to video lessons, download on separate devices, keep forever.✅
- Over 2+ hrs of detailed video instruction so you can follow along at your own pace.✅
COURSE OUTLINE
Welcome from Will
Learn about the materials we need for the course and the simple approach we will be taking on the lesson.
Drawing Out
Using the grid method as a guide, we’ll draw the main shapes onto the canvas with pencil, keeping everything light and adjustable.
Working 1:1 with your reference image can make it easier to judge colours and shapes
Painting an open Grisaille
By starting with one colour, you’ll learn about paint consistency, drying time and the importance of drawing with paint.
Colour mixing
The beauty of working from a reference image is we can work from isolated colour swatches. Learn how to mix harmonious colours for the painting.
First Painting
This is where our colour mixing comes to help us, the first stage block in the painting comes together really quickly.
Refining the Shapes
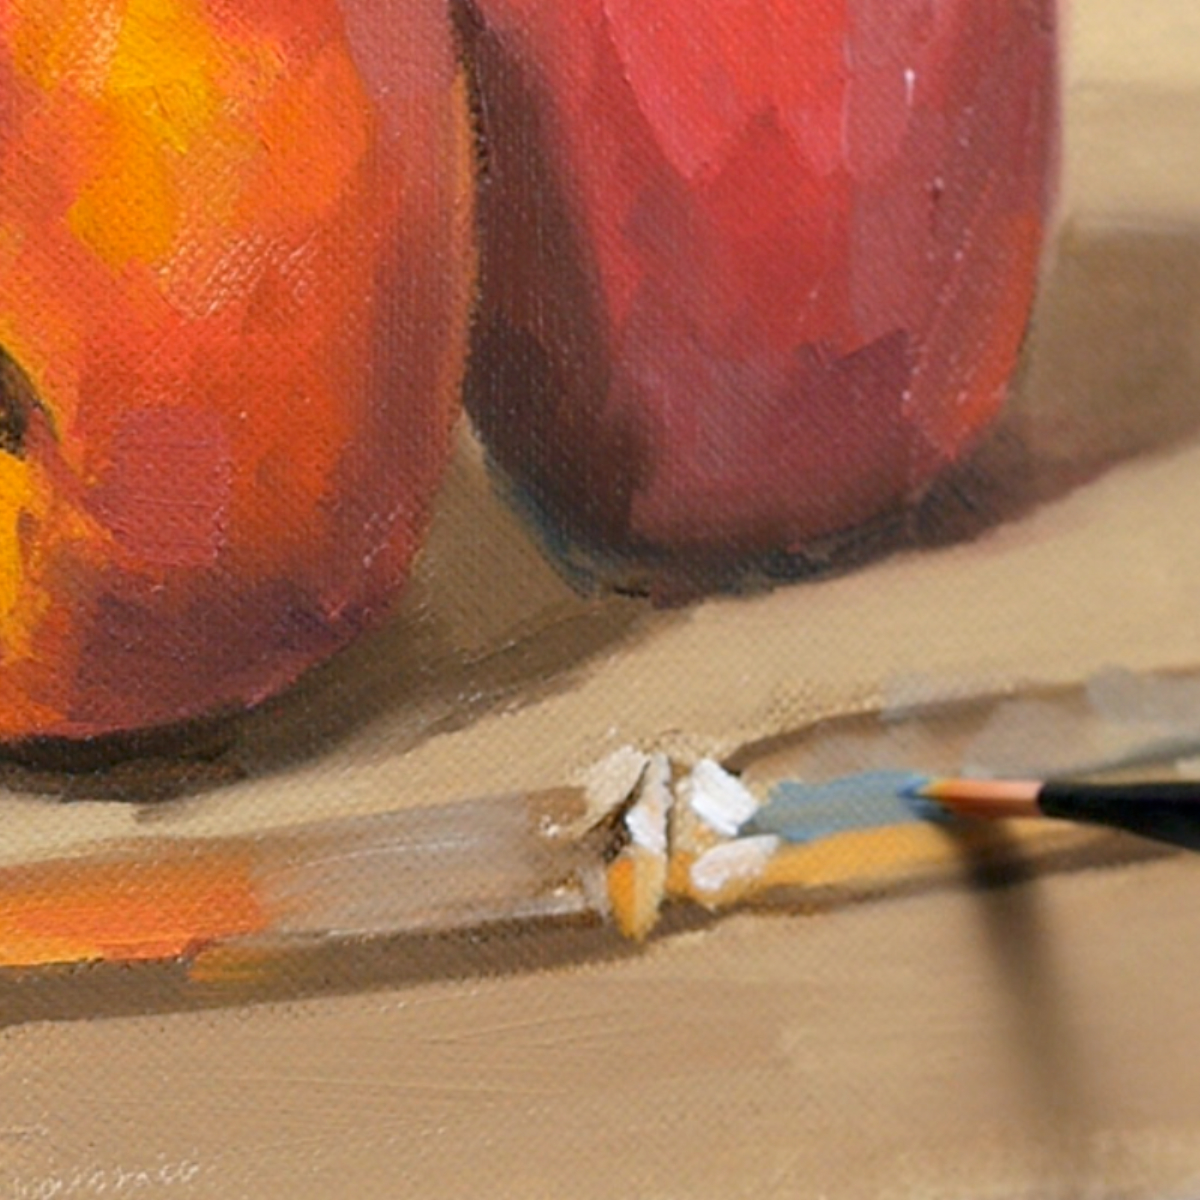
Smoke edges, refine shapes, and bring the painting together.
Admire, brew and biscuit!
Sit back and congratulate yourself on a fab new painting you’ve created in just a few hours.
COURSE DELIVERY
I’ve taken care to film everything from my perspective so you can see exactly what I’m doing as we go through the entire painting process in real-time. It includes over 2 hours of video instruction, full-colour photographs and drawing guides.
This course has been developed with a beginner in mind, carefully going through the steps at a pace that introduces new colours and techniques slowly.
How is the course delivered?
When you purchase the course, you will receive an email with all the downloadable video links to the course. You then need to download and save the video lessons to your home computer/iPad.
- 5 Downloadable Step-by-Step Video Lessons.
- Over 2 hours of detailed video instruction that once downloaded – you have any time, anywhere access.
- A Materials List PDF‘ – which includes all the materials needed.
- JPEG reference images used throughout the course, including the photo reference I demo with, and a copy of my pencil sketch for the line drawing.
- The video files are quite large (2 GB) so you need a broadband internet connection and enough space on your computer hard drive.
Please note: You will not receive a DVD.
Cut by the Artist
I filmed, edited, and coloured the course myself (with a little help from Vanessa!) rather than working with a production company. Artists have different needs than editors so I wanted to cut the course like an artist, showing you exactly what I wanted to see when I was learning. I show all the real-time brushstrokes for the paintings so you don’t miss a step.
There are 3 main camera views I cover:
An over-the-shoulder view of the work – so you can see how I build up the painting as if you were standing behind me in the studio.A close-up of the brush contacting the canvas – with extreme close-ups, so you can see the grain of the canvas and the bristles in the brush.
Stable shot of the palette for when I pick up paint – see exactly how I mix colours. There is nothing worse than when the brush disappears from view, only to reappear with some fantastic new colour. Where did that colour come from?! How did it get mixed?
The palette view is very important, and not just at the beginning of the video. I want to show you every single mix I make, so I film with the palette directly next to the painting, then you can see shots of the palette throughout the course and gain a sense of my approach to colour mixing.
Colour Corrected Footage
Filmed under constant colour balanced conditions, so the paint colours are as accurate as can be. (Computer monitor screens and print-outs can vary)
Real-time filming – No long jumps in progress
I don’t like long jumps in progress when the paintbrush goes off camera, the shot changes and suddenly the picture has seemed to drastically improve.
I include all the stages so you can clearly see the progress of a work.
COURSE REQUIREMENTS
Requirements for the Course
A broadband internet connection – the file sizes for the video lessons are quite large (2GB in total) so can take a while to initially download (depending on your internet speed.)
Once downloaded, they are yours to keep forever, watch without buffering or take to the garden and watch away from an internet connection!
Enough free space on your Computer or iPad – You can download the files to a separate USB stick if you need extra storage.
A Colour Printer/Printout— we’ll mix and test some of our colours directly against printed colour swatches. These will make it much easier to compare and adjust your mixes.
Photo Printer Paper – I use Epson Photo Glossy.
A love of Tea & Biscuits – Optional, but some might say essential tools!