

Vincent’s Sunflowers in Acrylics
(Scroll down ↓ to Add to Cart )
Welcome to Vincent’s Sunflowers in Acrylics
In this course, we’ll observe one of the most expressive painters in art history: Vincent van Gogh.
Best known for his bold use of colour, thick impasto brushwork, and paintings filled with emotion and movement, Van Gogh transformed simple subjects into something unforgettable.
And few subjects capture that better than his Sunflowers.
Van Gogh painted his Sunflowers series after moving to Arles in the South of France in 1888. It was a period of hope, ambition, uncertainty, and intense creative energy. He was searching for his own voice as an artist, and in these paintings we can see his brushwork becoming looser, his colour choices bolder, and his style more personal than ever before.
I’ve chosen this particular version of the Sunflowers, ‘Three Sunflowers in a Vase‘ because it beautifully captures the warmth, optimism, and intensity of that moment.
At first glance, it looks like a simple vase of flowers.
But when you look closer, there’s so much to learn.
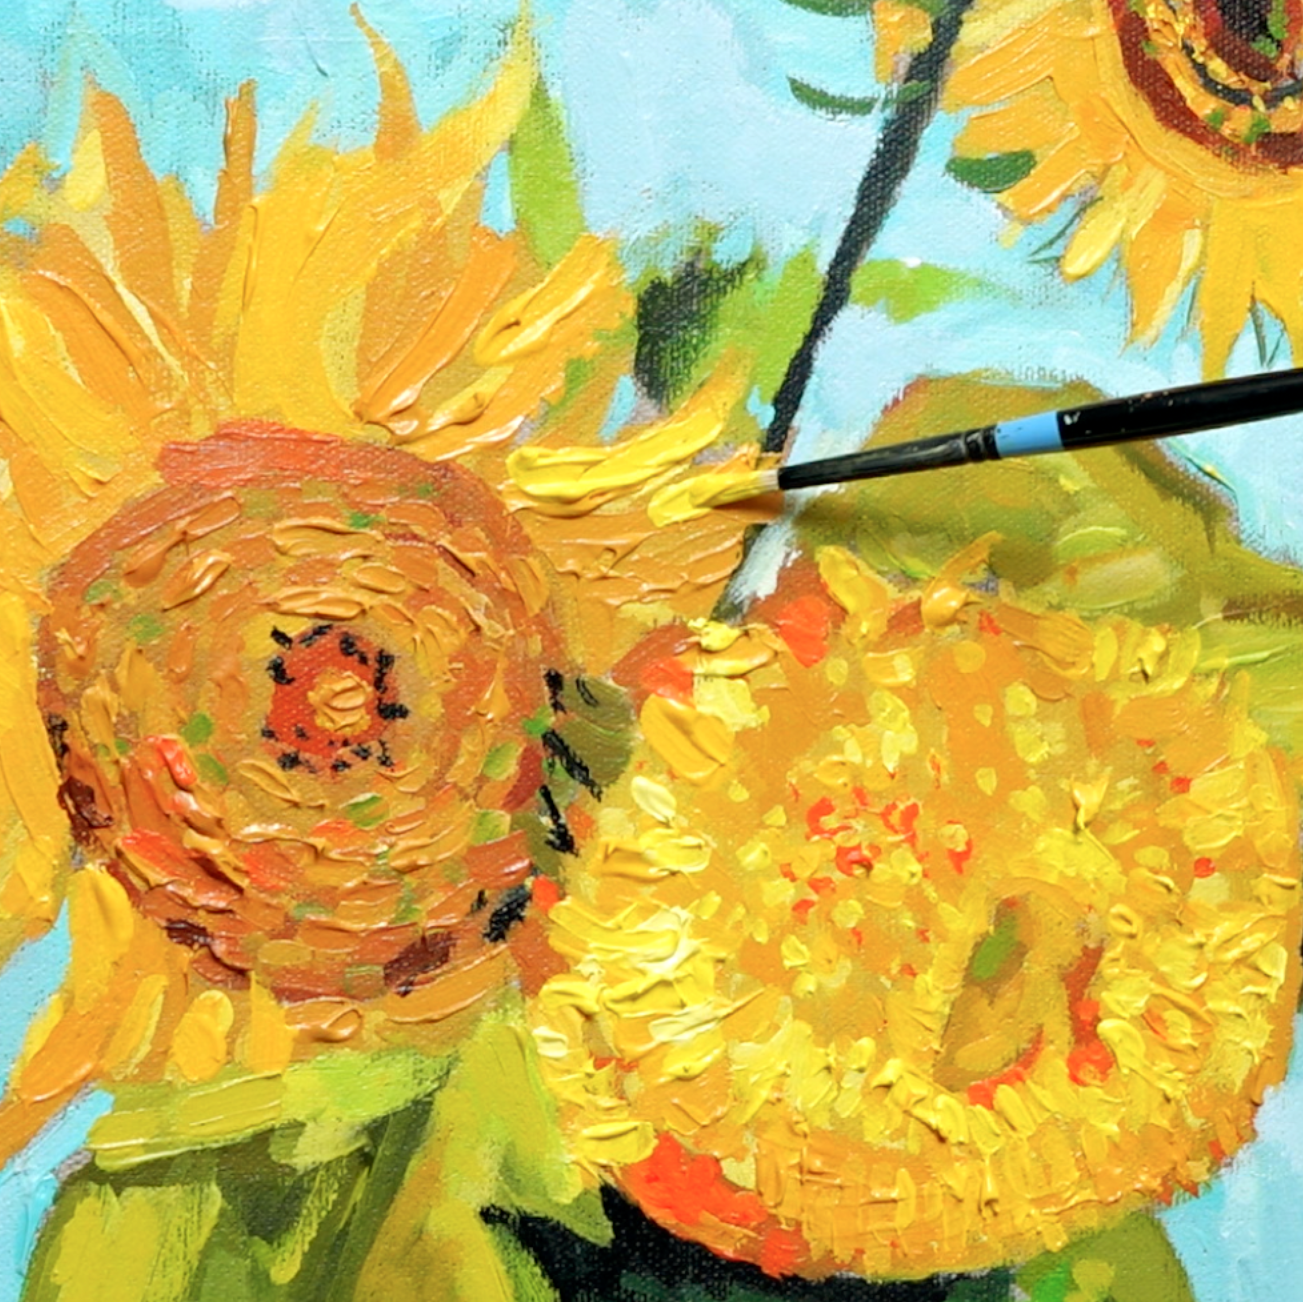
Thick paint. Directional marks. Broken edges. Subtle yellows. Muted greens. A background that shifts and glows. Brushstrokes that don’t just describe the subject, they become part of the experience.
You’ll learn how to build a painting in stages, starting with a simple grid drawing and moving through the background, tabletop, vase, leaves, and sunflower heads.
We’ll look at how Van Gogh used colour relationships to create impact, how small areas of contrast can bring a painting to life, and how to use thicker acrylic paint and gels to suggest the texture and energy of impasto brushwork.
If you’re unsure of your drawing, no worries. We use a simple grid method to help keep everything in proportion and make the subject feel much more approachable.
And if you’ve ever looked at Van Gogh’s paintings and thought, “I’d love to paint with that kind of freedom, but I wouldn’t know where to start,” this course will guide you through it step by step.
So grab a brew, maybe a straw hat, and let’s paint Vincent’s Sunflowers!
What’s in the Course?
- 1 x Van Gogh-inspired Sunflowers painting from start to finish, based in the studio, working from a reference image.
- 13-lesson curriculum: Downloadable Video Lessons (with lifetime access to these recordings)
- Step-by-step acrylic painting lessons that you can follow at your own pace.
- A clear, easy-to-follow process for building the painting in stages.
- A drawing template to help you overcome the blank canvas and get started with confidence.
- LIFETIME ACCESS to video lessons, download on separate devices, keep forever.
- Over 4+ hrs of detailed video instruction.
- (I demonstrate the course with acrylics, using gels and thicker paint to create texture, but you could also adapt the approach to water-mixable oils or traditional oils if you prefer.)
Is this course for me?
“I’m not good enough.”
Van Gogh often felt the same way. He compared himself to other artists, questioned his abilities, and struggled to achieve what he saw in his mind. Yet he kept painting. Every brushstroke was a step forward.
“I’ve left it too late.”
Van Gogh didn’t dedicate himself fully to art until he was 27. Art doesn’t ask when you started. It asks whether you’re willing to start.
“What if I never develop my own style?”
Your style isn’t hiding somewhere waiting to be discovered. It grows through practice. Van Gogh’s famous Sunflowers weren’t the beginning of his journey. They were the result of years of observation, experimentation, and changing. The same process is available to every artist who is willing to pick up a brush and begin.
“I don’t know if I have talent.”
Talent is overrated. Before you write yourself off, ask yourself a different question: have you actually given yourself the chance to learn? Van Gogh certainly didn’t look like a genius when he started. His early drawings were awkward, his paintings were dark and heavy. Most people decide they don’t have talent long before they’ve given themselves enough time to improve.
This course isn’t about proving you’re talented. It’s about discovering what happens when you stop judging yourself and start painting.
(Please Note: The price shown below is in UK pounds (GBP £), and your invoice will show £57.00 The amount you pay in your local currency may vary depending on the exchange rate. For example, customers in the US will pay approximately USD $77, customers in Canada will pay approximately CAD $107, customers in Australia will pay approximately AUD $110, and customers in the EU will pay approximately EUR €67.)
£57.00
Description
Welcome to Vincent’s Sunflowers in Acrylics
In this course, we’ll observe one of the most expressive painters in art history: Vincent van Gogh.
Best known for his bold colour, thick impasto brushwork, and paintings filled with emotion and movement, Van Gogh transformed simple subjects into something unforgettable.
And few subjects capture that better than his Sunflowers.
Van Gogh painted his Sunflowers series after moving to Arles in the South of France in 1888. It was a period of hope, ambition, uncertainty, and intense creative energy. He was searching for his own voice as an artist, and in these paintings we can see his brushwork becoming looser, his colour choices bolder, and his style more personal than ever before.
I’ve chosen this particular version of the Sunflowers, ‘Three Sunflowers in a Vase‘, because it beautifully captures the warmth, optimism, and intensity of that moment.
At first glance, it looks like a simple vase of flowers.
But when you look closer, there’s so much to learn.
Thick paint. Directional marks. Broken edges. Subtle yellows. Muted greens. A background that shifts and glows. Brushstrokes that don’t just describe the subject, they become part of the experience.
You’ll learn how to build a painting in stages, starting with a simple grid drawing and moving through the background, tabletop, vase, leaves, and sunflower heads.
We’ll look at how Van Gogh used colour relationships to create impact, how small areas of contrast can bring a painting to life, and how to use thicker acrylic paint and gels to suggest the texture and energy of impasto brushwork.
If you’re unsure of your drawing, no worries. We use a simple grid method to help keep everything in proportion and make the subject feel much more approachable.
And if you’ve ever looked at Van Gogh’s paintings and thought, “I’d love to paint with that kind of freedom, but I wouldn’t know where to start,” this course will guide you through it step by step.
So grab a brew, maybe a straw hat, and let’s paint Vincent’s Sunflowers!
What’s in the Course?
- 1 x Van Gogh-inspired Sunflowers painting from start to finish, based in the studio, working from a reference image. ✅
- 13-lesson curriculum: (split into separate chapters that follow on sequentially.) ✅
- Step-by-step acrylic painting lessons that you can follow at your own pace.
- A clear, easy-to-follow process for building the painting in stages.
- A drawing template to help you overcome the blank canvas and get started with confidence.
- Downloadable reference JPEG images, line drawings, and a full materials list.✅
- LIFETIME ACCESS to video lessons, download on separate devices, keep forever.✅
- Over 4+ hrs of detailed video instruction, so that you can follow along at your own pace.✅
(I demonstrate the course with acrylics, using gels and thicker paint to create texture, but you could also adapt the approach to water-mixable oils or traditional oils if you prefer.)
Is this course for me?
“I’m not good enough.”
Van Gogh often felt the same way. He compared himself to other artists, questioned his abilities, and struggled to achieve what he saw in his mind. Yet he kept painting. Every brushstroke was a step forward.
“I’ve left it too late.”
Van Gogh didn’t dedicate himself fully to art until he was 27. Art doesn’t ask when you started. It asks whether you’re willing to start.
“What if I never develop my own style?”
Your style isn’t hiding somewhere waiting to be discovered. It grows through practice. Van Gogh’s famous Sunflowers weren’t the beginning of his journey. They were the result of years of observation, experimentation, and changing. The same process is available to every artist who is willing to pick up a brush and begin.
“I don’t know if I have talent.”
Talent is overrated. Before you write yourself off, ask yourself a different question: have you actually given yourself the chance to learn? Van Gogh certainly didn’t look like a genius when he started. His early drawings were awkward, his paintings were dark and heavy. Most people decide they don’t have talent long before they’ve given themselves enough time to improve.
This course isn’t about proving you’re talented. It’s about discovering what happens when you stop judging yourself and start painting.
I’m studying Vincent for school, will this course help?
This course is also a lovely supporting project for GCSE Art students, home-educated learners, or anyone wanting to understand how to study an artist in a more practical way.
As we work through Van Gogh’s Sunflowers, we don’t just copy the image. We look at the story behind the painting, the colour choices, the expressive brushwork, the textured surface, and how Van Gogh used a simple subject to create something full of movement and emotion.
The process naturally touches on many of the skills students are encouraged to develop at GCSE level: researching an artist, recording observations, experimenting with materials and techniques, refining ideas, and creating a finished response.
We’ll grid out the reference, draw the composition onto canvas, test colour swatches, explore acrylic mediums, build up impasto-style texture, and make final refinements to bring the painting together.
So whether you’re studying Van Gogh for school, supporting a young artist at home, or simply want a deeper understanding of how a master painter worked, this course gives you a clear, practical route into his colour, texture and brushwork.
COURSE OUTLINE
Welcome from Will
Learn about Van Gogh’s Sunflowers, the story behind the paintings, and how this simple subject became one of the most recognisable images in art history.
We’ll look at his bold use of colour, expressive brushwork, and how he used texture and movement to bring the flowers to life.
Gridding the Reference
Because we’re working on a larger canvas, 40cm x 50cm, we’ll start by gridding out the reference image.
This helps to simplify the shapes and makes the drawing much more manageable, especially when there are lots of overlapping petals, leaves, and flower heads.
Drawing Out
Using the grid as a guide, we’ll draw the main shapes onto the canvas with pencil, keeping everything light and adjustable.
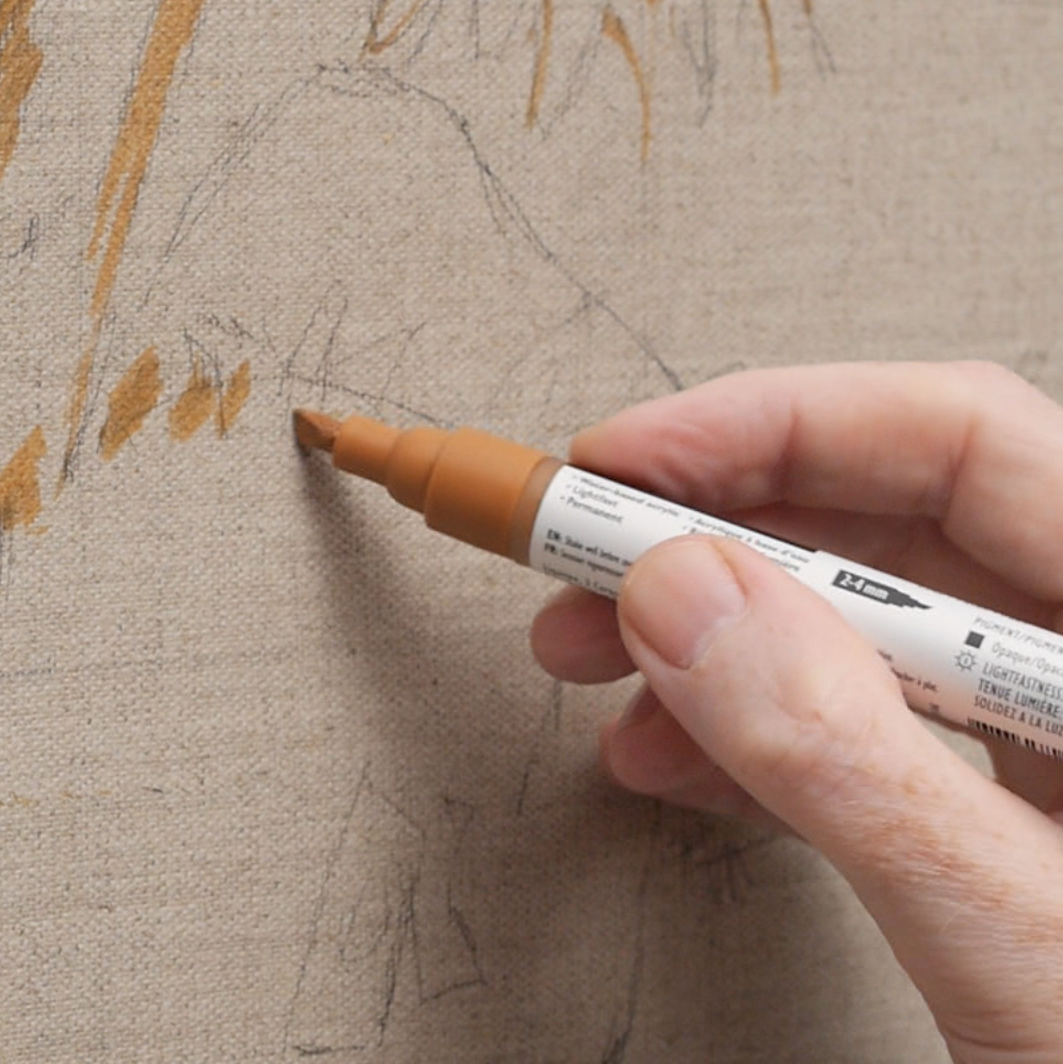
Once the main structure is in place, we’ll use an acrylic marker to strengthen the key lines and help us see the composition more clearly before we start painting.
Blocking In the Background
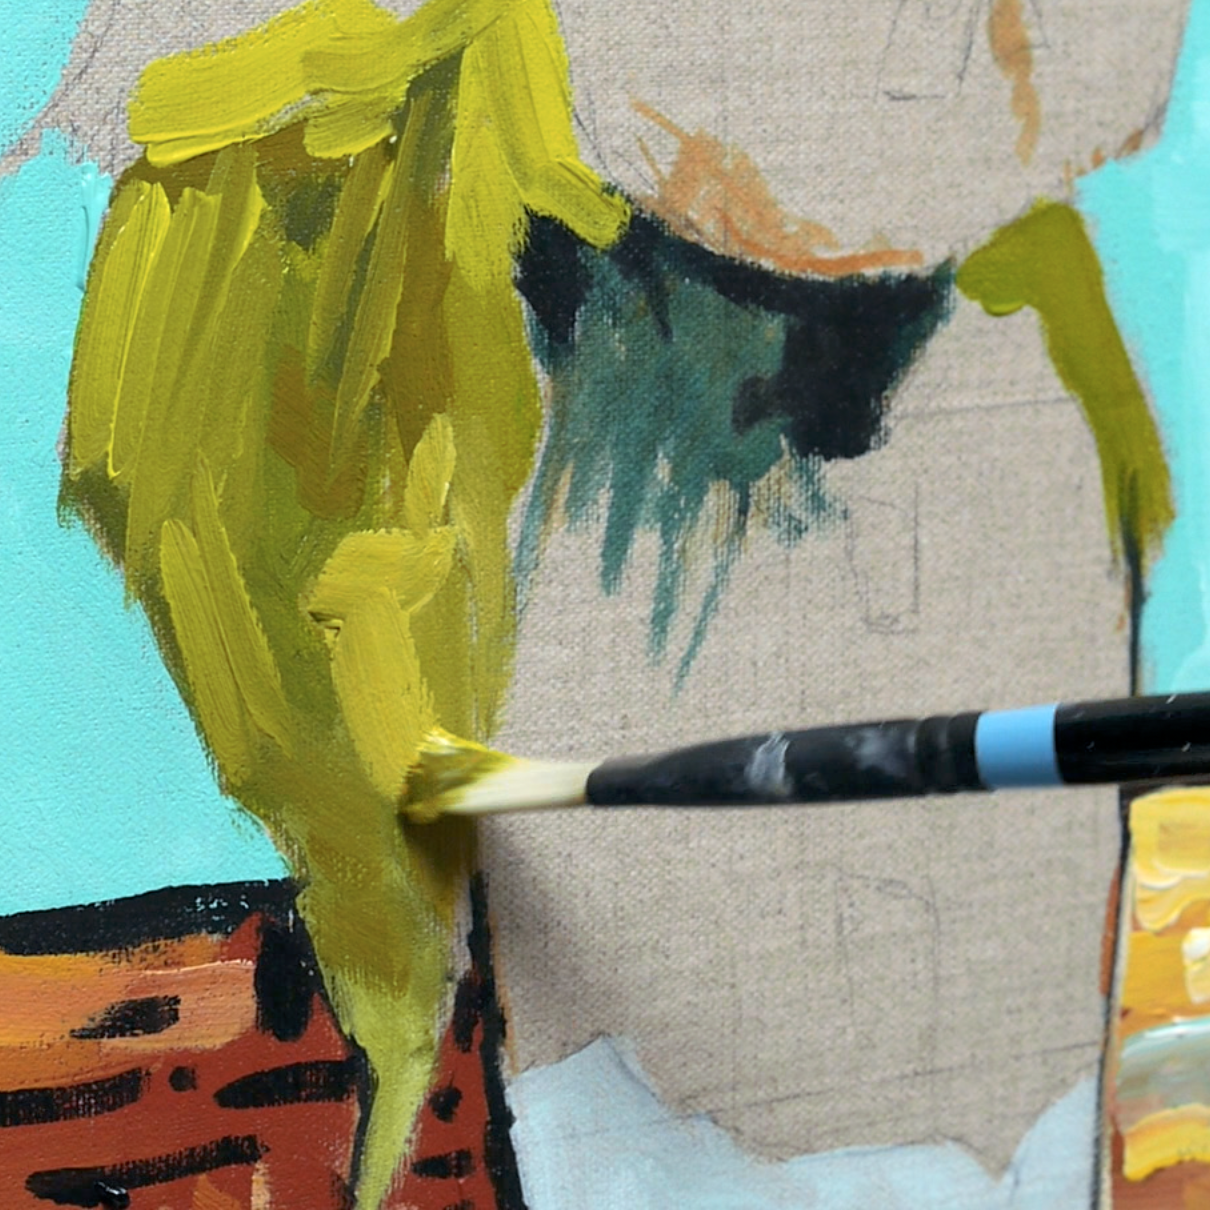
We’ll begin the painting by blocking in the background first.
At this stage, the colour might feel surprising, but it gives us something to judge the yellows and greens against. Colour is always seen in relationship to the colours around it.
Blocking In the Greens and Vase
Next, we’ll start establishing the greens in the leaves and vase.
We’ll look at how to mix a range of greens, from soft muted tones to brighter, more vivid notes, so the painting has variety without becoming too harsh or flat.
Blocking In the Sunflowers
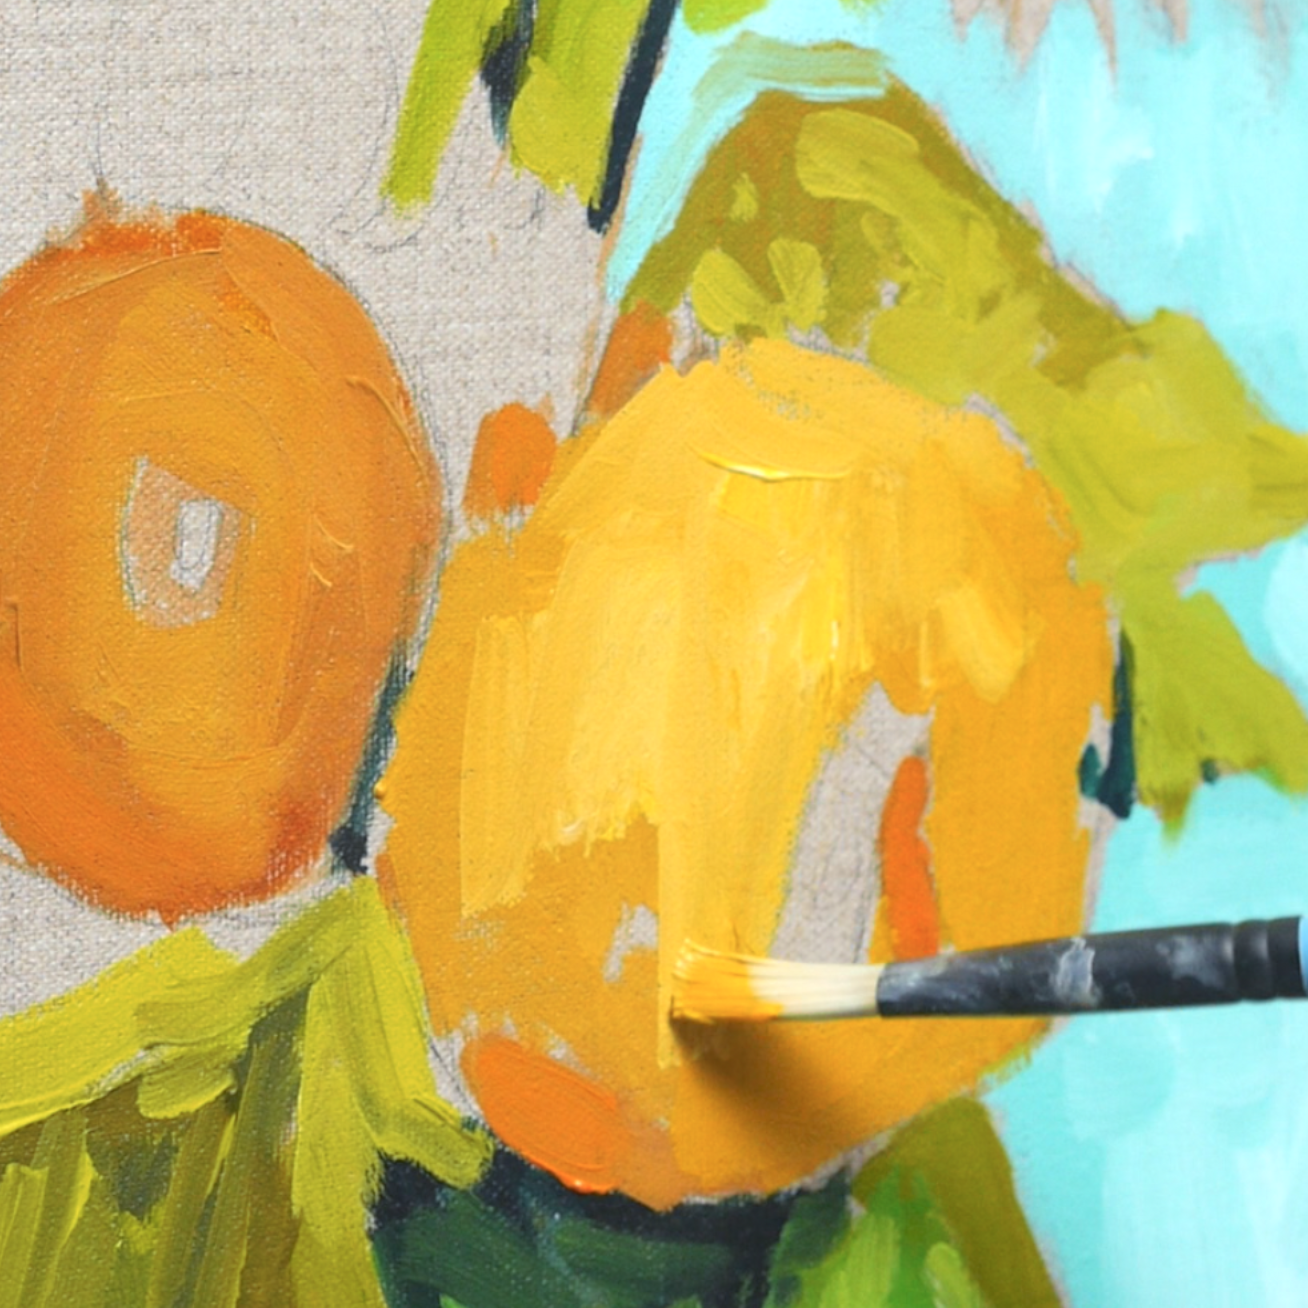
Now we’ll block in the main sunflower shapes.
At this stage, we’re not trying to paint every petal. We’re looking for the larger colour areas, the direction of the forms, and the balance between the flower heads.
Refining the First Sunflower
This is where we begin to build up the texture.
Using acrylic mediums and thicker paint, we’ll start to suggest Van Gogh’s impasto brushwork, adding more movement, direction, and energy into the first sunflower head.
Refining the Second Sunflower
We’ll then apply the same approach to the second sunflower, looking carefully at how the brushstrokes can describe the form.
Each flower has its own character, so this stage is about observing the subtle differences and letting the marks feel expressive rather than too controlled.
Mixing Colour Swatches
As we move into the more refined stages, we’ll mix colour swatches in advance, to help us compare the different yellows, ochres, greens, and muted tones.
This makes it much easier to judge the small shifts in colour before applying them to the painting.
Final Refinements
When you get to this stage of a painting, it’s all about stepping back and looking at the piece as a whole.
What draws your eye? Where does it need more contrast? Where could the brushwork be softened, sharpened, thickened, or simplified?
We’ll add the final touches of colour, texture, and detail to bring the Sunflowers together and capture that wonderful Van Gogh energy.
COURSE DELIVERY
I’ve taken care to film everything from my perspective so you can see exactly what I’m doing as we go through the entire painting process in real-time.
The courses are delivered by a series of downloadable video links that you need to download to your computer.
There is also a downloadable zip file that contains all of your reference images.
- Downloadable Video files
- Downloadable Full-colour reference photograph
- Downloadable Line Drawing
- Downloadable Materials List
This course has been developed with a beginner in mind, carefully going through the steps at a pace that introduces new methods and techniques slowly.
How is the course delivered?
When you purchase the course, you will receive an email with all the downloadable video links to the course. You then have to download and save the Video Lessons onto your home computer/iPad.
13 Downloadable Step-by-Step Video Lessons.
With over 4hrs+ hours of detailed video instruction, once downloaded, you can access the lessons anytime, anywhere.
- A downloadable materials list.
- JPEG reference image, a copy of my pencil sketch for the line drawing.
The video files are large (5GB), so you need a broadband internet connection and enough space on your computer’s hard drive.
Please note: You will not receive a DVD.
Cut by the Artist
I filmed, edited, and coloured the course myself (with a little help from Vanessa!) rather than working with a production company. Artists have different needs than editors, so I wanted to cut the course like an artist, showing you exactly what I wanted to see when I was learning. I show all the real-time brushstrokes for the paintings so you don’t miss a step.
There are 3 main camera views I cover:
An over-the-shoulder view of the work – so you can see how I build up the painting as if you were standing behind me in the studio.
A close-up of the brush contacting the canvas – with extreme close-ups, so you can see the grain of the canvas and the bristles in the brush.
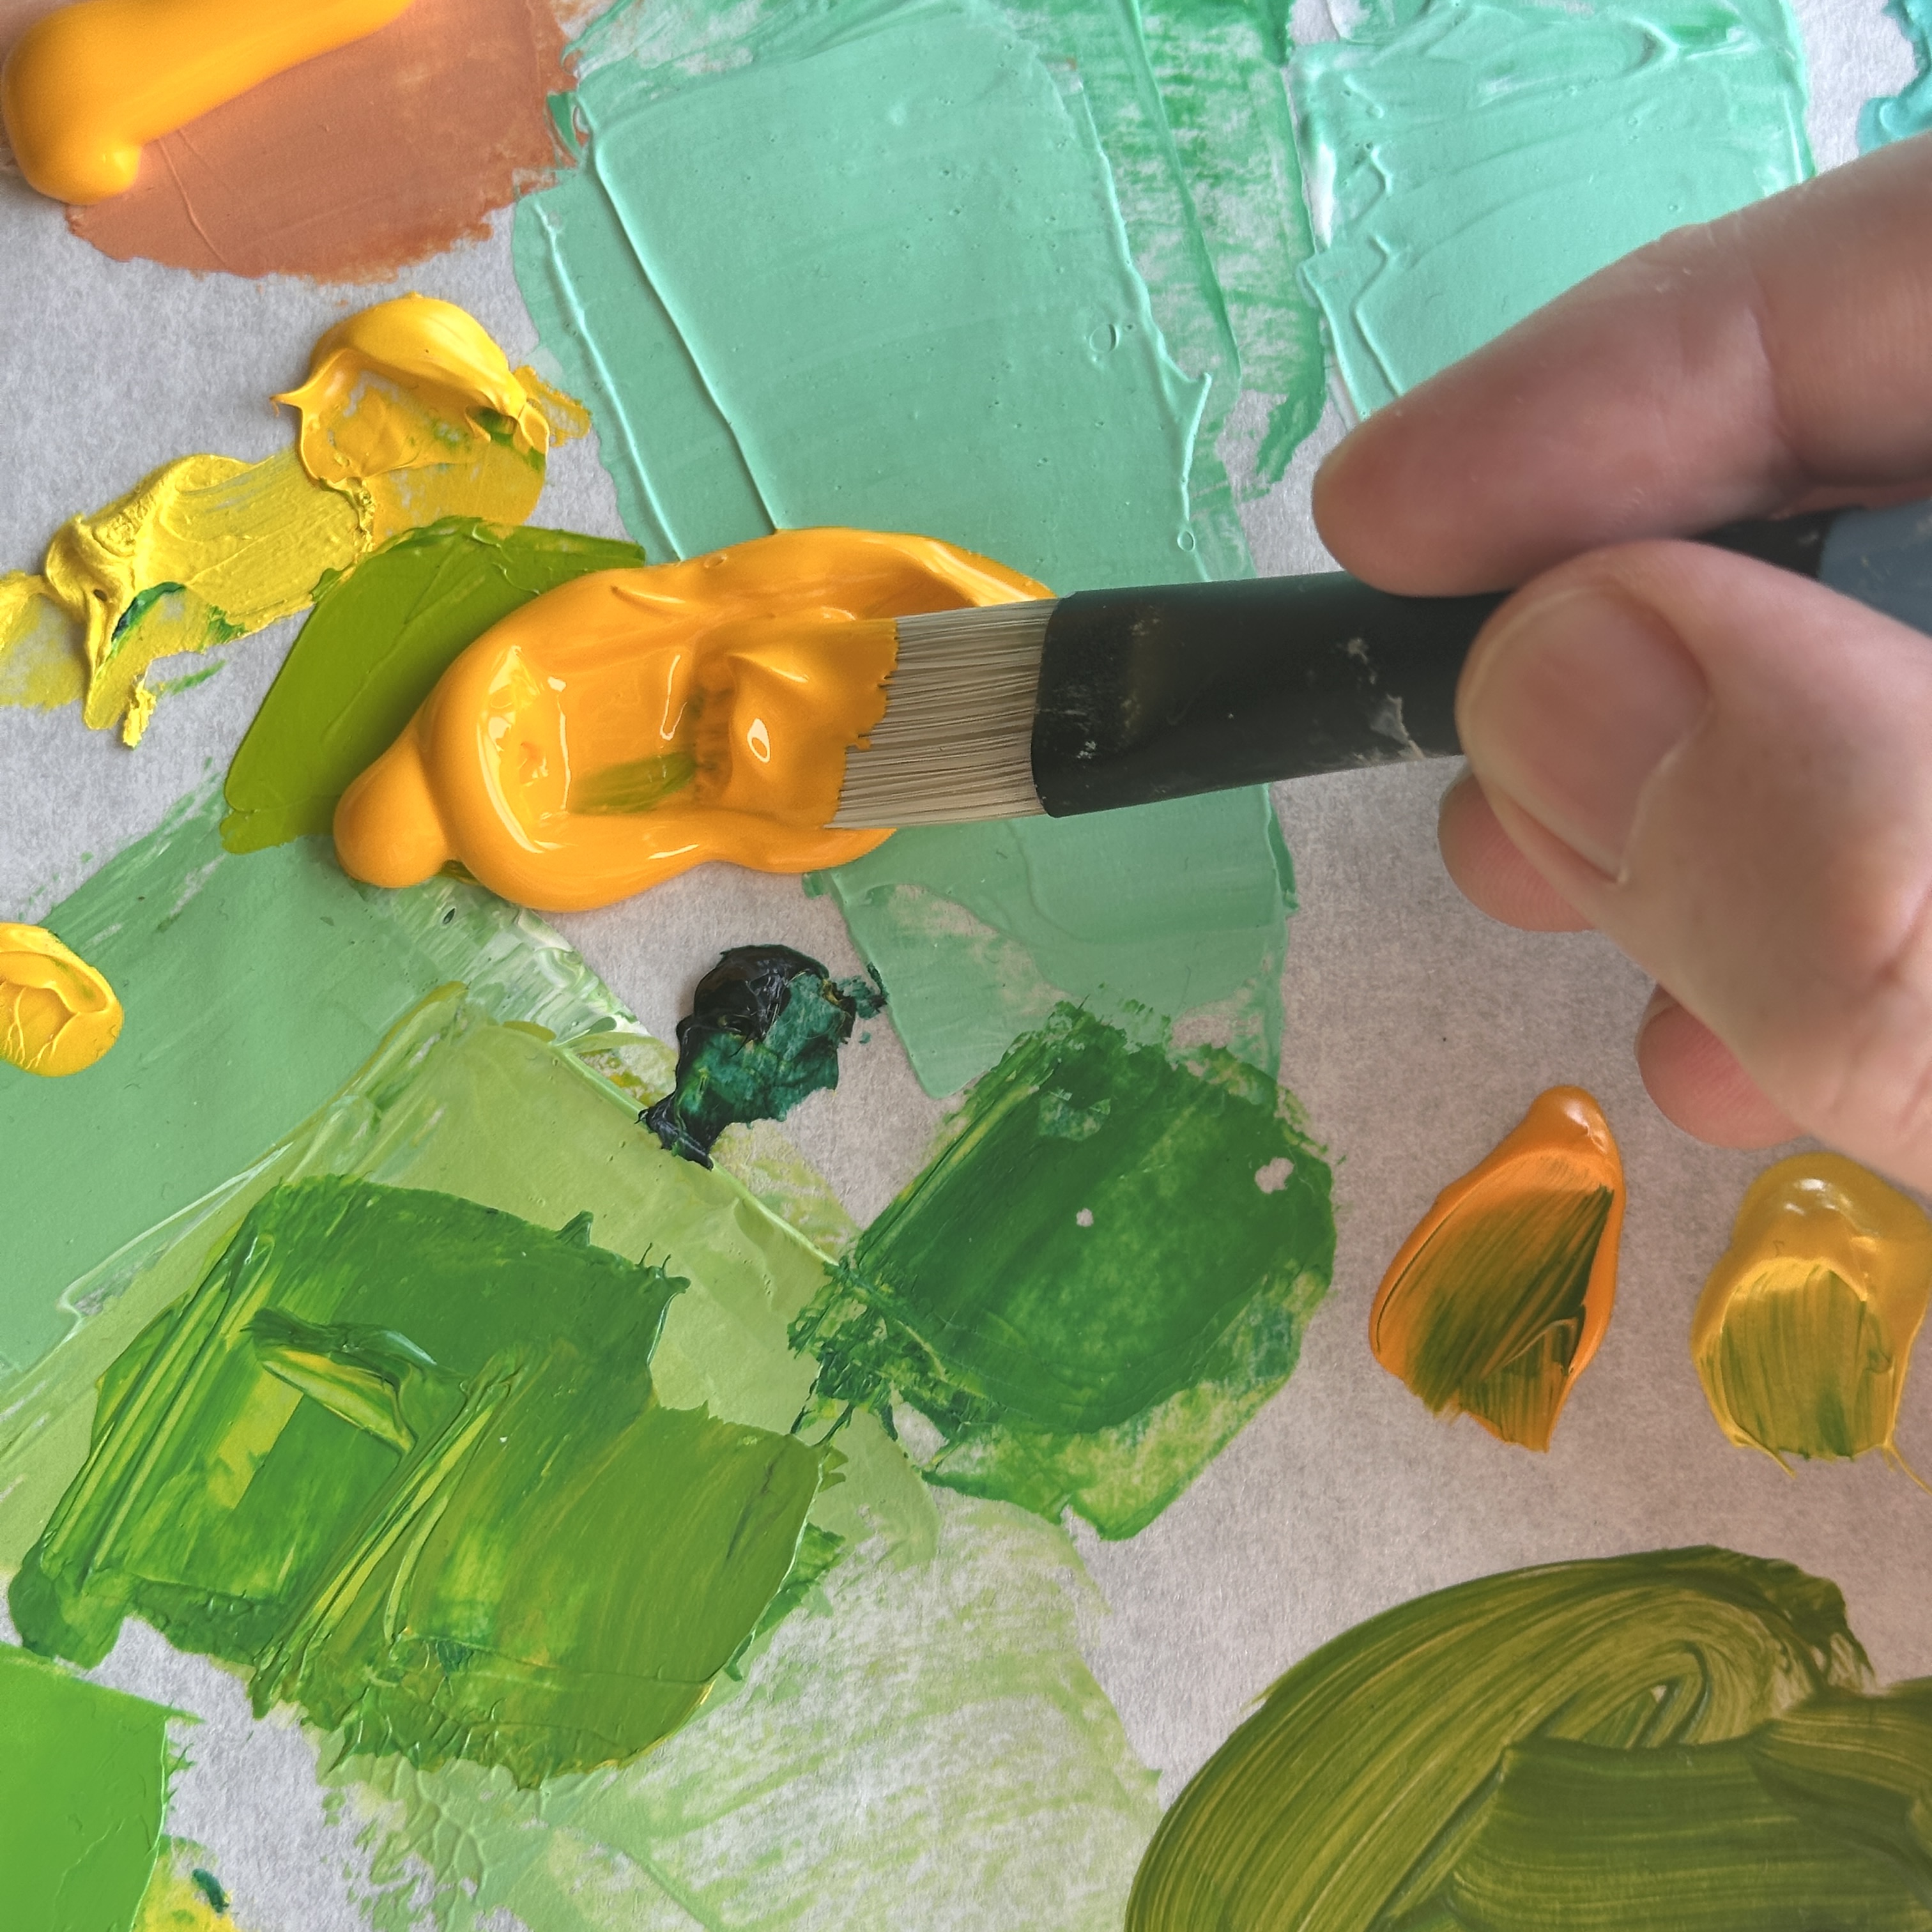
Stable shot of the palette for when I pick up paint – see exactly how I mix colours. There is nothing worse than when the brush disappears from view, only to reappear with some fantastic new colour. Where did that colour come from?! How did it get mixed?
The palette view is very important, not just at the beginning of the video. I want to show you every single mix I make, so I film with the palette directly next to the painting; then, you can see shots of the palette throughout the course and gain a sense of my approach to colour mixing.
Colour Corrected Footage
Filmed under constant colour-balanced conditions, the paint colours are as accurate as possible. (Computer monitor screens and print-outs can vary)
Real-time filming – No long jumps in progress
I don’t like long jumps in progress when the paintbrush goes off-camera, the shot changes, and suddenly the picture seems to improve drastically.
I include all the stages so you can clearly see the piece’s progress.
COURSE REQUIREMENTS
Requirements for the Course
A broadband internet connection – the file sizes for the video lessons are quite large (5GB in total) so can take a while to initially download (depending on your internet speed.)
Once downloaded, they are yours to keep forever, watch without buffering or take to the garden and watch away from an internet connection!
Enough free space on your Computer or iPad – You can download the files to a separate USB stick if you need extra storage.
A screen to view the reference image
Because we’re working on a larger canvas, 40cm x 50cm, it can be really helpful to have your reference image on a laptop or iPad. That way, you can easily zoom in on specific areas, such as the details in the sunflower heads, as we build up that part of the painting.
A Colour Printer/Printout—As we move into refining the sunflowers, we’ll mix and test some of our colours directly against printed colour swatches. These will make it much easier to compare and adjust your mixes.
Photo Printer Paper – I use Epson Photo Glossy.
A love of Tea & Biscuits – Optional, but some might say essential tools!
Related products
 40% Off
-
-40%
- Beginners Art Courses
Absolute Beginners Drawing Course
- Original price was: £57.00.£34.20Current price is: £34.20.
- Add to cart
-
-40%


